Aanya Nehal Garg

Hi! I am currently a senior at Case Western Reserve University, studying to get a B.S.E. in Biomedical Engineering with a focus in Biomechancis, as well as a minor in Mechanical Manufacturing and Design. I love creating things, from designing and constructing cool things, to learning a small art craft! I have picked up some skills (like welding!) that you can check out in my Maker section below. I enjoy trying new things, and have dabbled in hardware and software, as well as technical and non technical skills! I'm looking for full time opportunities this upcoming August!
These are all the things I've worked on!
This website, of course! Although this is a very simple website, made of just HTML/CSS (and a tiny bit of JS), I wanted a place to showcase the things I had done and the things I had learned during the process. I was able to get this website relatively quickly, because of its simplicity! A version of the code will be up on my Github, and it will be updated as often as I can. Deploying it was quite easy, as I just used Azure's static website feature. Azure did give me a less appealing URL, so I used GoDaddy to buy a better website name (aanyanehalgarg.com), and rerouted it to come here. I have had some problems with the routing, so right now it doesn't display the url I want, but I will get it there eventually. I have already tried to use a custom domain through Azure and reroute it through there, but it can't seem to find evidence that I have ownership of the website and I thought a functional website is better than a nonexistent one.
Kirby Maze, Darts and Dartbox: Fall 2023
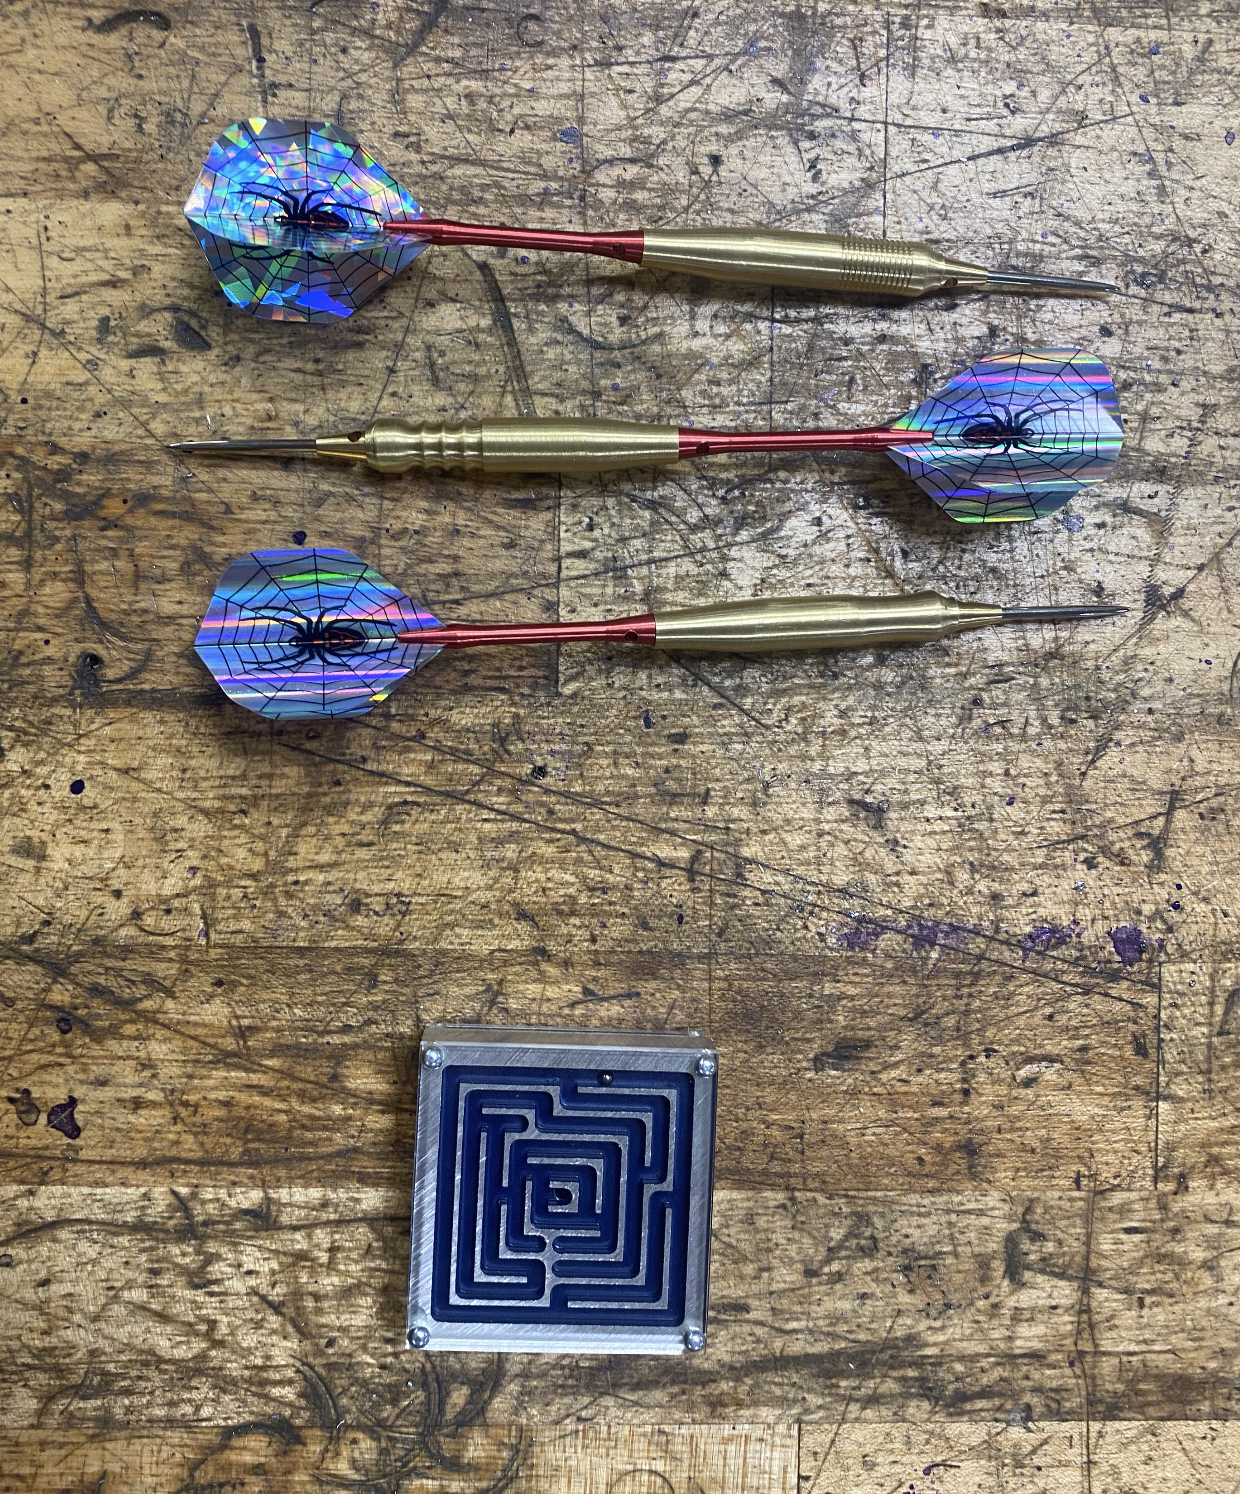
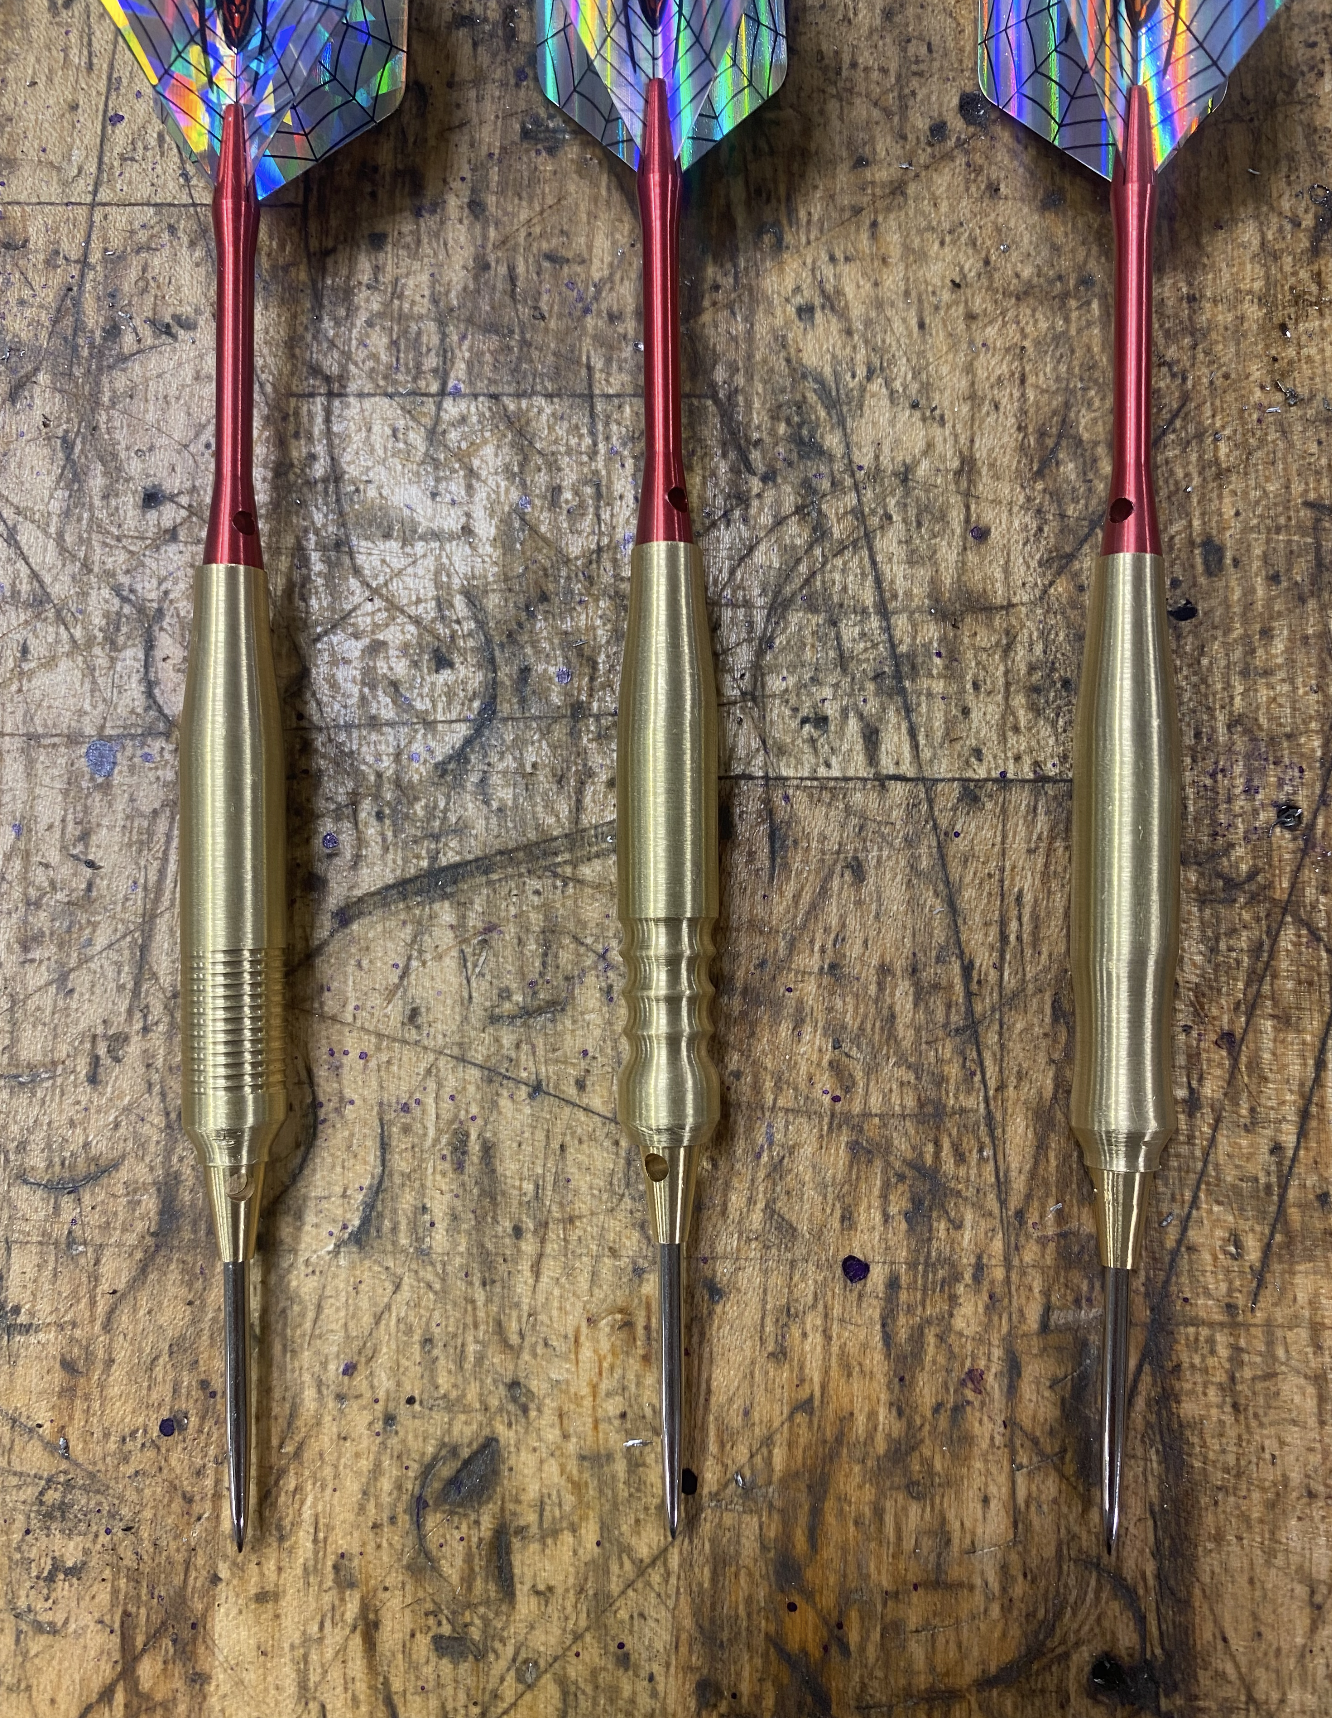
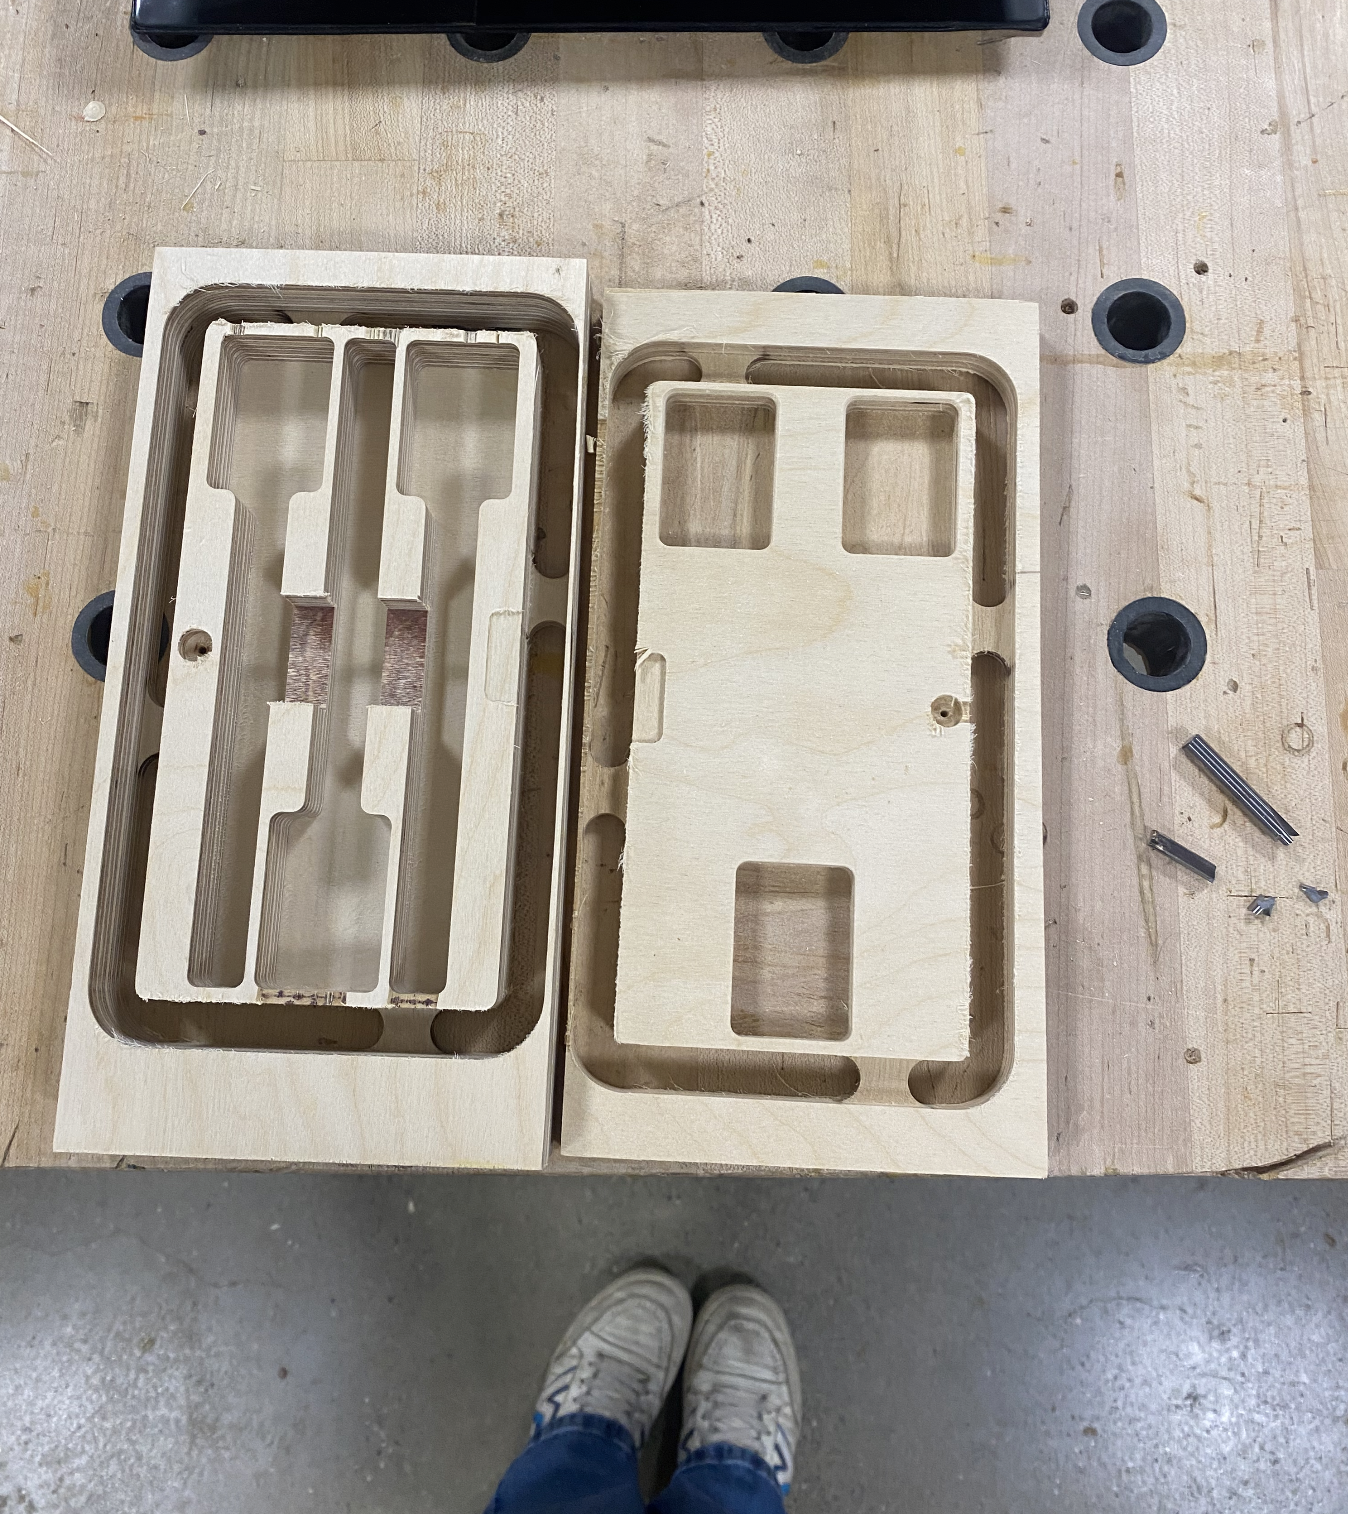
I'm combining a few of the things we made in my favorite class (EMAE 290), which are a maze of our design, three darts, and a dartbox to hold them! The first project we made in the class was to create a design in soldiworks, and then Mastercam the CNC Mill to create the design onto a maze blank! I made a kirby, which I was proud of, and we finished it off in lab by adding a ball in, sanding/finishing the surfaces, and adding plastic covers using a drill press type contraption. The small problem with this project was my distance between features was too smaller for the drill bit, and created little scallops by the eyes. The next project was to make darts, which we again designed in Soliworks, and then used Mastercam and the CNC lathe to create a set of three darts. An absence caused my Mastercam programming to be off, and because of some other cirumstances, decided to make three different darts, one of my own, one of my friends, and one of a classmates (the last one as a mistake). We then hacksawed extra material off, and finished its surfaces and edges similarly to before. We also added the front and back pieces which I coordinated to be kind of Spiderman themed (provided by the wonderful Prof Bradshaw). To hold our very own darts, we made a dartbox, which again we designed in Solidworks, and used MasterCam and the CNC Laguna to make wooden boxes. It was my first time thinking about the set up of the piece and including things like tabs in my design! These were cut out, sanded, and finished with hunges and magnets. This last one had the most problems, including one hinge hole not being deep enough, the magnet hole being too deep, and the walls being too thin. I also broke a drill bit because my RPM was set to 1900 instead of 19000. The box still works though even though it doesn't look at nice as I would have liked. It fits my darts well, and has taught me a lot about the design process!
The pictures are the kirby maze, both the maze and the darts, a close up of all of the different dart designs, the dartbox coming right off the laguna bed (and the broken drill bit), and then the finished dartbox!

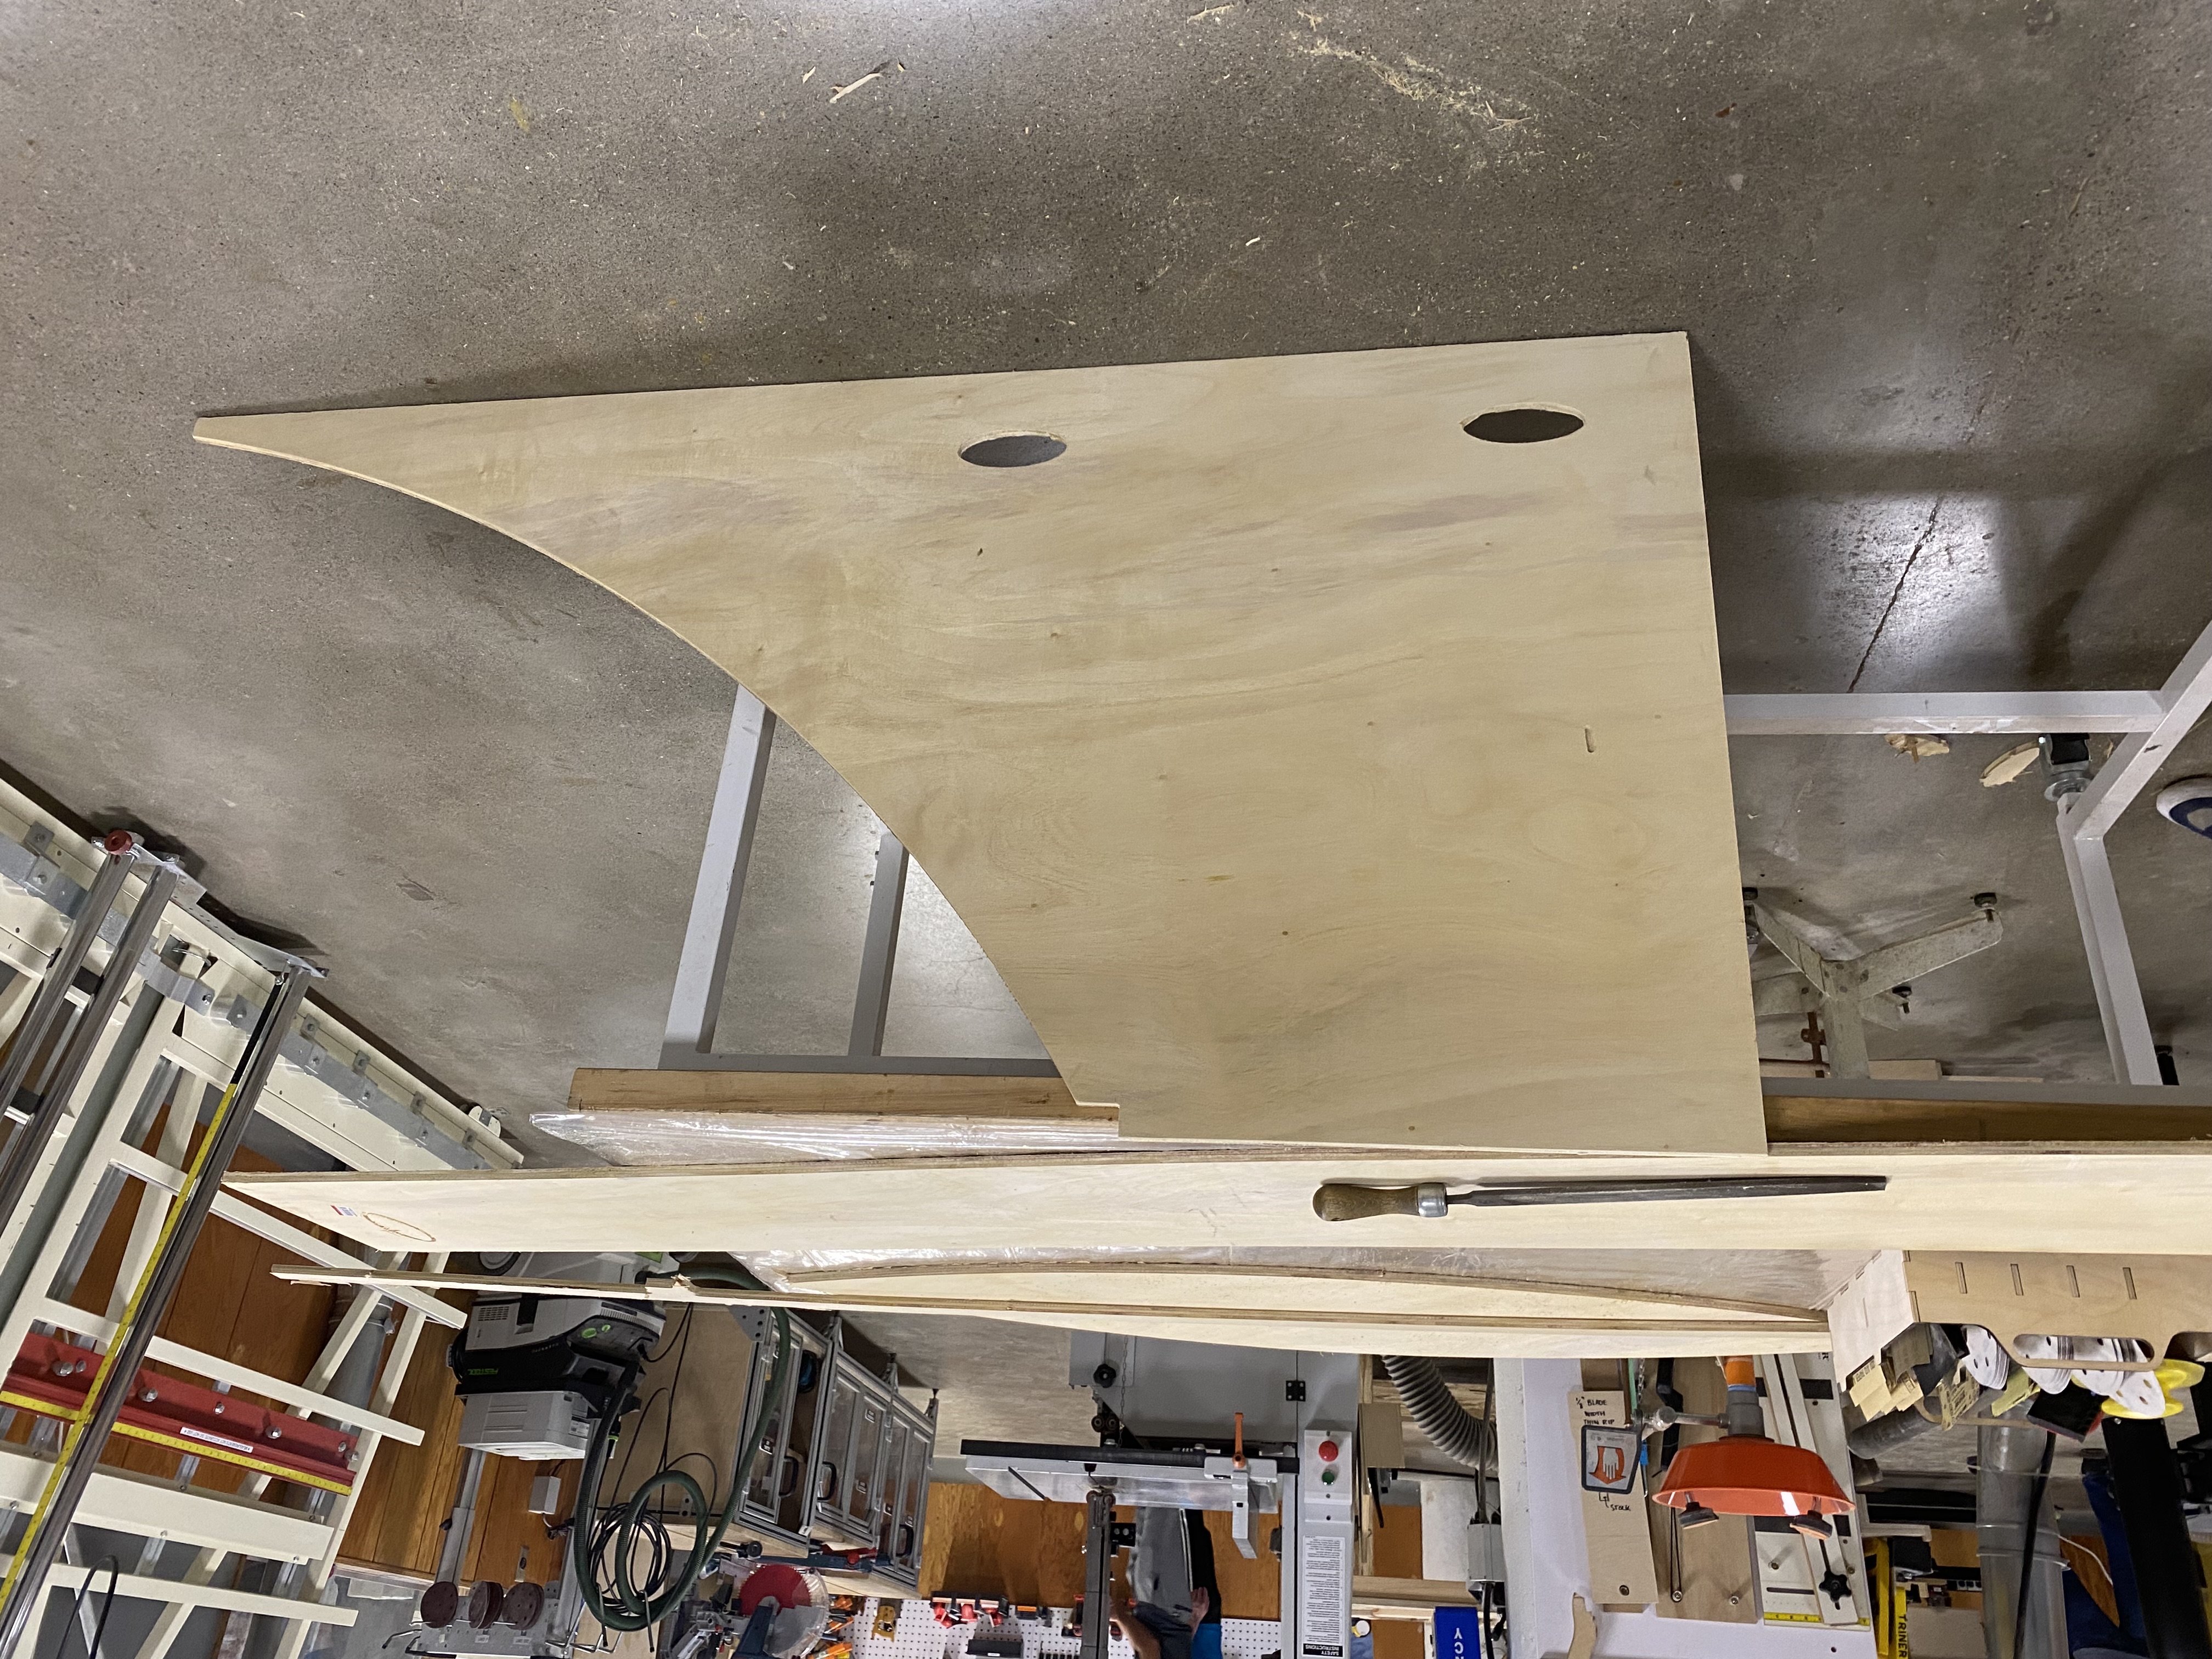
Skateboarding Quarter Pipe: Fall 2024
Just recently I helped make a skating quarter pipe! This process was long, taking about 7 hours. We started by using V Carve and the CNC Router to cut out the shapes of the sides. This took a minute because we set the position wrong and had a bit of reconfigurating to do. We designed in handles into the side of the plywood for easier moving, and we planned to put wheels on the side or bottom of the ramp as well, but we didn't have wheels that adequately supported its weight. After we got that cut, I cut some 2x4 stock pieces to size, as well as some PVC on the miter saw. We began to assemble, screwing in the 2x4 across the sides. We added all 12 boards to create the structure/bones of the pipe, cut the plywood to size using the panel saw and added some plywood to the top. We also placed PVC down on the top to make a pivotable feature. Then, it was time to lay the plywood down, and bend it to shape. We had someone on top forcing it down, someone behind it to stop it from moving, and someone actively drilling down into the wood. Once enough screws were down, multiple people could add screws down to secure the plywood. We added two more layers of plywood to the top to reinforce it for skating. We had to make sure the screws were as flush with the surface as possible to avoid ridges. Finally, we drilled holes in two thin pieces of sheet metal which we seured to the bottom. This didn't go as plan because our stock was too short, and the screws weren't long enough to be drilled into the 2x4. Transporting this was certainly a challenge we didn't expect, but it skates okay! I expect to have to replace the sheet metal at the bottom since it's prone to bending and wasn't long enough in the first place, as well as the PVC since that feature is typically made out of metal for durability.
The pictures are: The router cut side pieces, the bones screwed in, the first layer of plywood down, the finished product, and the quarter pipe in the truck ready to be moved!
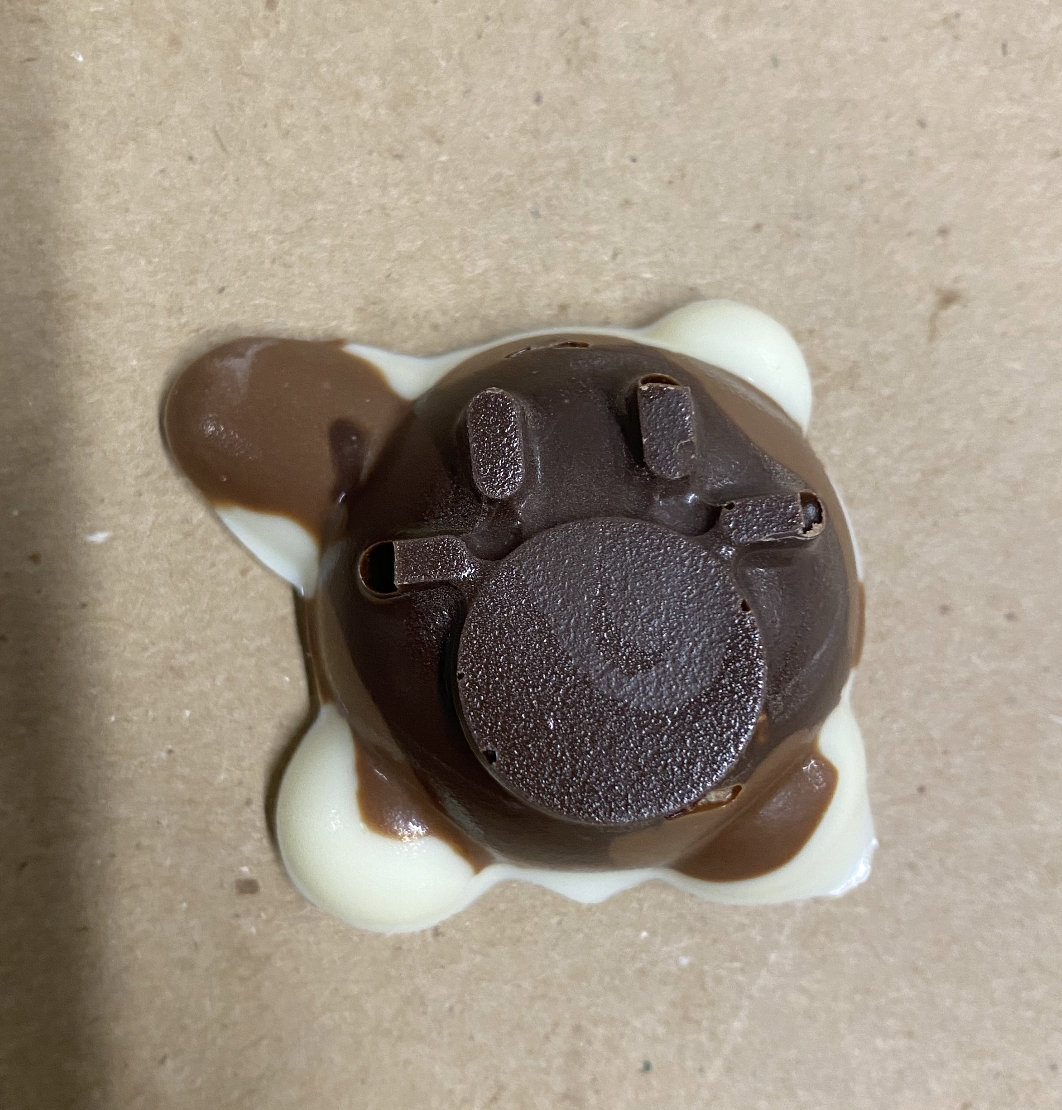
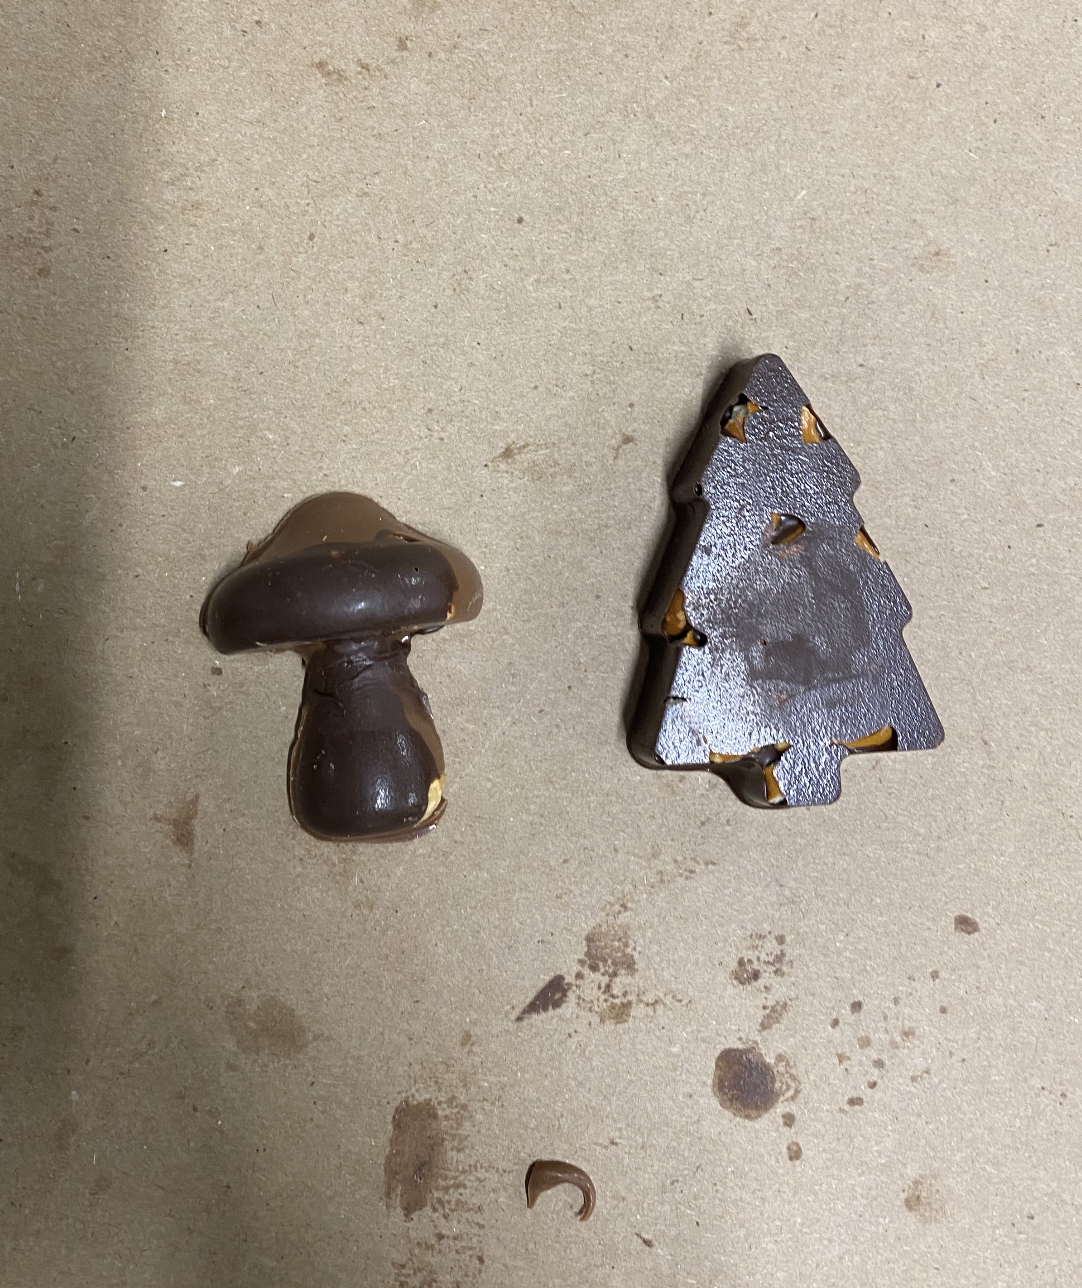
Chocolate Kirby: Spring 2023
The other fun thing we did in EMAE 290, was make chocolate molds! We made a design in Solidworks, did the Mastercam for it, and then made into a small composite. It was then plastic molded around so that chocolate could be filled into it. Our last lab we filled up as many chocolates as we could!
The first picture is my kirby chocolate guy, the second is some other designs made by classmates, and the last is the toolpath rendering for the kirby because I thought it looked cool!

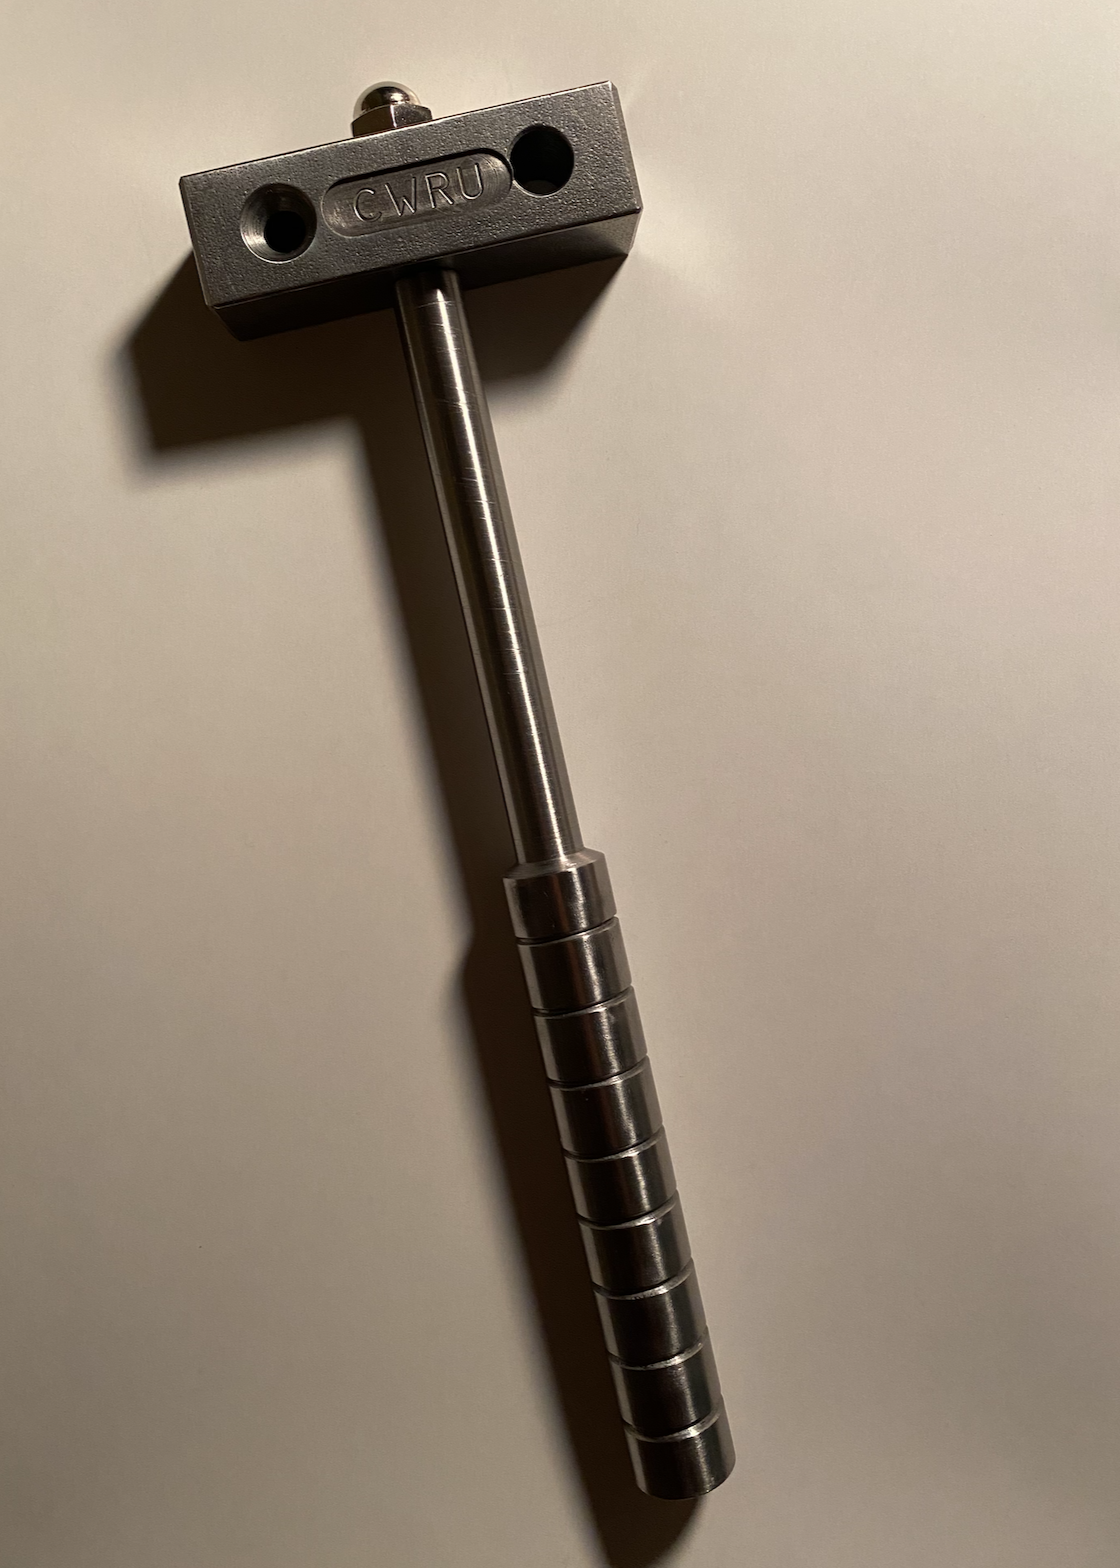
Hammer: Fall 2022
Through the lab section of one of my classes (EMAE 160), I made a hammer. During this lab, we learned how to use the machines in the Sears Think[Box], which has prototyping and fabrication equipment, as well as how to read engineering drawing to manufacture an item. We used a horizontal bandsaw and mill to cut the metal, into a head and handle, before adding different kind of holes to the head with the drill presse, both for look and functionality. For the handle, we shaped it with the lathe to create room for the screw and add more of a grip to the bottom. We added fillets and polished them for style before assembling it. Through this all, we were reading different engineering drawings provided by the professors, and trying to keep the parts as accurate as they could be. I had a lot of fun with this class, and it was great intoduction to the tools that are available to use in the Think[Box]. It was a bit stressful, considering it was my first time using this equipment, but it taught me a lot in terms of the manufacturing process and the importance of precision.

Lazer Cut Gifts: Fall 2023
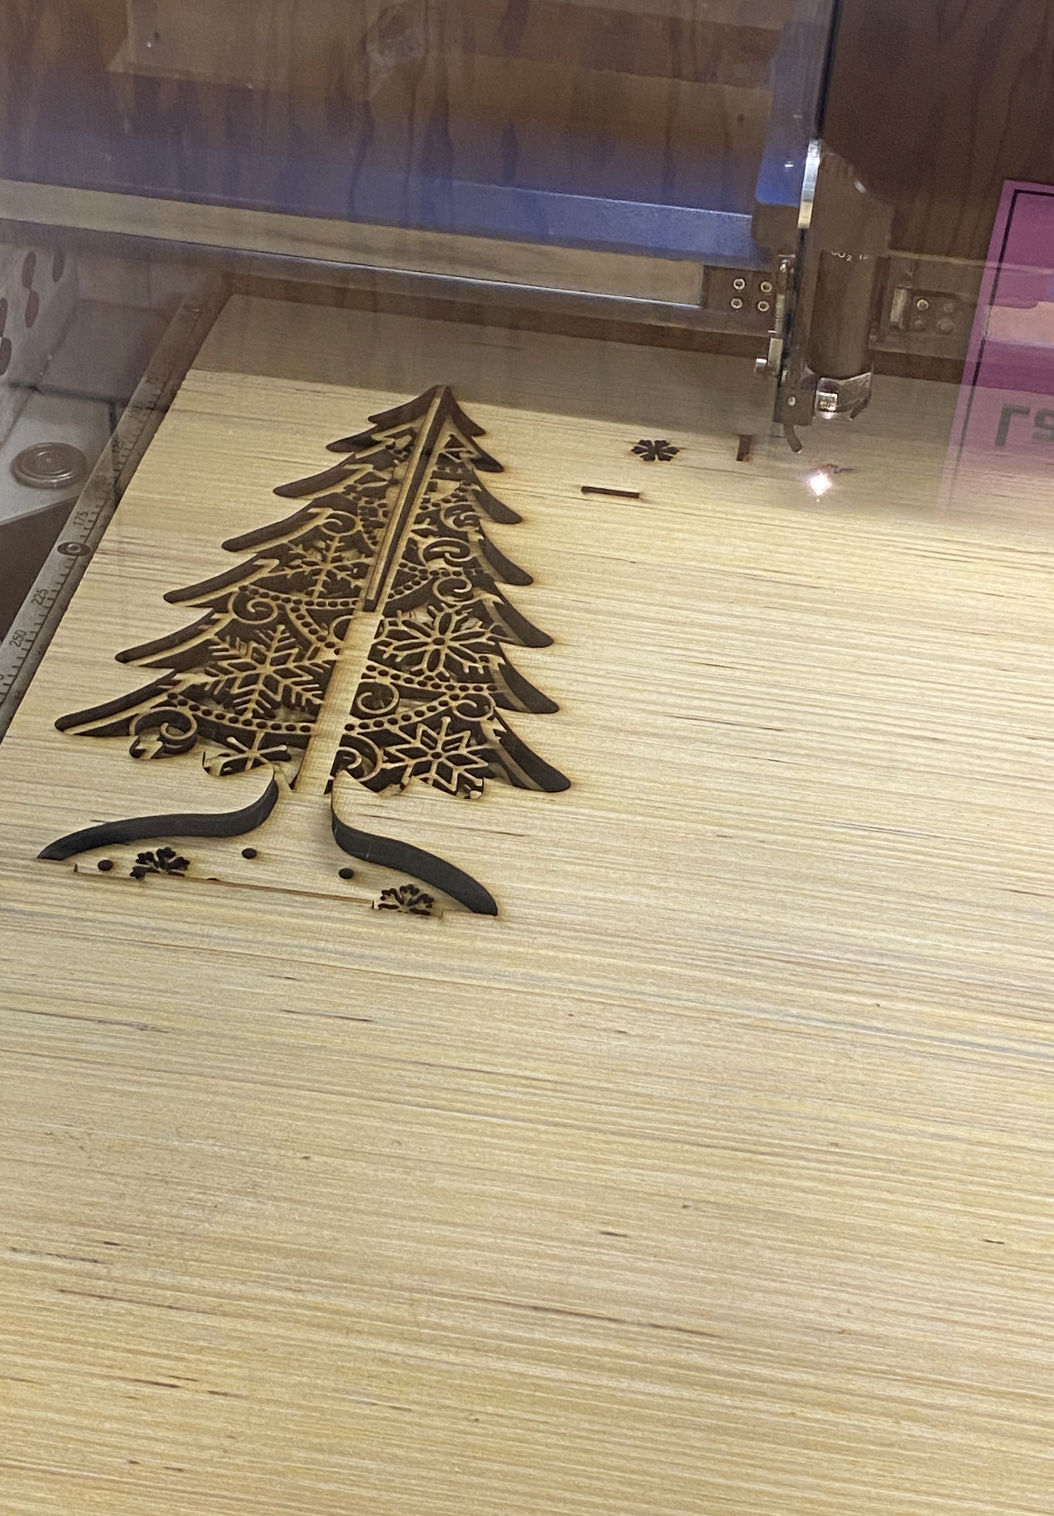
For Christmas gifts, since I had time between my second to last final and my last final, I decided to hand make some christmas gifts, specifically for my brother and mom. When I had visited my brother in New York for Thanksgiving, he had enjoyed looking at an automatic marble run that a shop owner had. I knew I could make lazer cut one with some plywood, and I was trying to use up the 3mm plywood I had bought earlier in an effort to clean up my apartment. I didn't have the time, nor the expertise, to design a marble run myself, and was lucky enough to find free files online at freelaserfiles.com. They had several different file formats for this cool marble run, and I ended up downloading the CorelDraw version, as that was what worked with the laser cutters the best. After figuring out CorelDraw and inputting the settings needed to cut the plywood I had, I imported the file and began cutting! This process was a bit of a pain in the beginning. A lot of the pieces didn't cut all the way, and I ended up with some pretty badly charred pieces too. I seemed to have gotten the worst of both worlds. I had to redo about half of the sheets because of errors like that, and it was quite tiring to only know if it had completely worked after the entire design was done. Based on the wonderous advice of student technicians, I changed the depth of my cuts (cutting to 6mm depth instead), the speed (increasing it from 10% to 15%), where I focused the machine (in between the highest and lowest point of the plywood so the differences in cutting depths weren't as extreme), and was able to hit a sweet spot! The fact that my plwood wasn't completely flat, and was concave, did not help my project! My mom's project was much faster. Didn't expect as much fire as I ended up getting while cutting, and that made me nervous, but I was assured it was normal.
The first picture is part of the marble run, the second is some decorative christmas trees, and the last is the leftover outline of plywood!
Banana Holder: Spring 2024
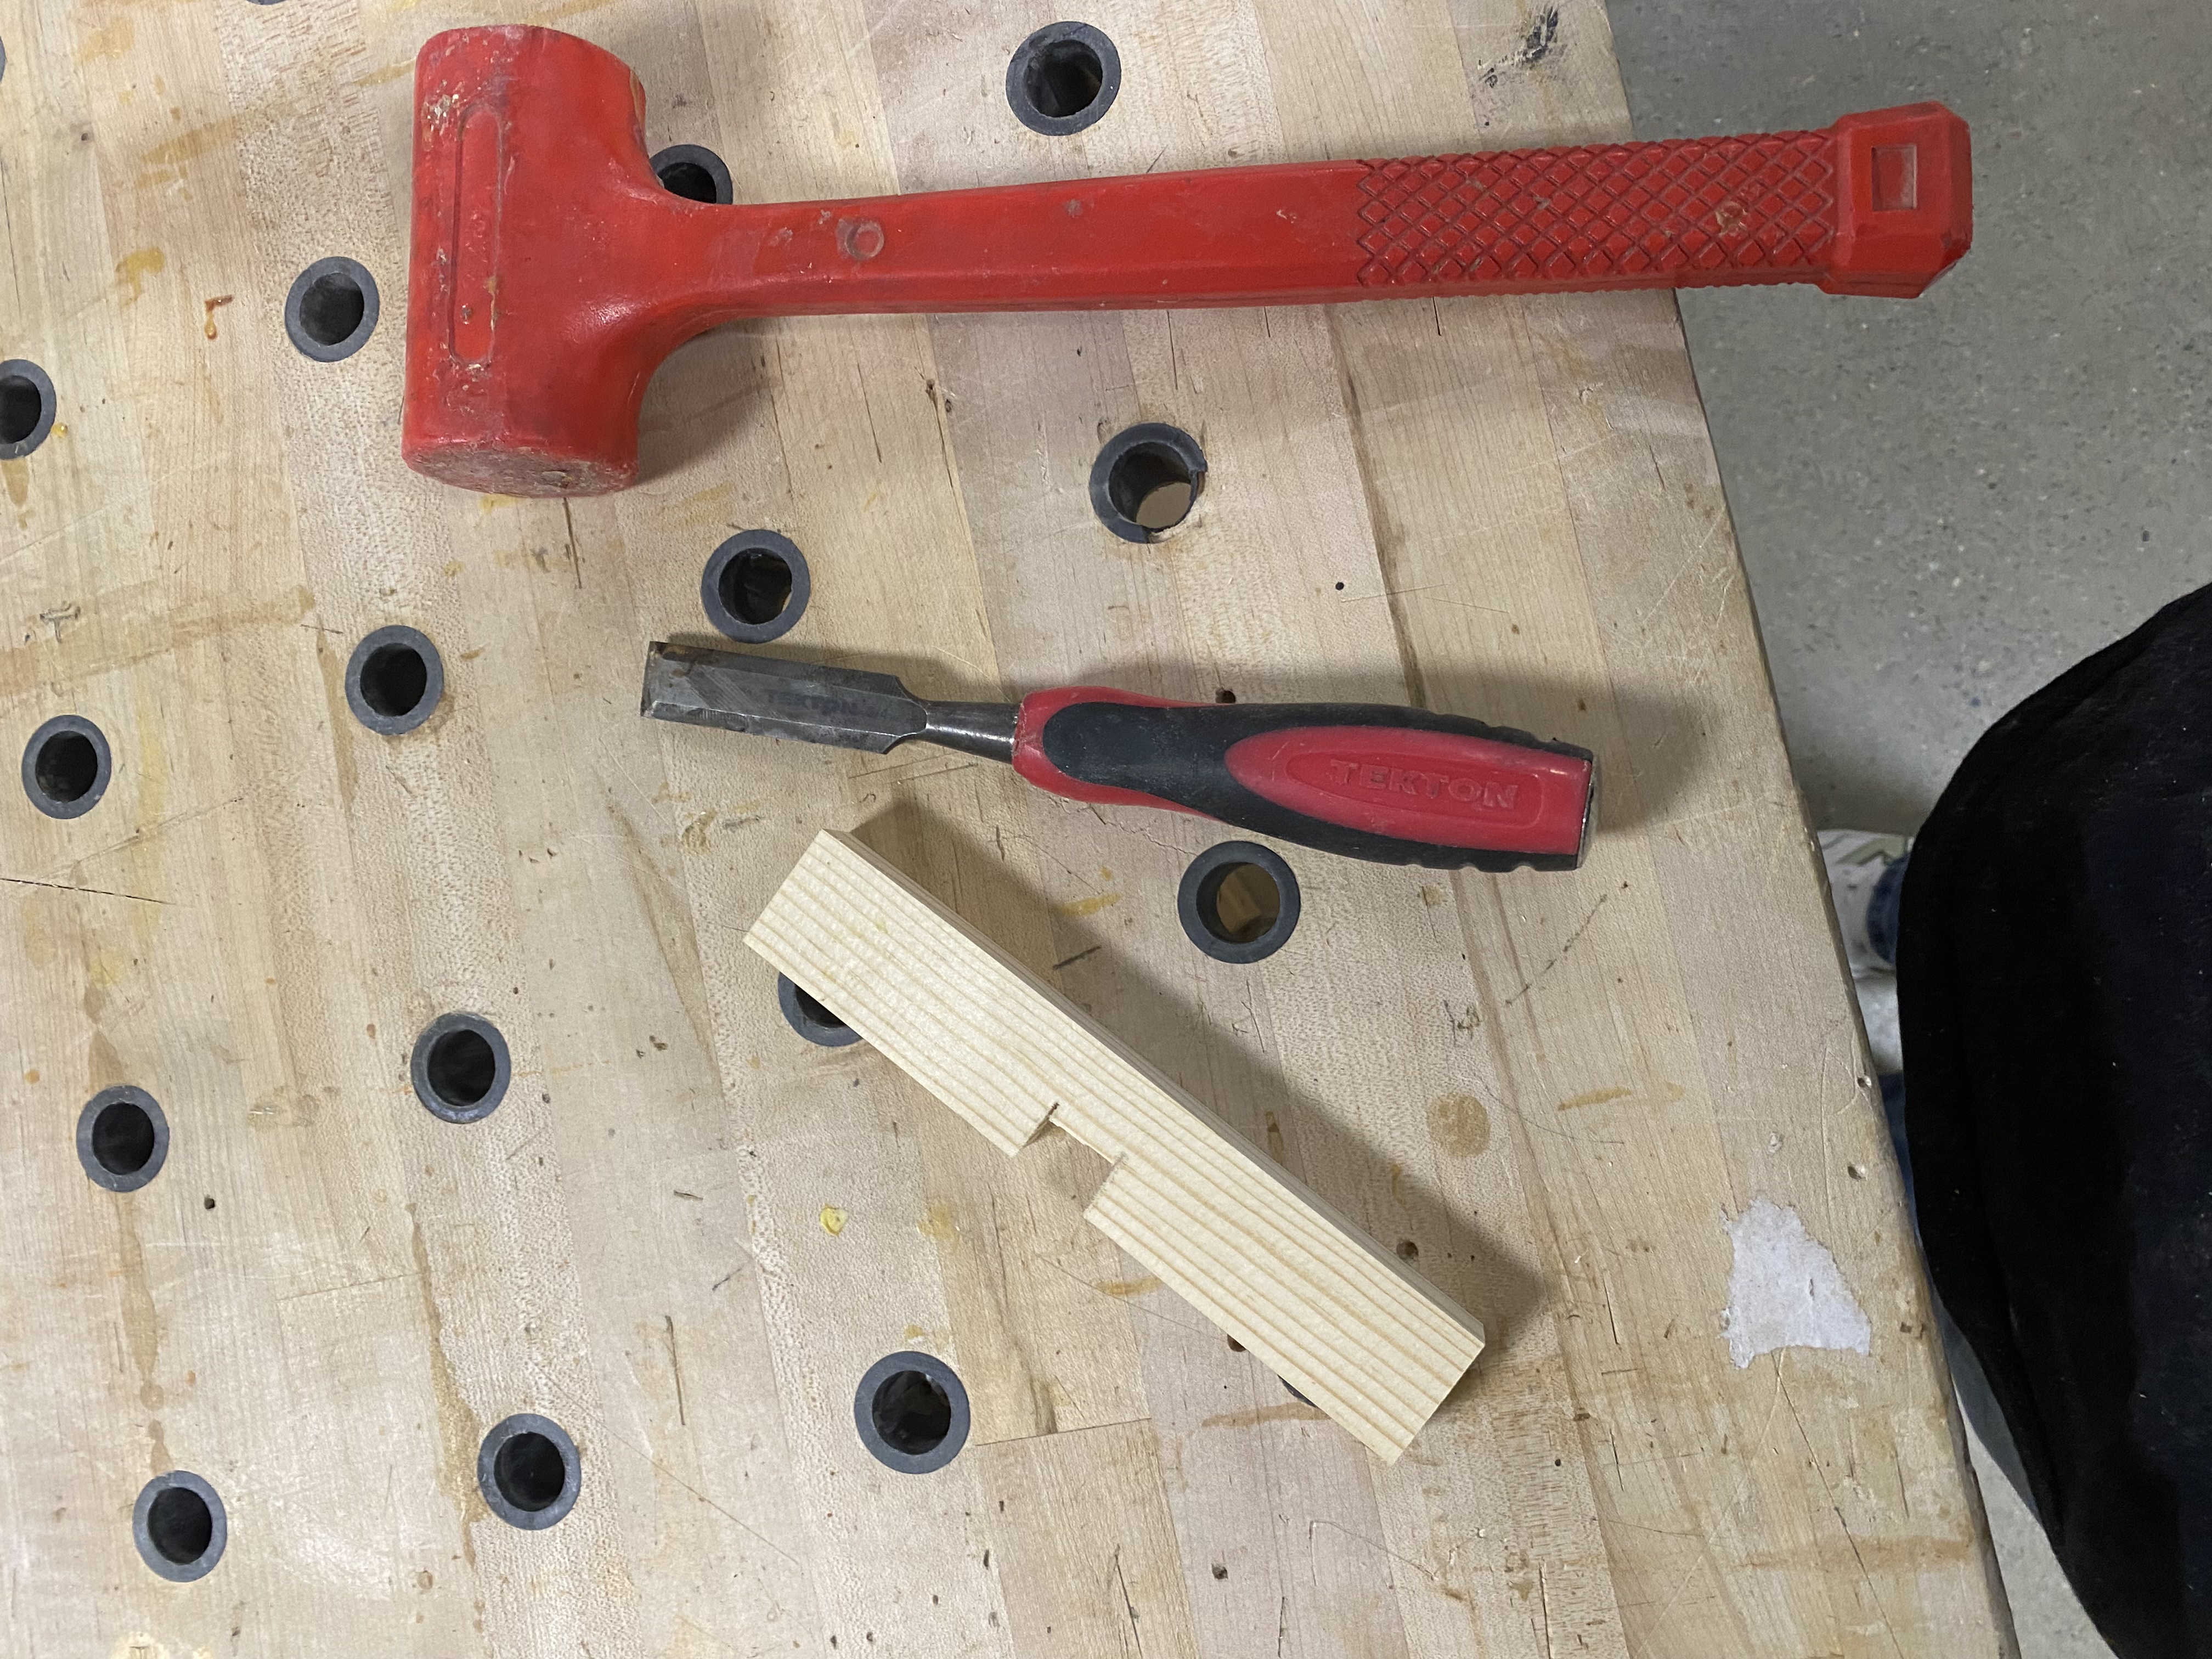
While on co-op I was making my own food for the first time, and realized my bananas were going bad a lot faster than my roommate's, whose bananas were on a holder off the ground. Instead of buying a plastic one, I decided to make one out of wood. I found a design I liked online, that was only two pieces and got to work. I used a regular soft wood from home depot and a hook! This project only took me about 2 hours to do, start to finish, and I'm super happy with the results. The first hooked piece I cut out with the bandsaw and then finished with a couple sanders. The bottom stabilizing piece i also use the bandsaw for, and then cut out the slot with a chisel. Finally, I added a hook at the top that could hold the weight of about 4 bananas. The only thing I would do differently is make the slot a bit smaller so the top piece doesn't wobble at all. When I am done with college and not moving around so much, I might just glue them together. I also want to round out the corners of the base piece to match the rounded out corners of the hook piece, make it look more uniform.
The pictures are: The hook piece uncut, the base piece with the chisel/mallet, and the final product!

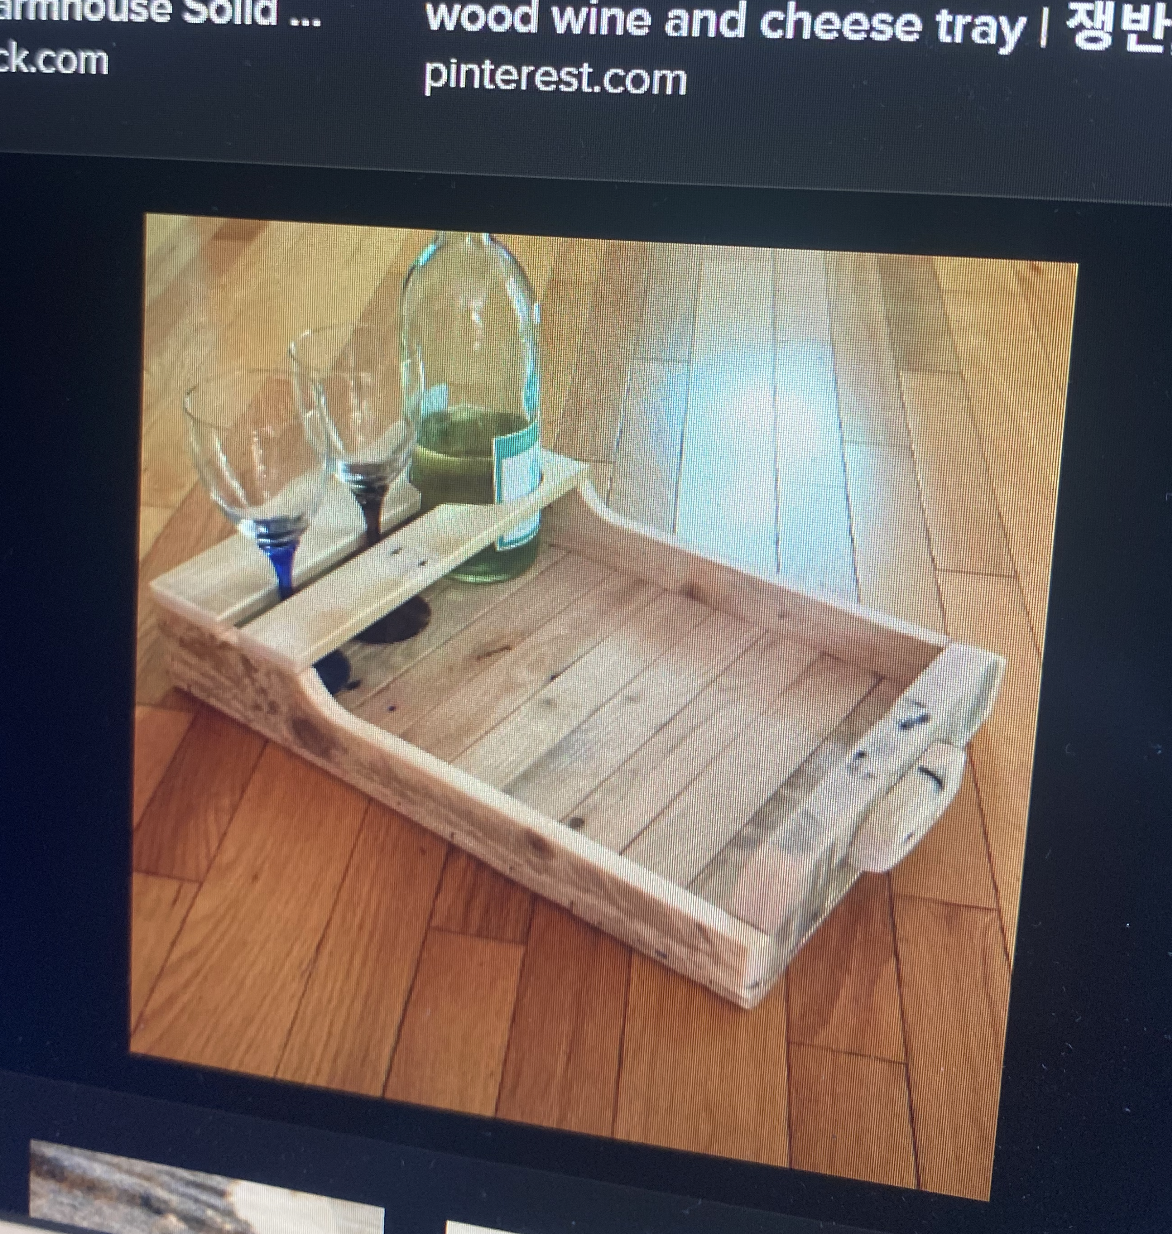
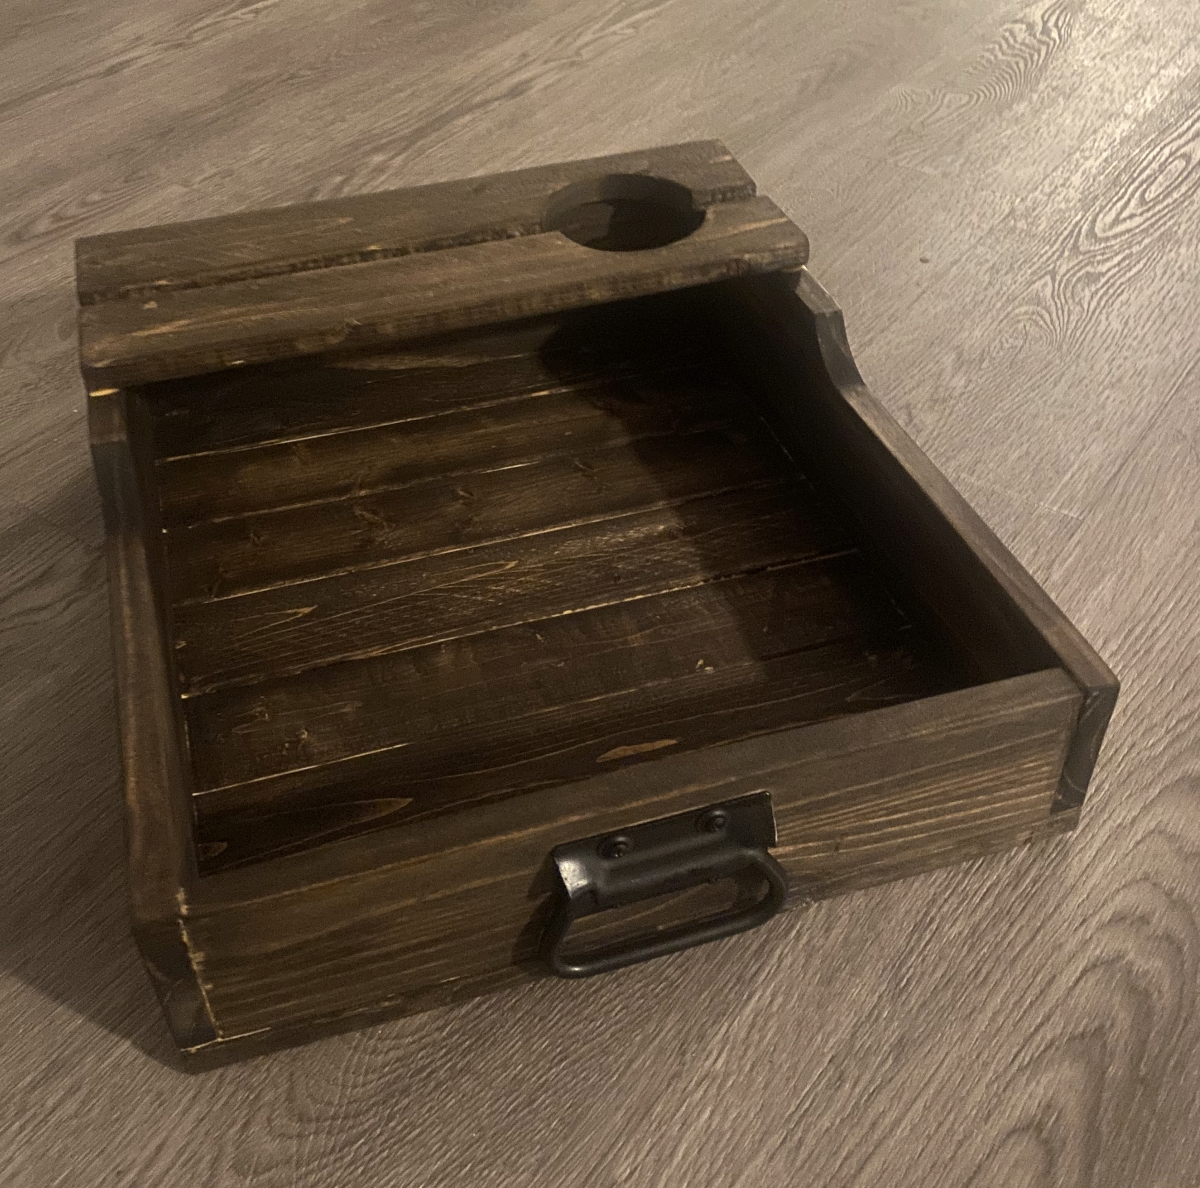
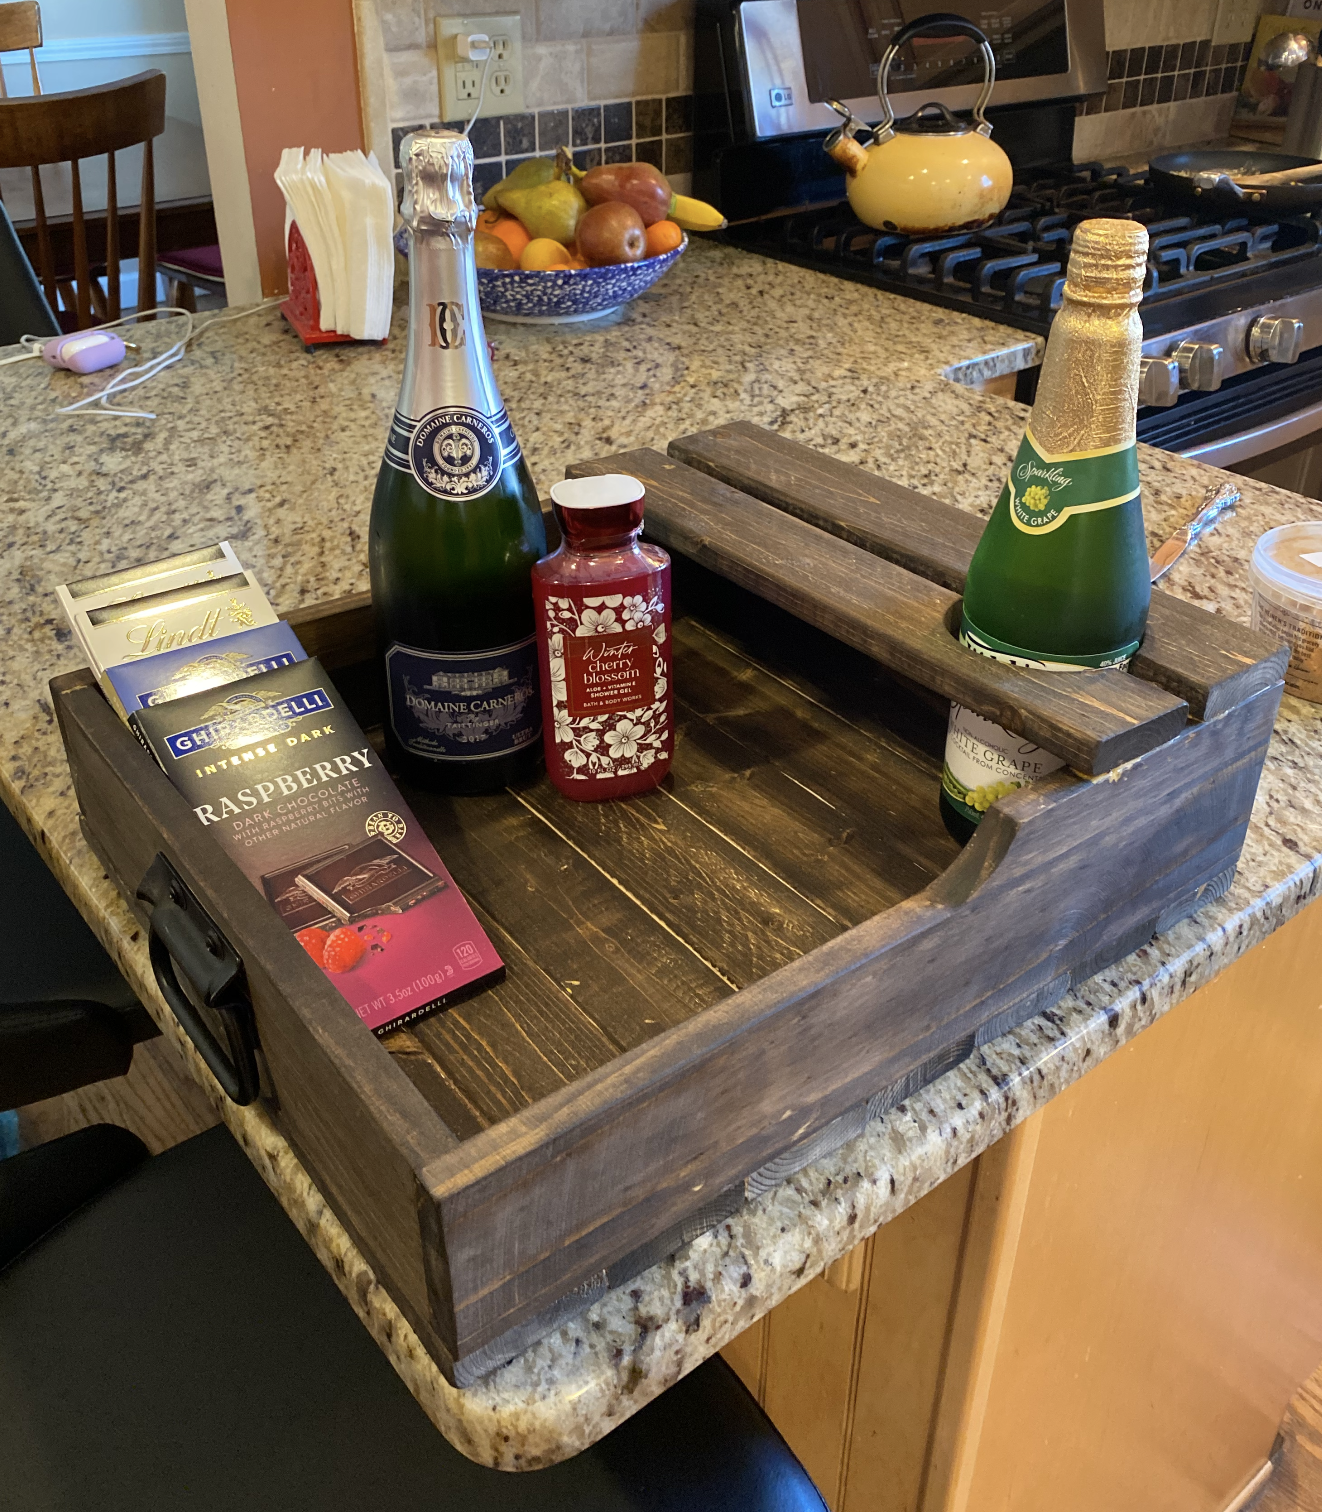
Wine Tray: Fall 2023
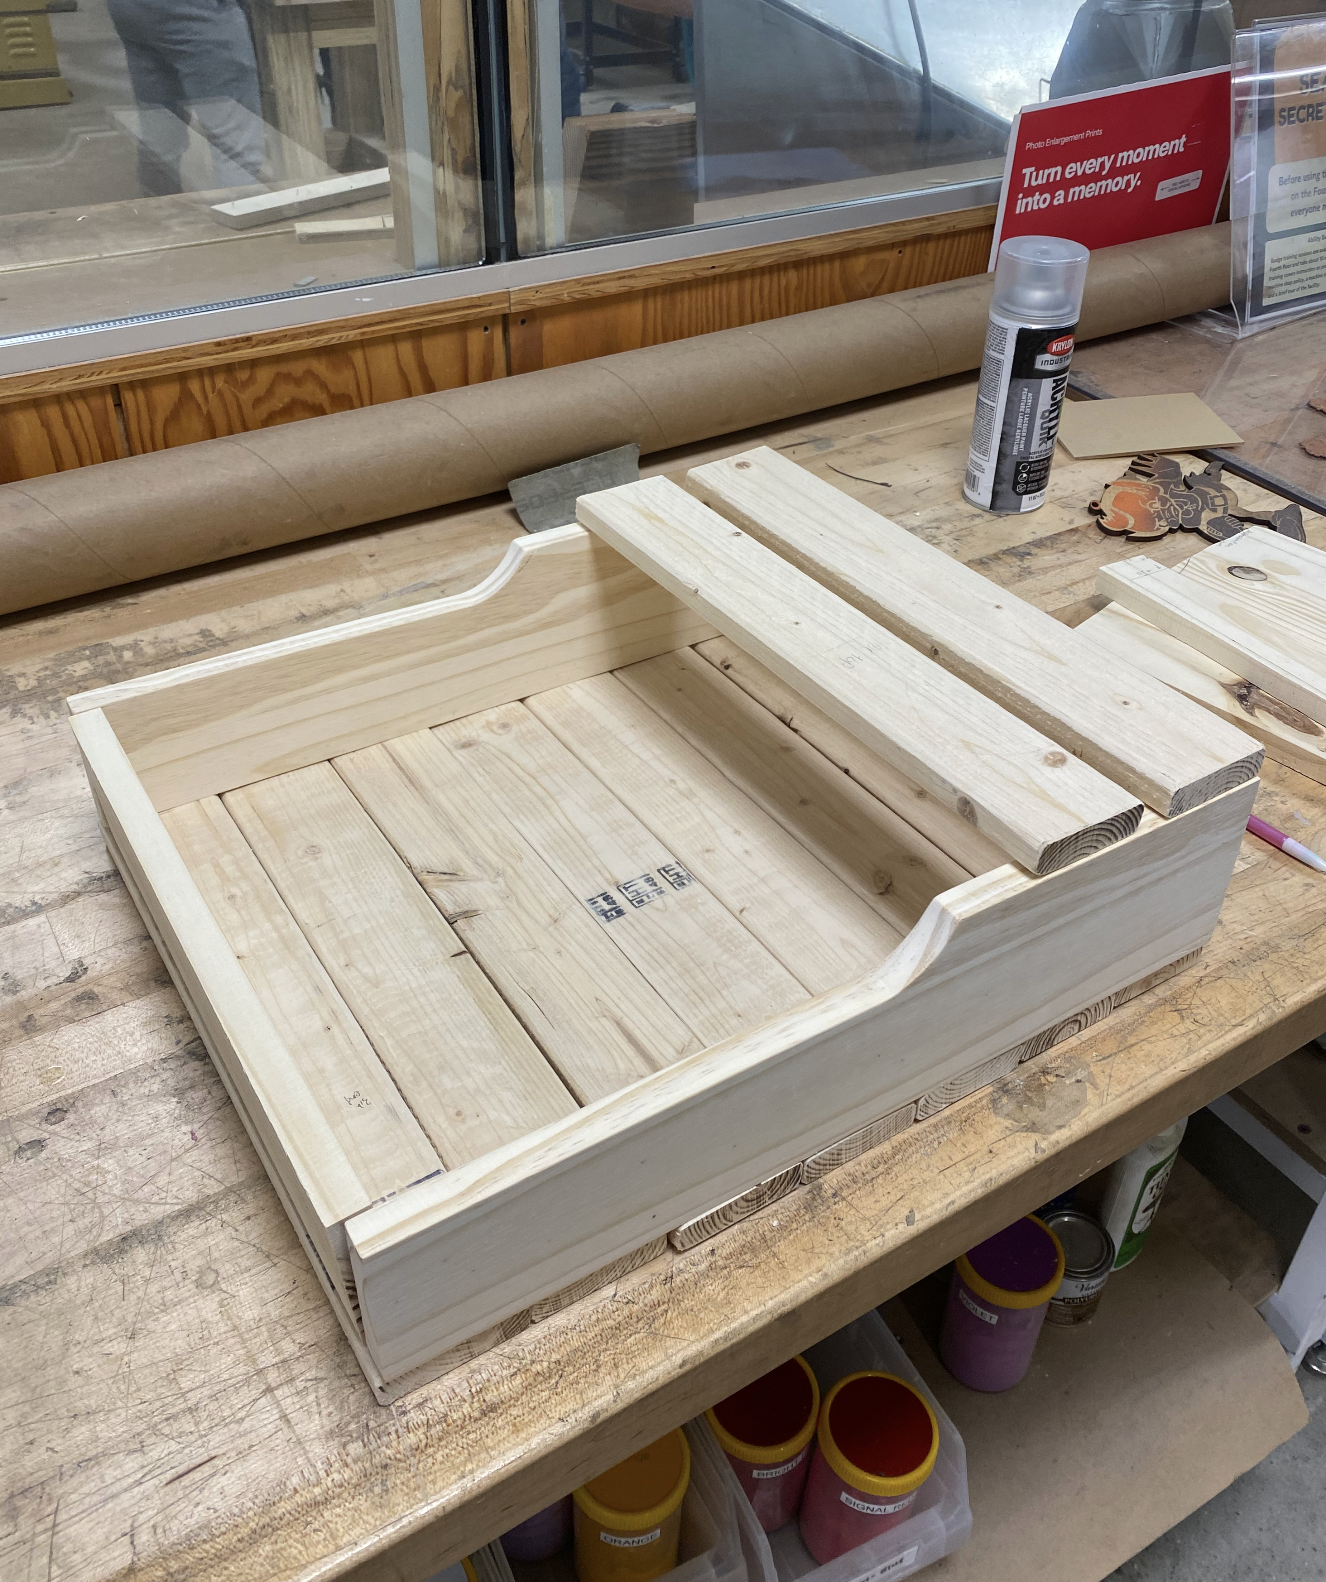
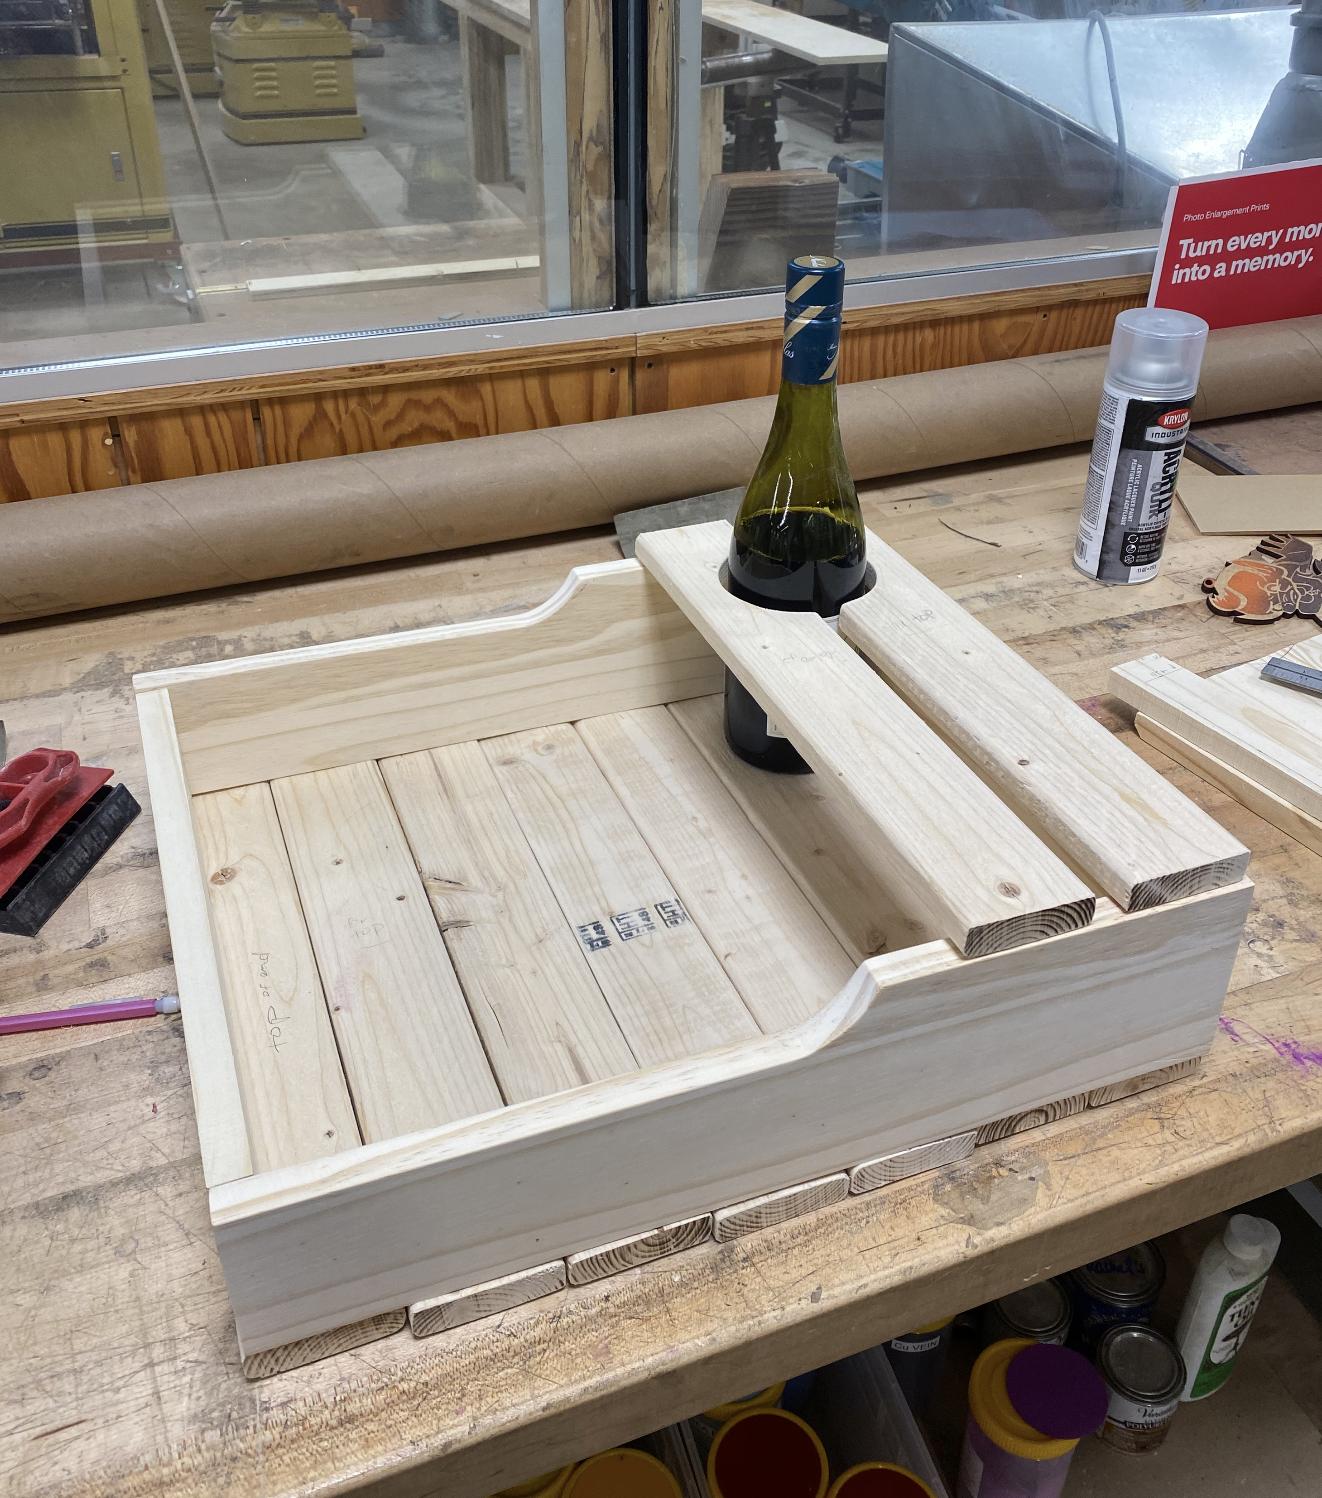
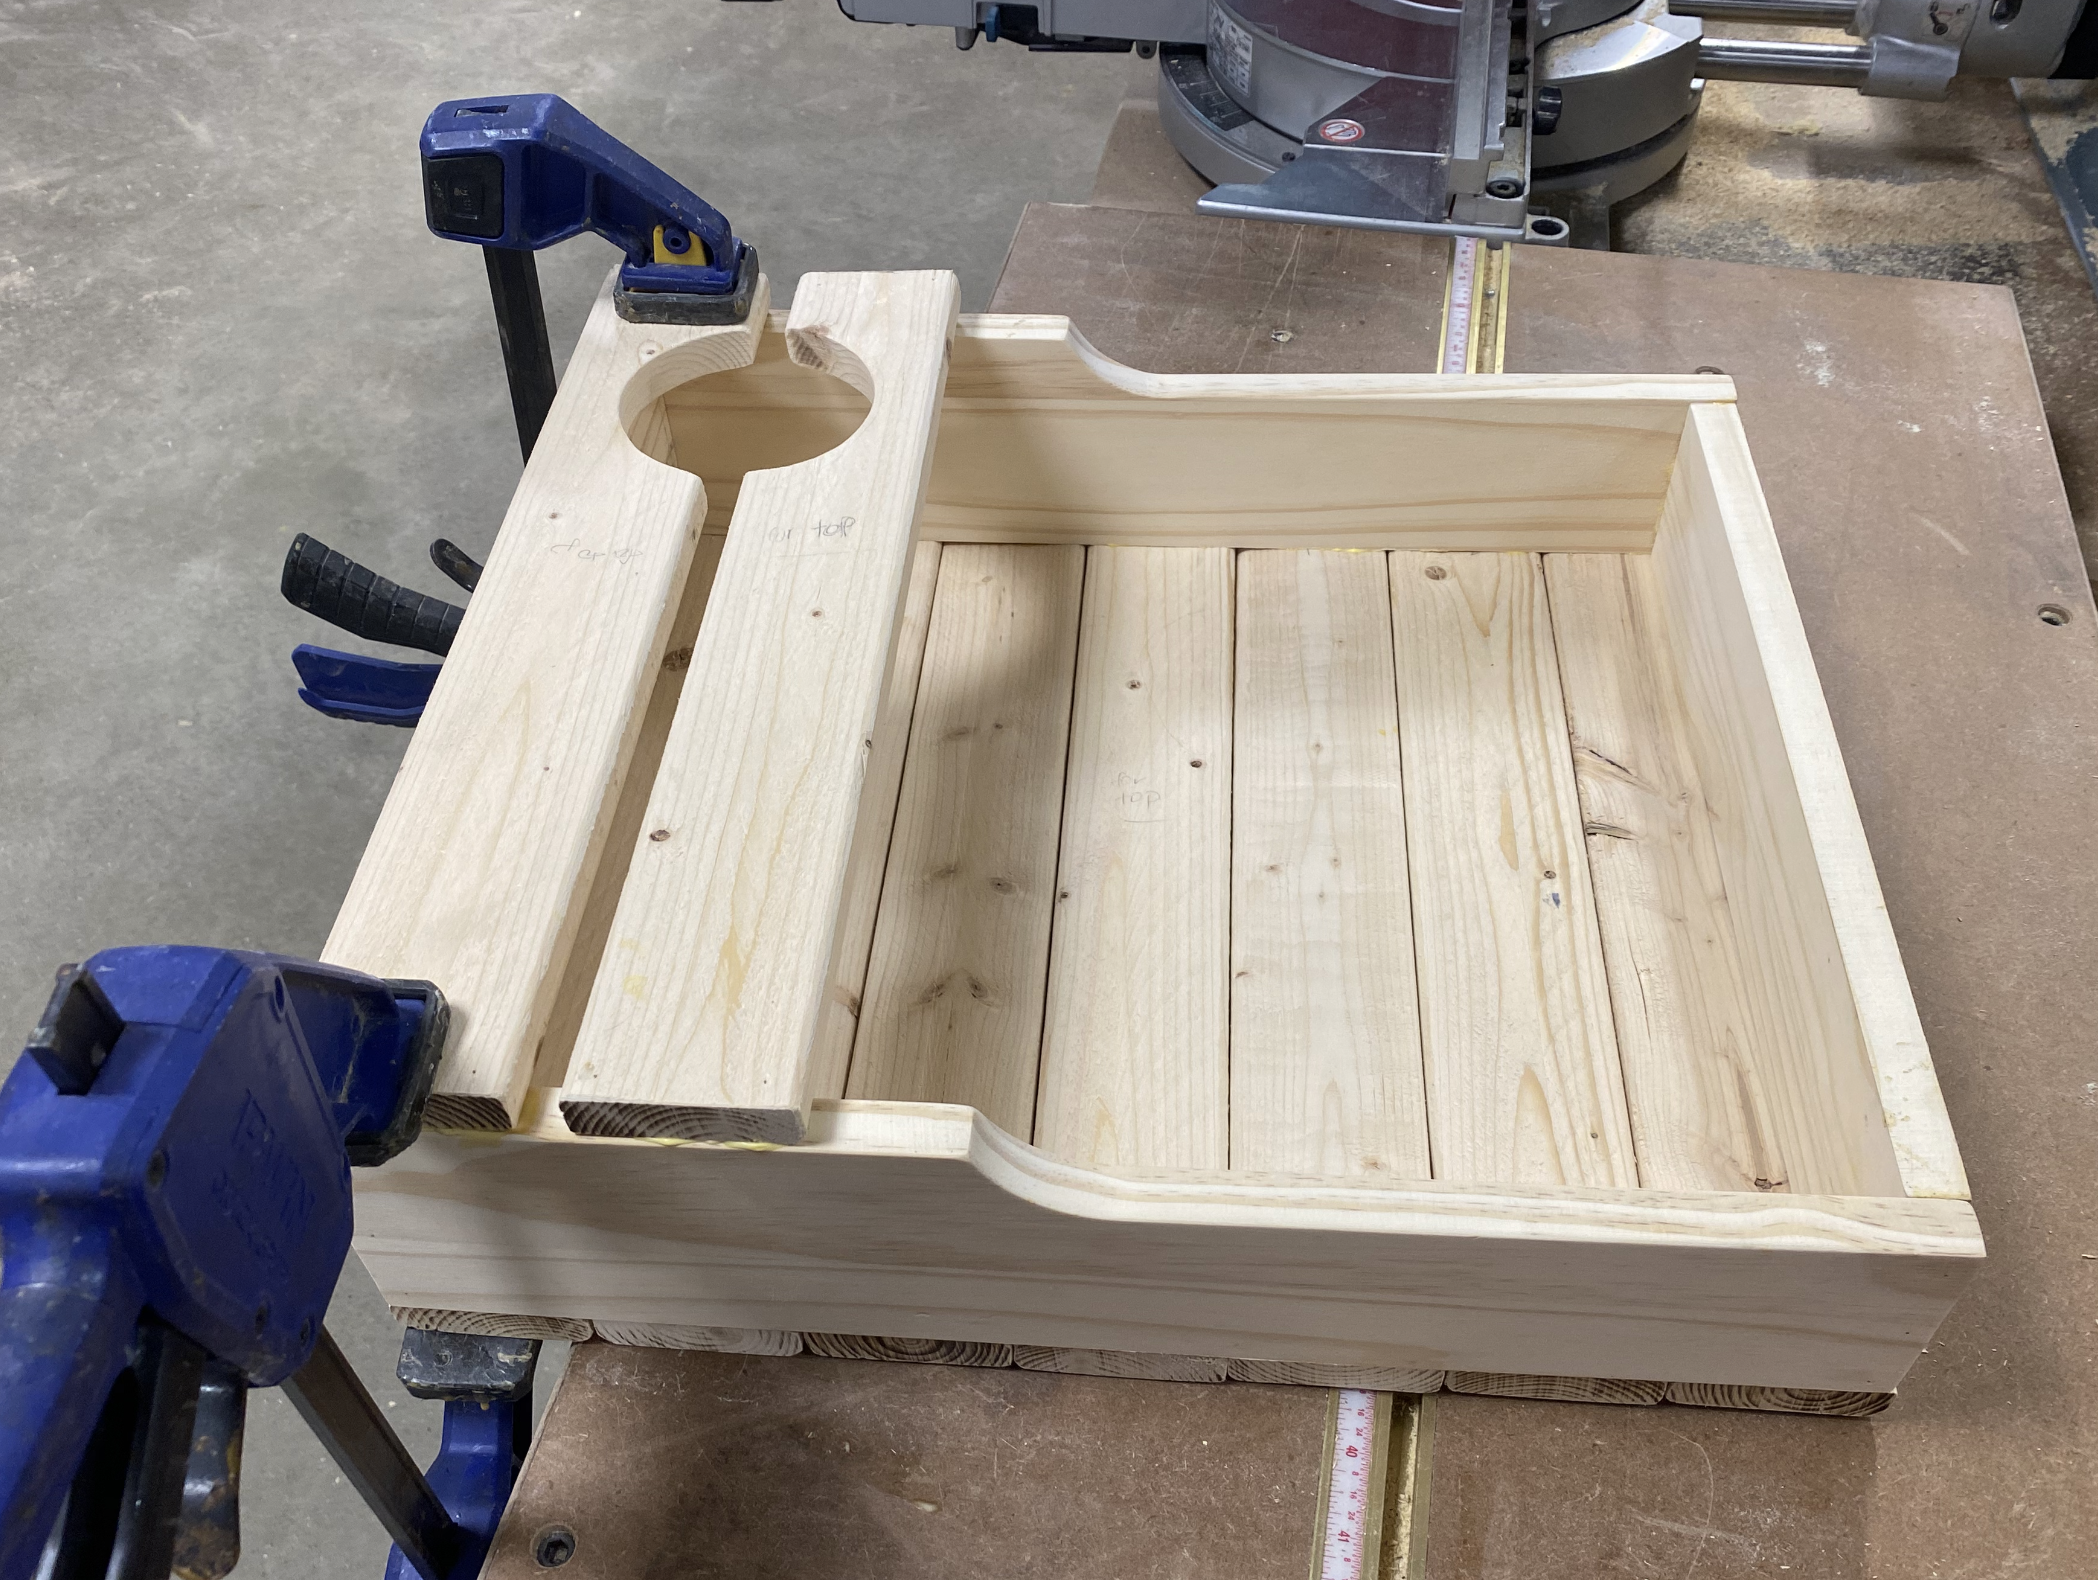
Speaking of Christmas gifts, I made this wine tray for my friend's family. I originally was planning on just making it from some extra softwood I had, but realized quickly that either the tray would be very small, or I wouldn't have enough wood. After talking about it with my favorite teacher, we decided to do the slates on the bottom with some extra pine wood he had. I decided on a depth of 15 inches, and 7 slates on the bottom with a combined legnth of about 17 inches. I cut the slates, and sanded them, trying to make them as even as possible. I remeasured the final length before cutting the two sides and adding in the drop down curves, all using a jigsaw and a variety of sanders. I cut the other two shorter sides as well as the two slates that sat on top for the bottle. Finally, I put together my box and checked for any changes. It looked good so I went forward. I measured a hole in the top, and cut and sanded that. I went through and hand sanded all the pieces, removing any stray splinters, and general getting a good soft feel on them. Using wood glue and a nail gun, I (with help in the beginning) put the outer box together, then added the slates through the bottom, and then the slates on the top. A top piece didn't sit flush, so I clamped it down before adding on handles on each side, making sure that they were level. Once the glue was drive, I did a bit more sanding before I called it a day. When at home, I used some dark walnut stain to finish the piece and filled it with goodies to gift. In hindsight, I definiftely should've sanded more (before I stained it, and before I put the handles on), and I realized later that the tray was too high to have wine glasses sit in it while touching the bottom. That being said, it turned out rather well, and I'm happy with it!
The pictures show the inspiration behind the tray, the pieces all cut out, the hole added (and modeled), the tray glued and clamped, then stained, and finally as a gift!
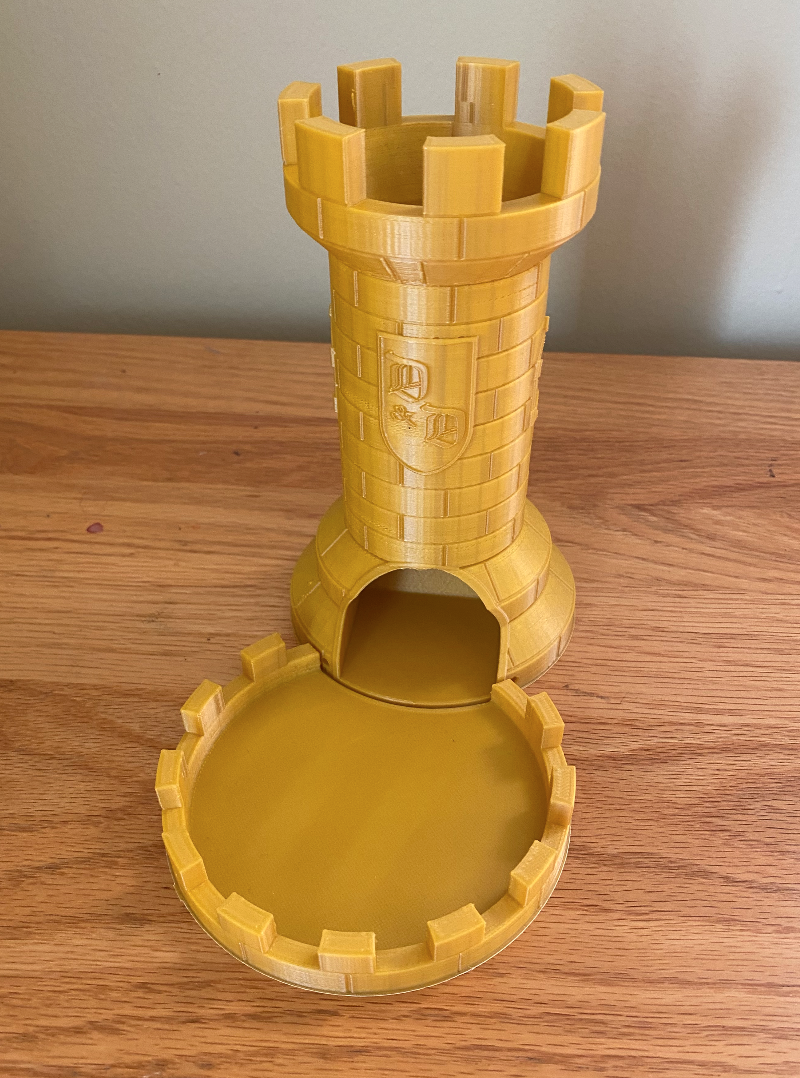
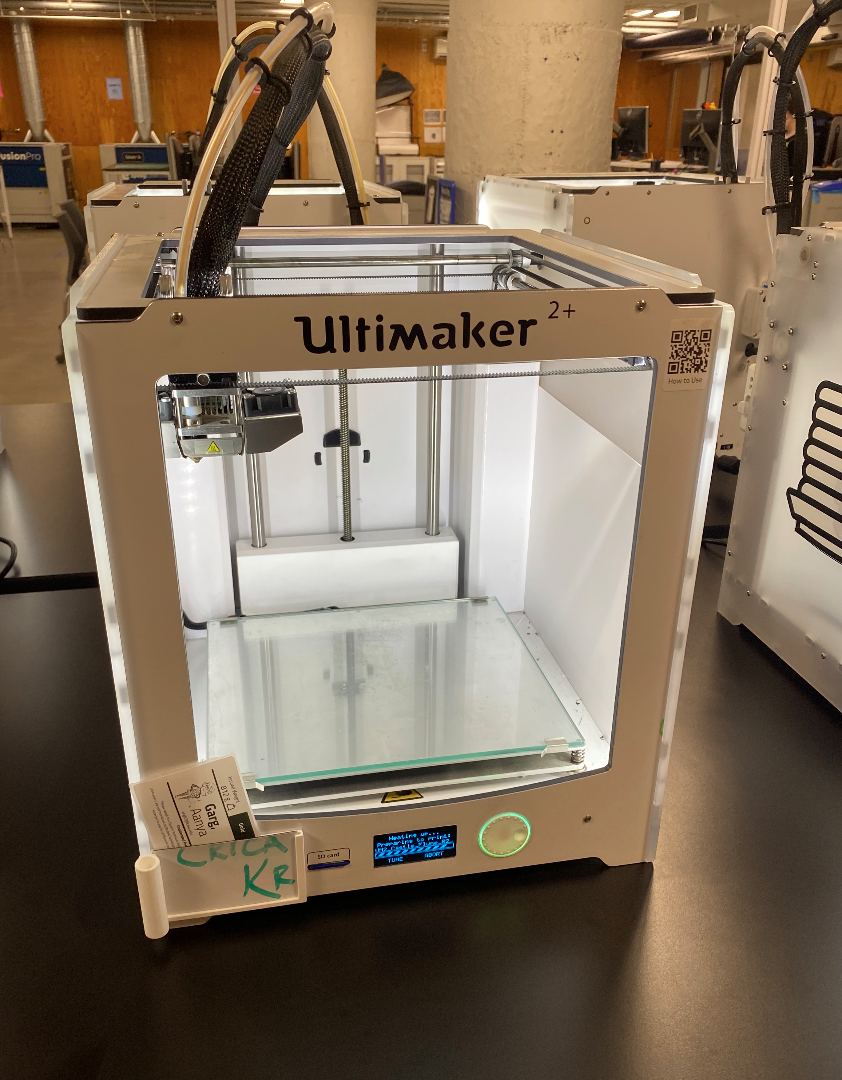
3D Printed Dice Roller: Spring 2023
For my best friend's birthday, I 3D printed her a Dice Roller for Dungeons and Draagons, using a Desktop FDM 3D Printer, in the Prototyping center at the Think[Box] at my university. I was able to find the design online on Thingiverse, and downloaded the STL file. I loaded in the gold filament and played with some of the settings to get the Infill and Support where I wanted it to be. It took about 7 hours to print both parts, and cost about $30 of material, but was covered under the Student Maker Fund provided by the school! I would 3D print something again, but perhaps with their Indutrial FDM or Polyjet Printer for a real prototype. In the future I'd also like to design something myself to 3D print, and play around with the different materials I can use.

Produce Stand: Summer 2024
As usual, my mom wanted something for the house, and I wanted to make it for her. This time she wanted a produce stand for the kitchen made of crates. I found ones from Michaels for $5 a piece, and some basic 1x2 wood pieces from Home Depot. I knocked out some of the slates from the crates to make the stuff stored inside more accessible, and took out any reamining nails. I then cut the 1x2s to size based on the spacing of the crates, and use some simple wood screws to mount them. I used four strips on the corners before conditioning and staining the wood. After I had left, my mom added a two pieces of wood to the bottom, and added wheels to that. This project didn't take very long at all, and my mom is super happy with the product. I think maybe I could've used more durable crates, but I was working on a budget and this work for now!
The pitcures are: The crates and stock 1x2s, the setup I had for cutting the wood (with my trusted hacksaw), and the final product (without wheels).
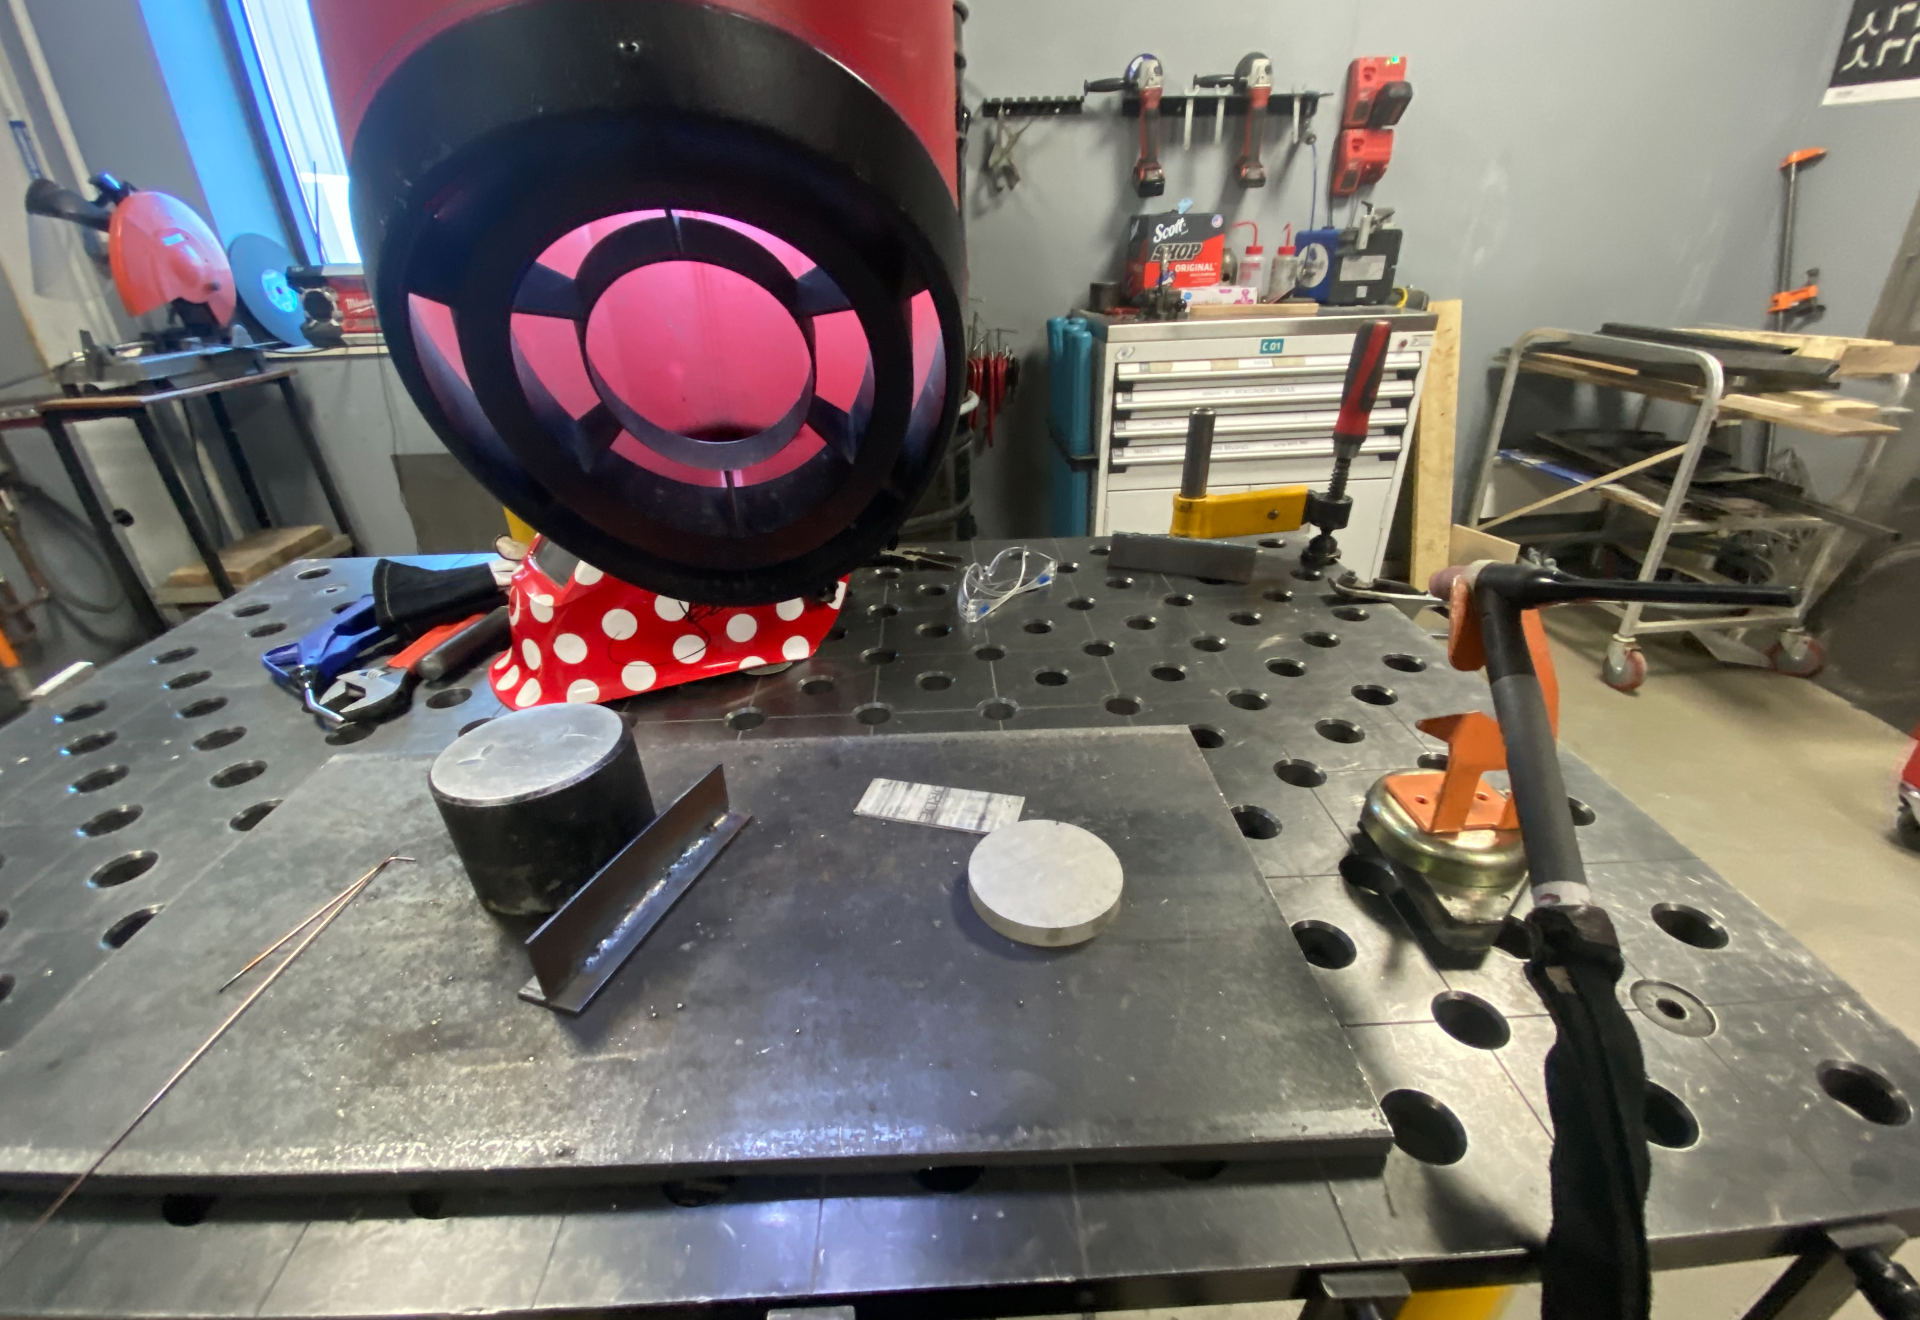
Weld Training
I've recently also been working on being certified to work with different manufacturing machines and methods through my school's Manufacturing and Prototyping Center, the Sears Think[Box]! I've already been certified to work with their lathe, drill press, all their saws and sanders, as well as their CNC laguna. I've also finished both of their Weld training, for MIG(Gas Metal Arc) and TIG(Gas Tungsten Arc) welding. They're a great way to be introduced to the tools that the Think[Box] has and to inspire new projects. I'm looking forward to getting my mill and table saw trainings. The photo to the left is one of the work station in the weld studio provided by Lincoln Electric. Welding is something I never thought I'd have the opportunity to try, and it's very exciting to be able to do it. It's certainly still intimidating, but I look forward to becoming more comfortable with it.
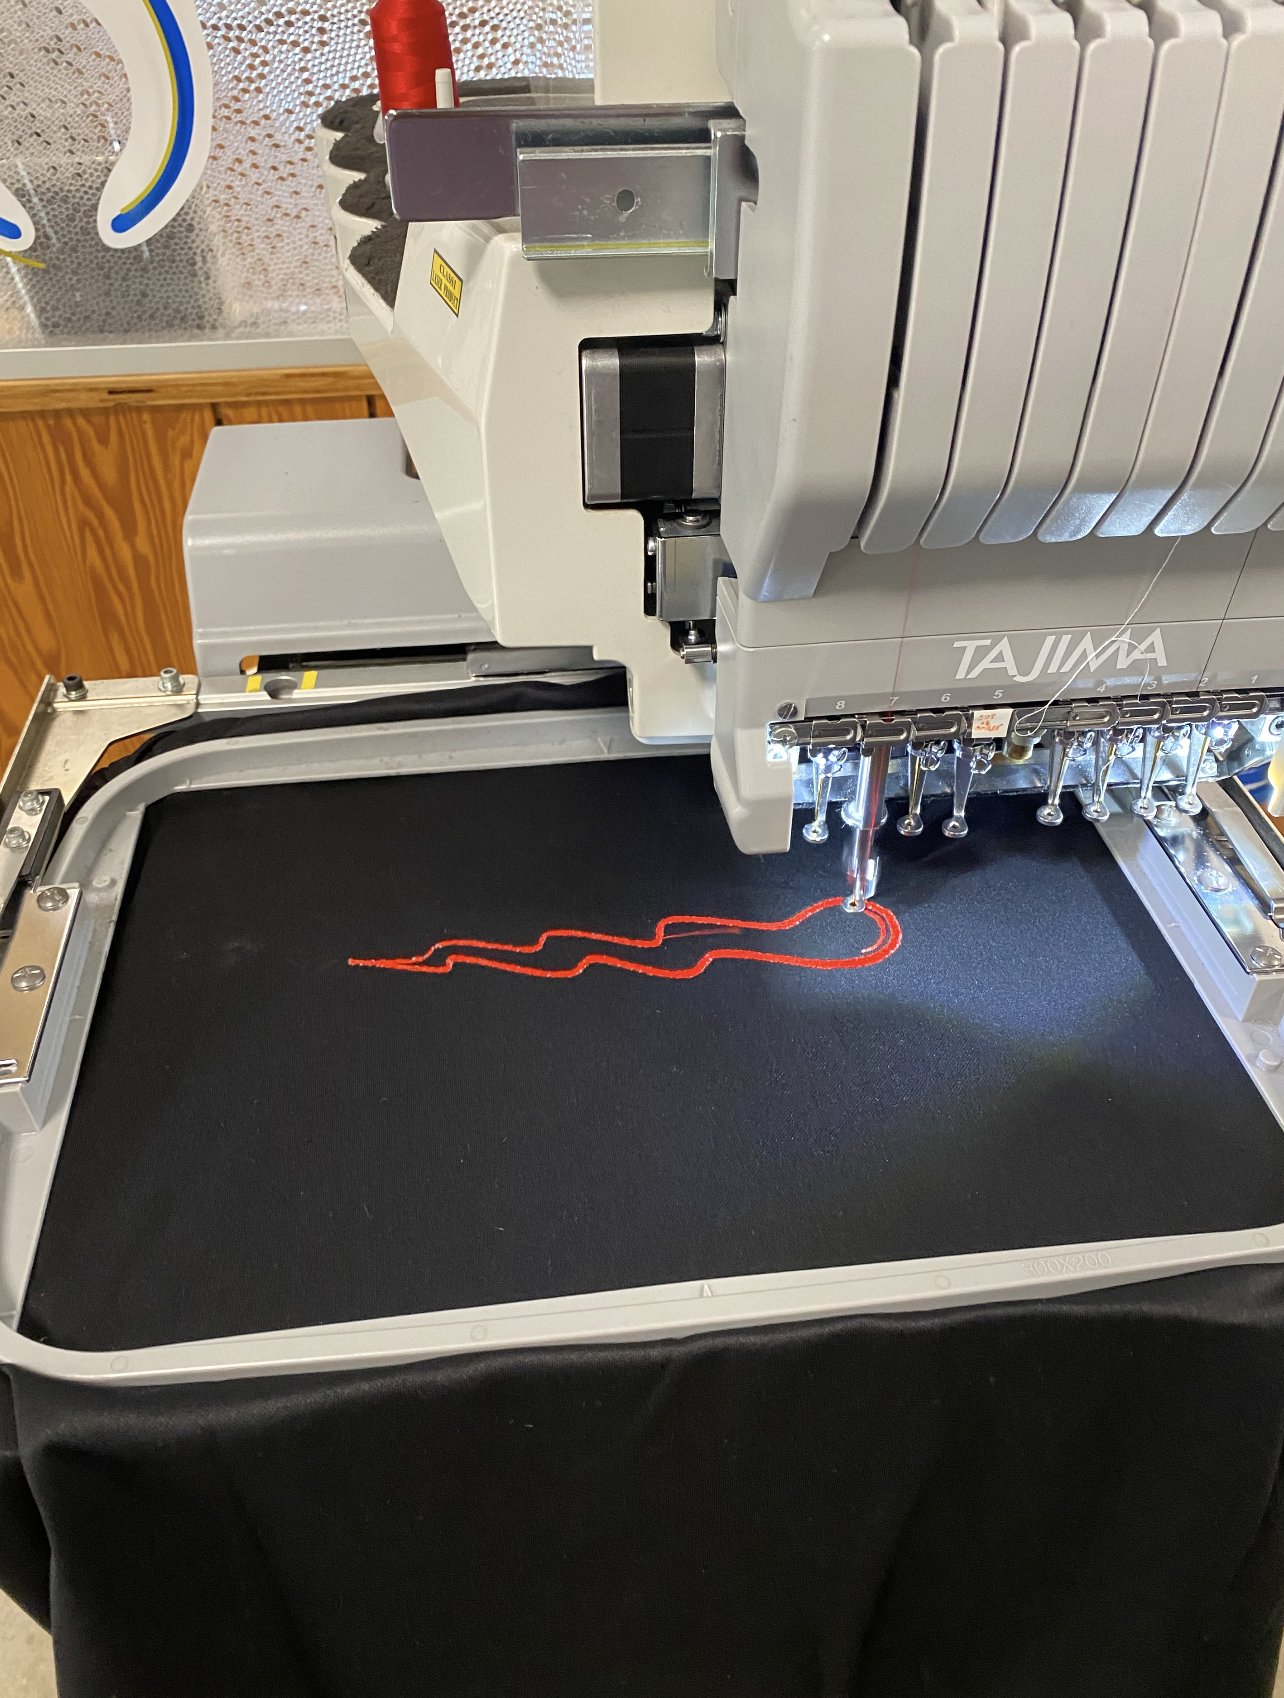
Embroidering: Fall 2023
I've seen the automatic embroidery machine at the Think[Box} before but never had had the opportunity to use it (and there was always a long line for it). When my friend asked me to join her to try it out, I said yes! The process wasn't complicated but it was longer than I had originally thought. The file specifications took a bit to get right, and the program kept deleteing part of my friend's design, which was a bit frustrating. We finally got up to the machine before we were told that the strecht material she picked coupled with the large design might not fare too well. We tried anyways, and learned how to load in the correct color thread before we started the job. It ended up working out alright, but was certaintely not the best quality. The workers told us to try different material, like a regular sweatshirt cotton, or use a different design. I was planning on going back and retrying but the line was over 6 people long, and I certainley didn't have all day to wait in line, so I will try to emborider something for myself in the upcoming months! The picture is our attempt!
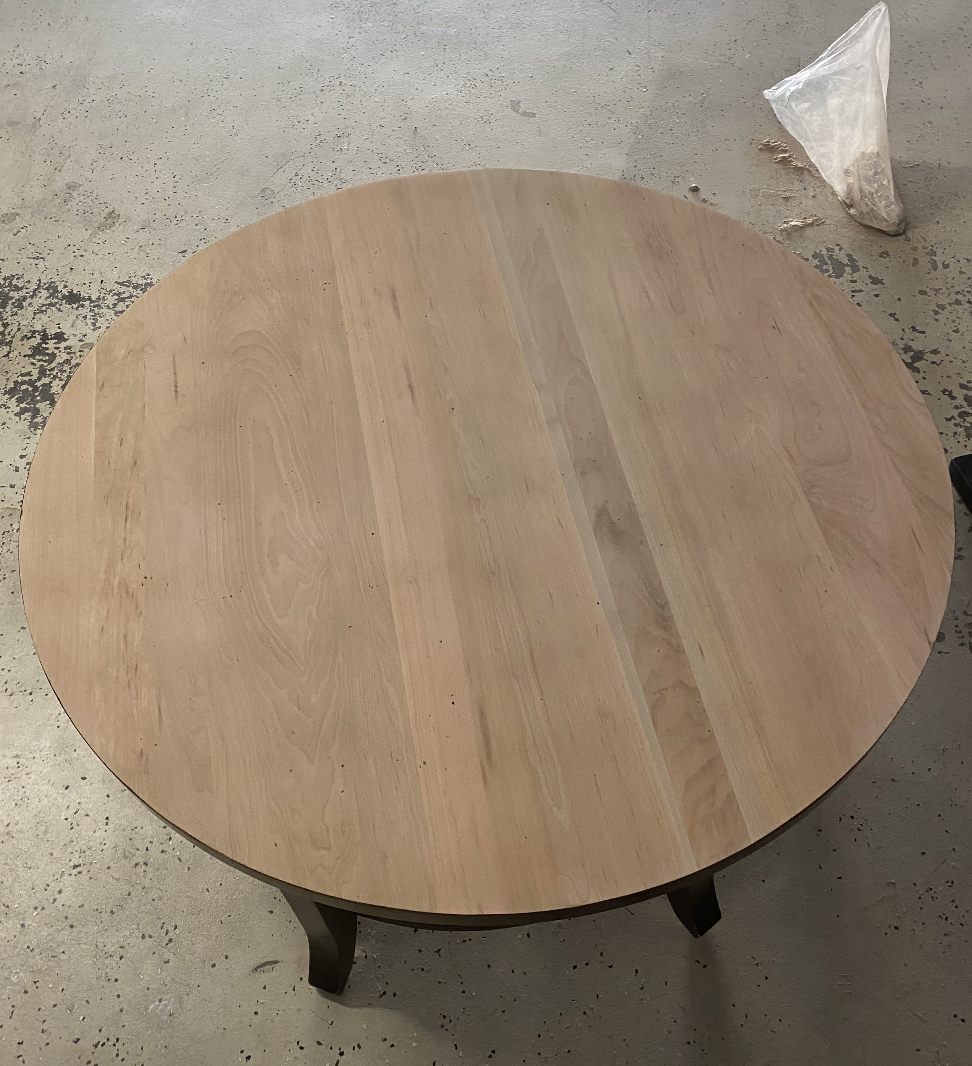
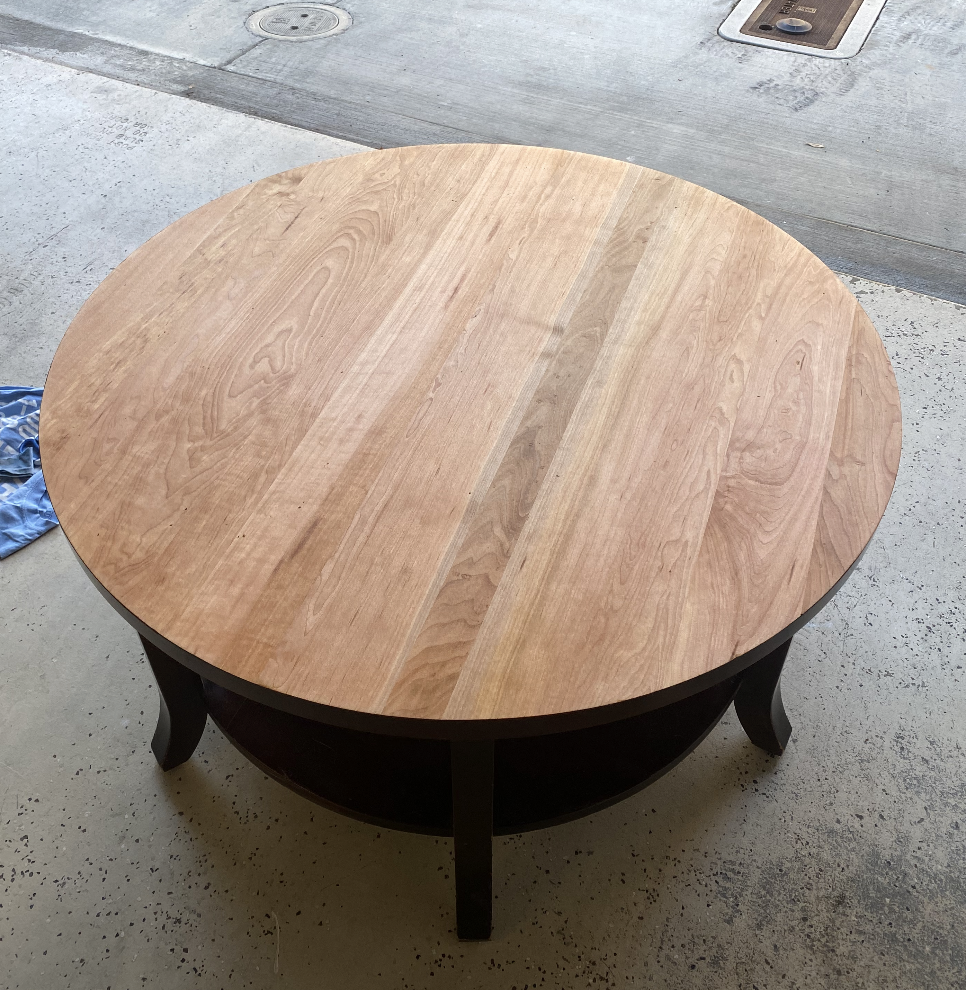
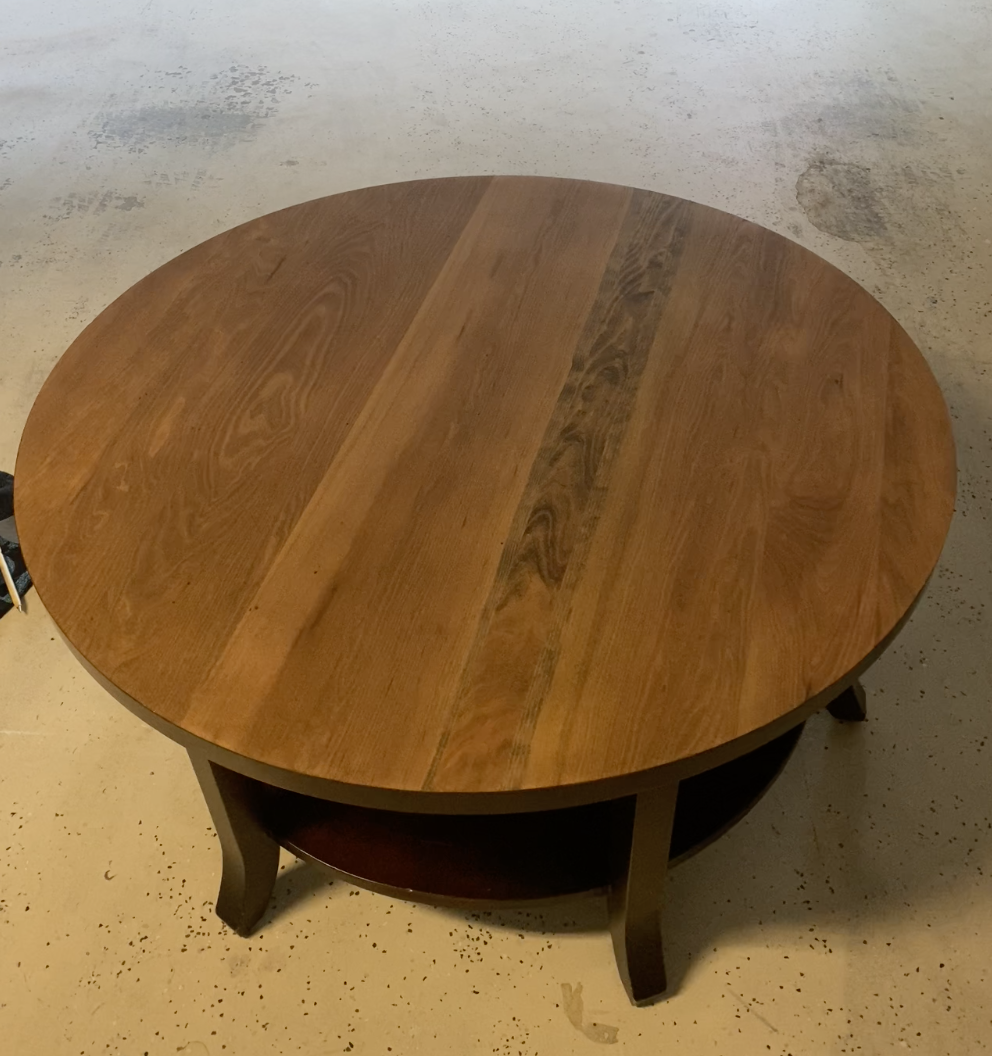
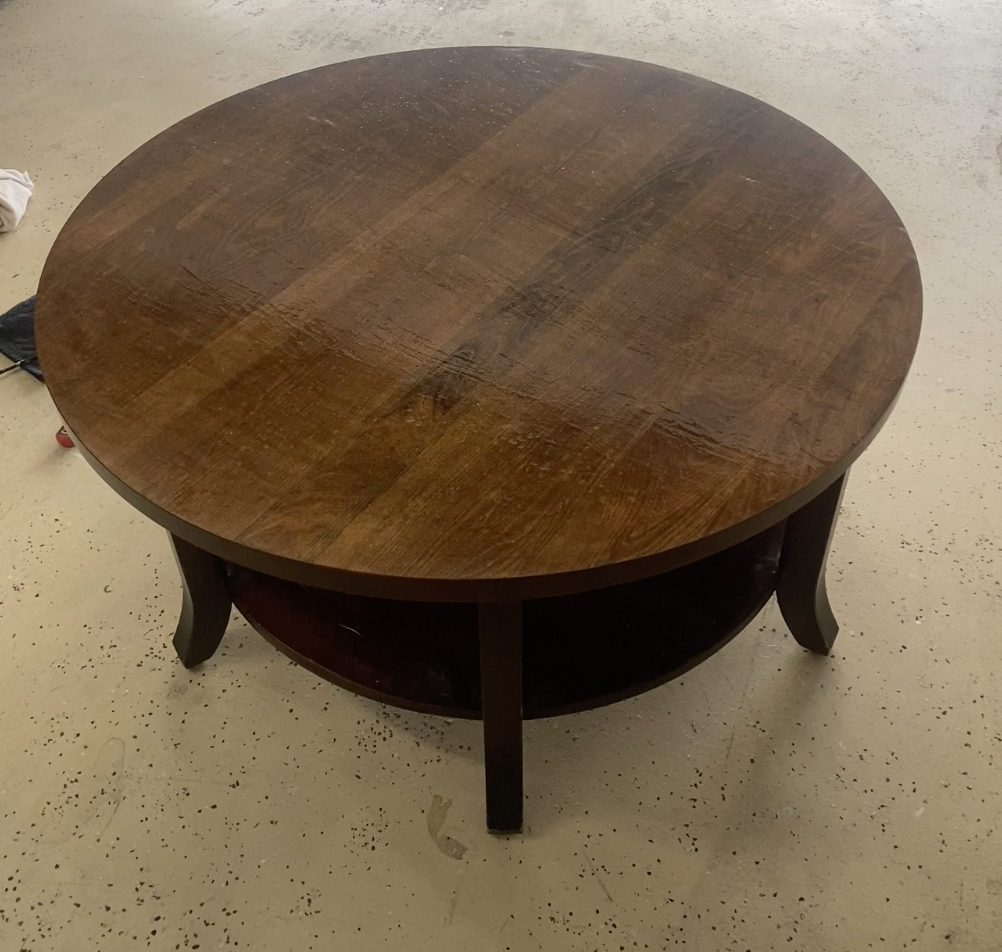
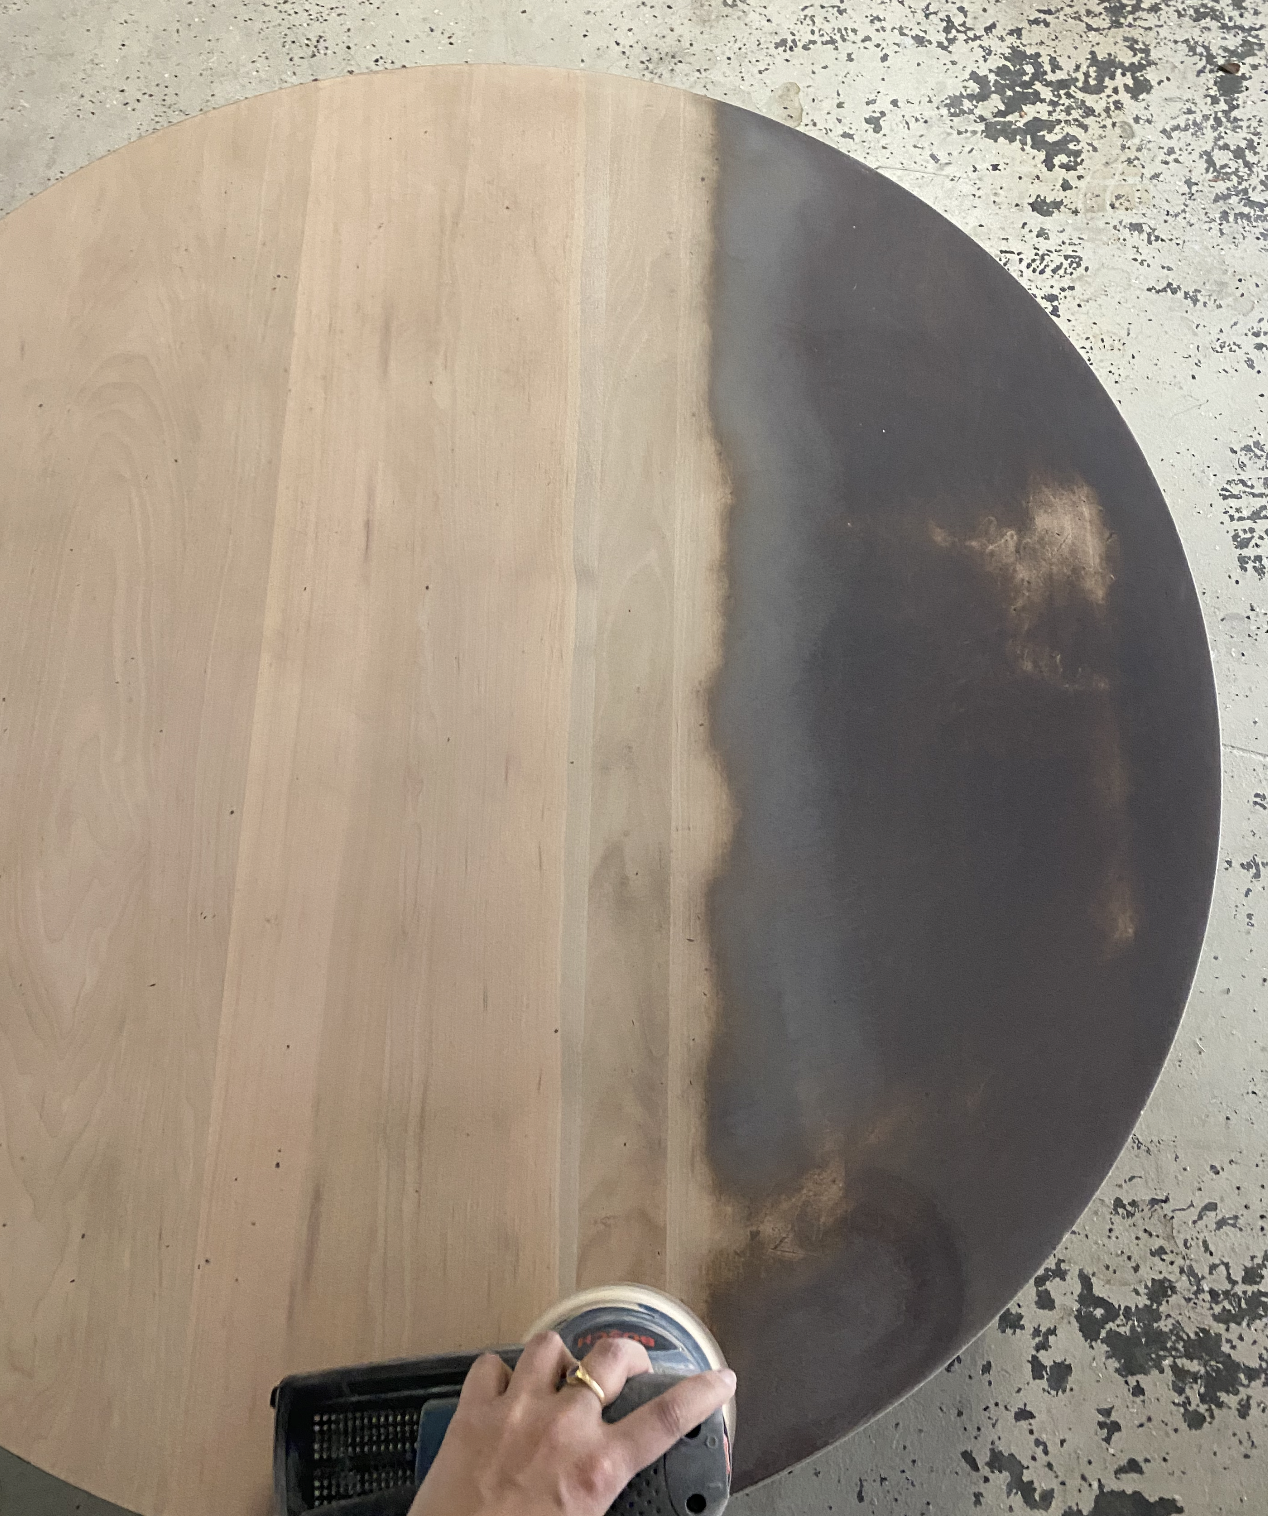
Refinishing Wood Table: Winter 2023
Winter break my mother wanted her coffee table refinished because it had some stains. I started by separating the top from the base for easy transport by removing a series of screws under the table. Then I sanded the top surface completely down, going from 80, 100, 180, and then 220 grit. The wood felt and looked nice, so I conditioned the wood with some pre stain. After letting that dry, I hit it with three coats of dark walnut stain (with proper drying times of course) to try to match it to the rest of the body's color. I then hit it with three coats of a polyurethane top sealant coat (of which I applied the first coat in the wrong direction causing some weird light streaking), sanding lightly with 220 grit in between to remove any extra or bubbling. Next time, I would sand in a better ventilated area with a mask for safety and health purposes, and be more careful with the top coat. Overall, I'm very happy with how the table looks and so is my mom! Seeing the natural wood grain come out and shine through was very fun!
The pictures show the table mid-sand, completely sanded (with a bag full os sawdust behind it), conditioned, stained, and then sealed!
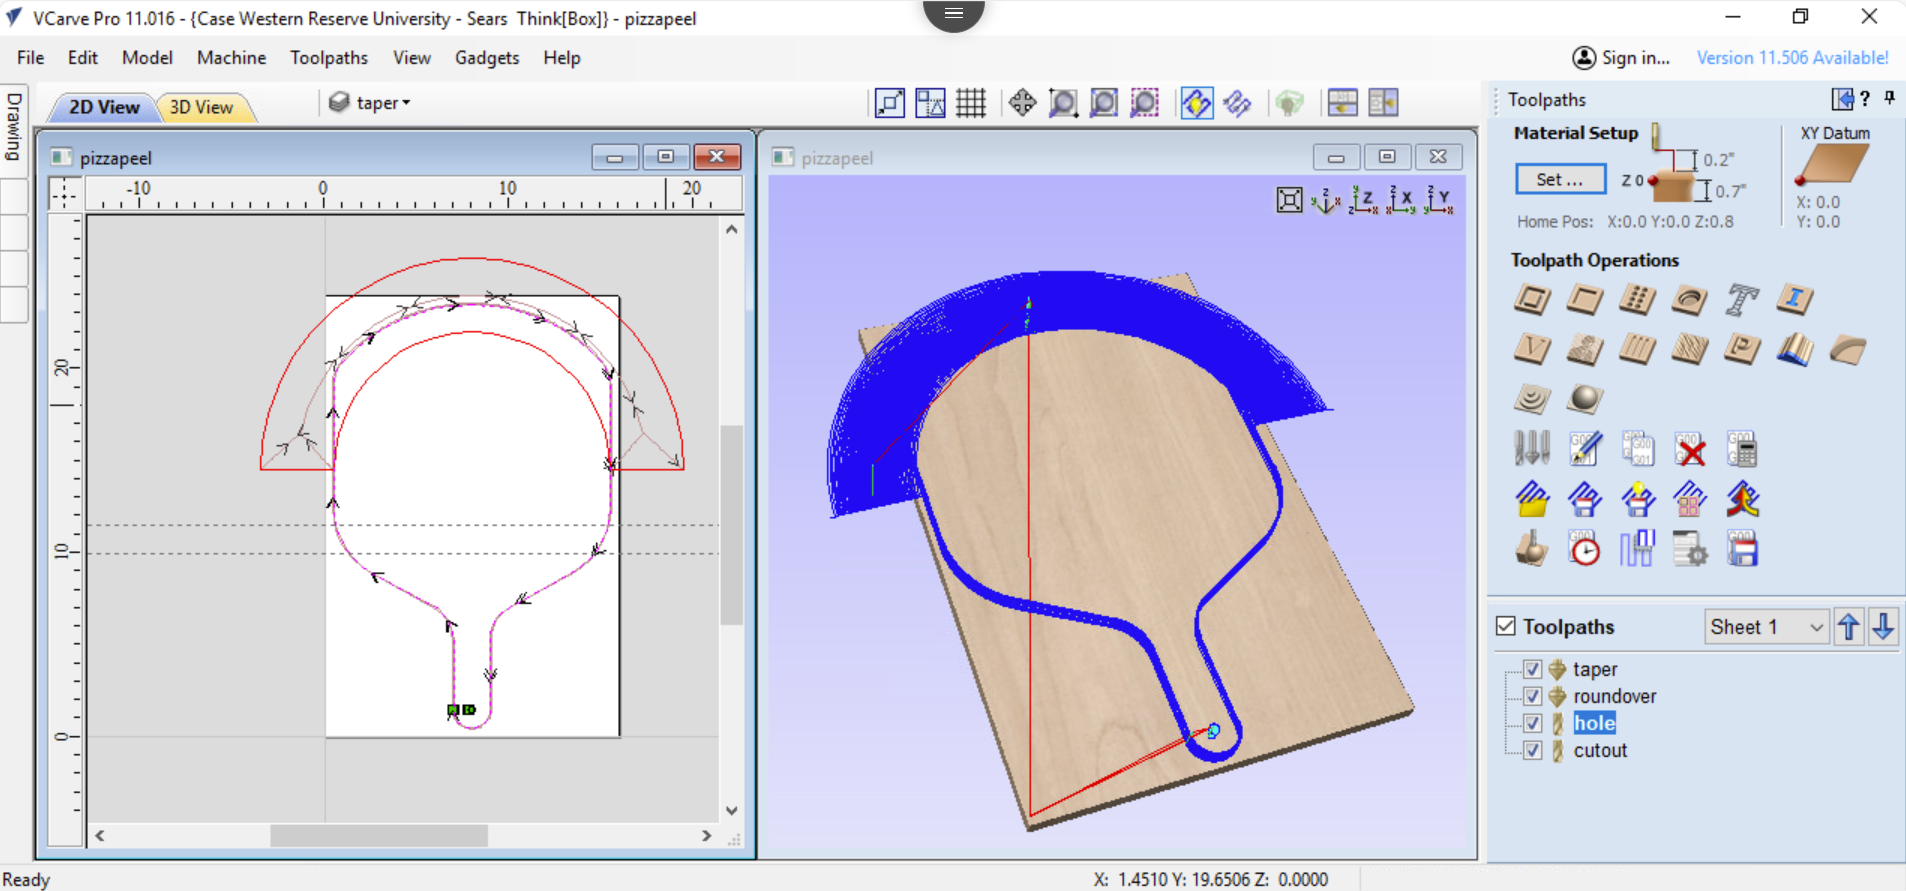
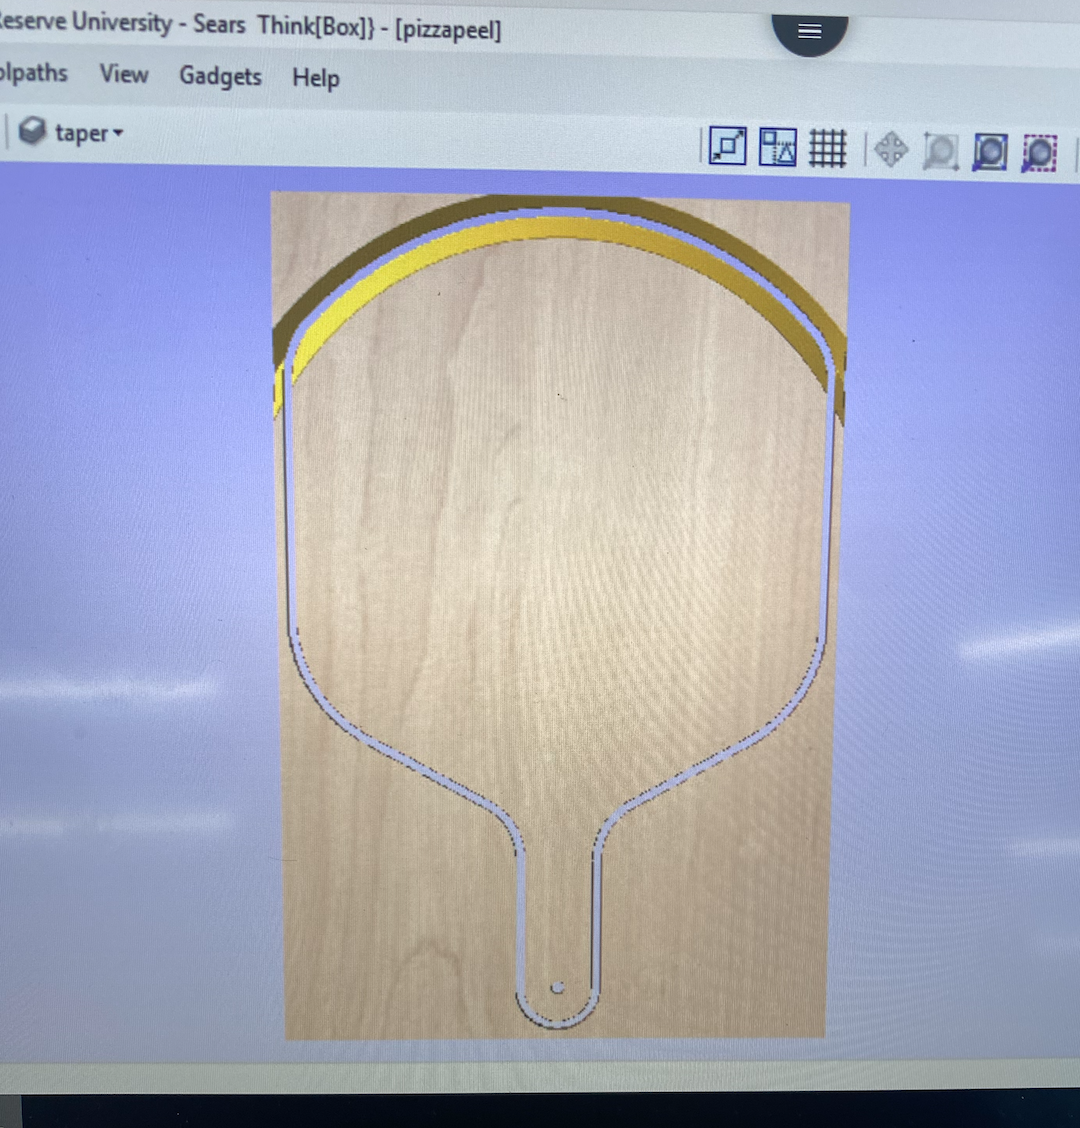
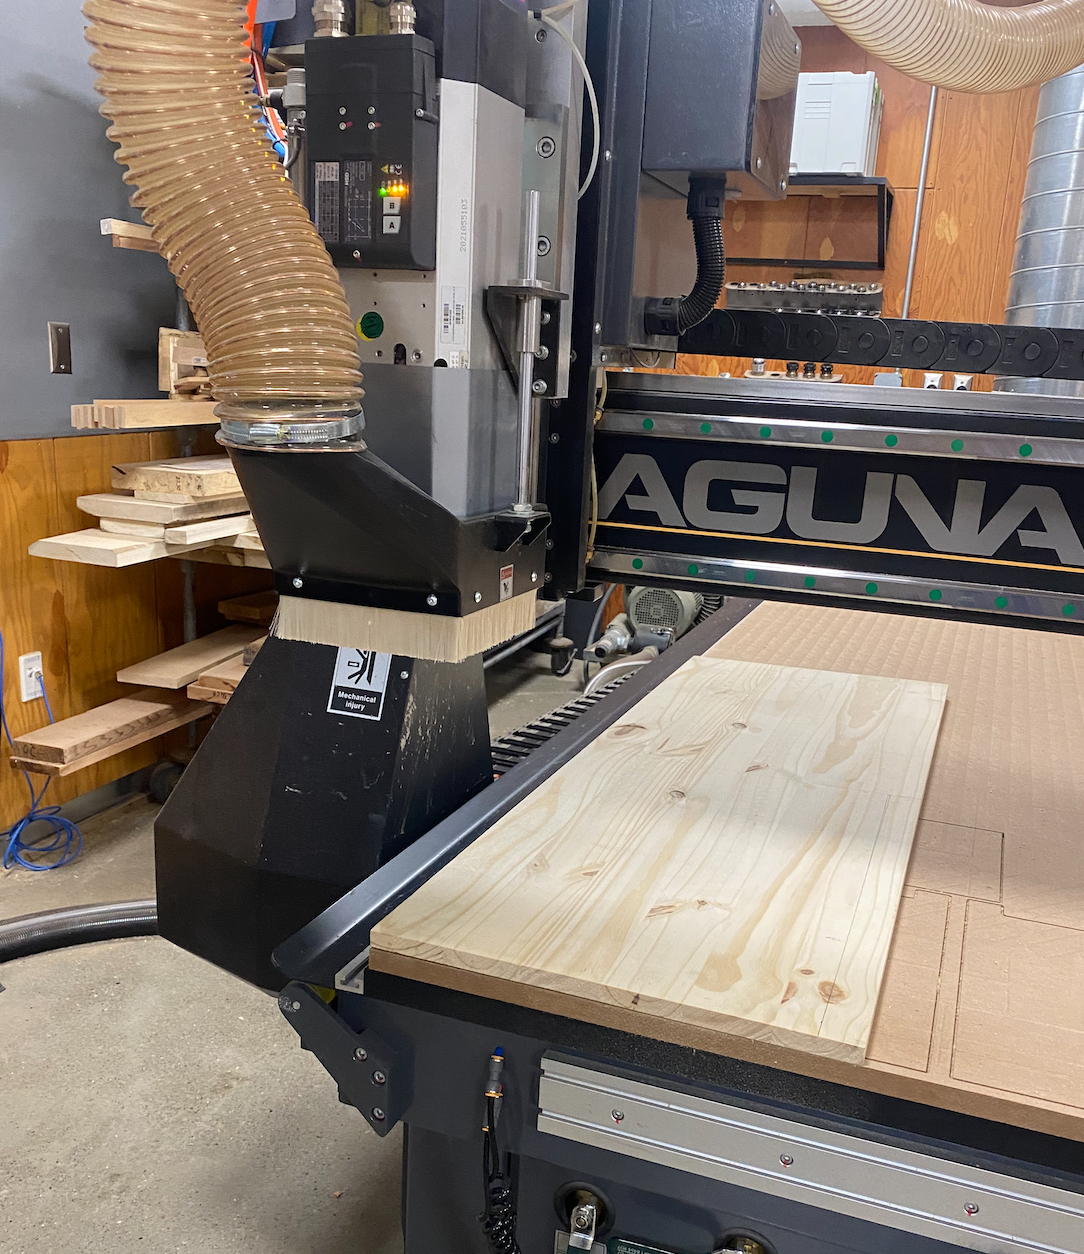
Pizza Peel: Fall 2023
Originally I was just going to make the part in Solidworks and then make it by hand using the jigsaw and various sanders to make it look like the model I had created, and then I realized I could make a model in VCarvePro, and use that to make the shape of it. So I look up a youtube tutorial and followed that and created a pretty basic version of a pizza peel with curved edges, a hole for hanging and a tapered edge. I bought a piece of hardwood for about $20, and went into the ThinkBox the next day to see how I could use the CNC Laguna to carve my piece. First, I checked my part with a worker, and we spent about an hour going over the part, the drill bits it needed, some of which we didn't have, and how to make the taper better. A worker helped to change the edge to a chamfer instead, though it was more steep than I had hoped. We played around with those settings, inside vs outside and which direction but we finally got it. I also had to edit the thickness of the piece to make sure the laguna didn't cut into the machine bed, but did cut through the piece entirely. Additionally, I had to change a setting to make sure the job started from the material bed and not the surface per the settings of the machine. Then, we went over to the laguna and got my piece of wood situated. I thought I was going to have to cut it since my wood piece was 18 inches by 48 inches and I wanted to start with a 16 inches by 24 inches piece. Since I had already specificed that in VCarve though, I didn't actually have to cut it for the piece to cut correctly. However, the hardwood piece wasn't flat, so the vacuum seal didn't hold it down correctly, so we tried to drill it into another piece of wood and vacuum seal that. That worked for most of it, but just at the end, the seal let go and the piece moved, causing the drill bit to go off course. Thankfully it didn't ruin the part and I just need to finish it by hand - fully cutting it out, smoothing out the sides, making the chamfer smoother, and adding food safe oil! I had some problems with the drill bits, since the ones I had seen, we just didn't have on hand, but it's nothing I couldn't fix myself with some sanding. I also now really understand the importance of having a good seal, even the smallest piece of wood can cause a bad seal, and your piece could shift mid job, like mine did. The pictures are the first rendering of the peel, a redid chamfer, the board on the laguna bed, it being cut out, and the final product at the end of day 1.
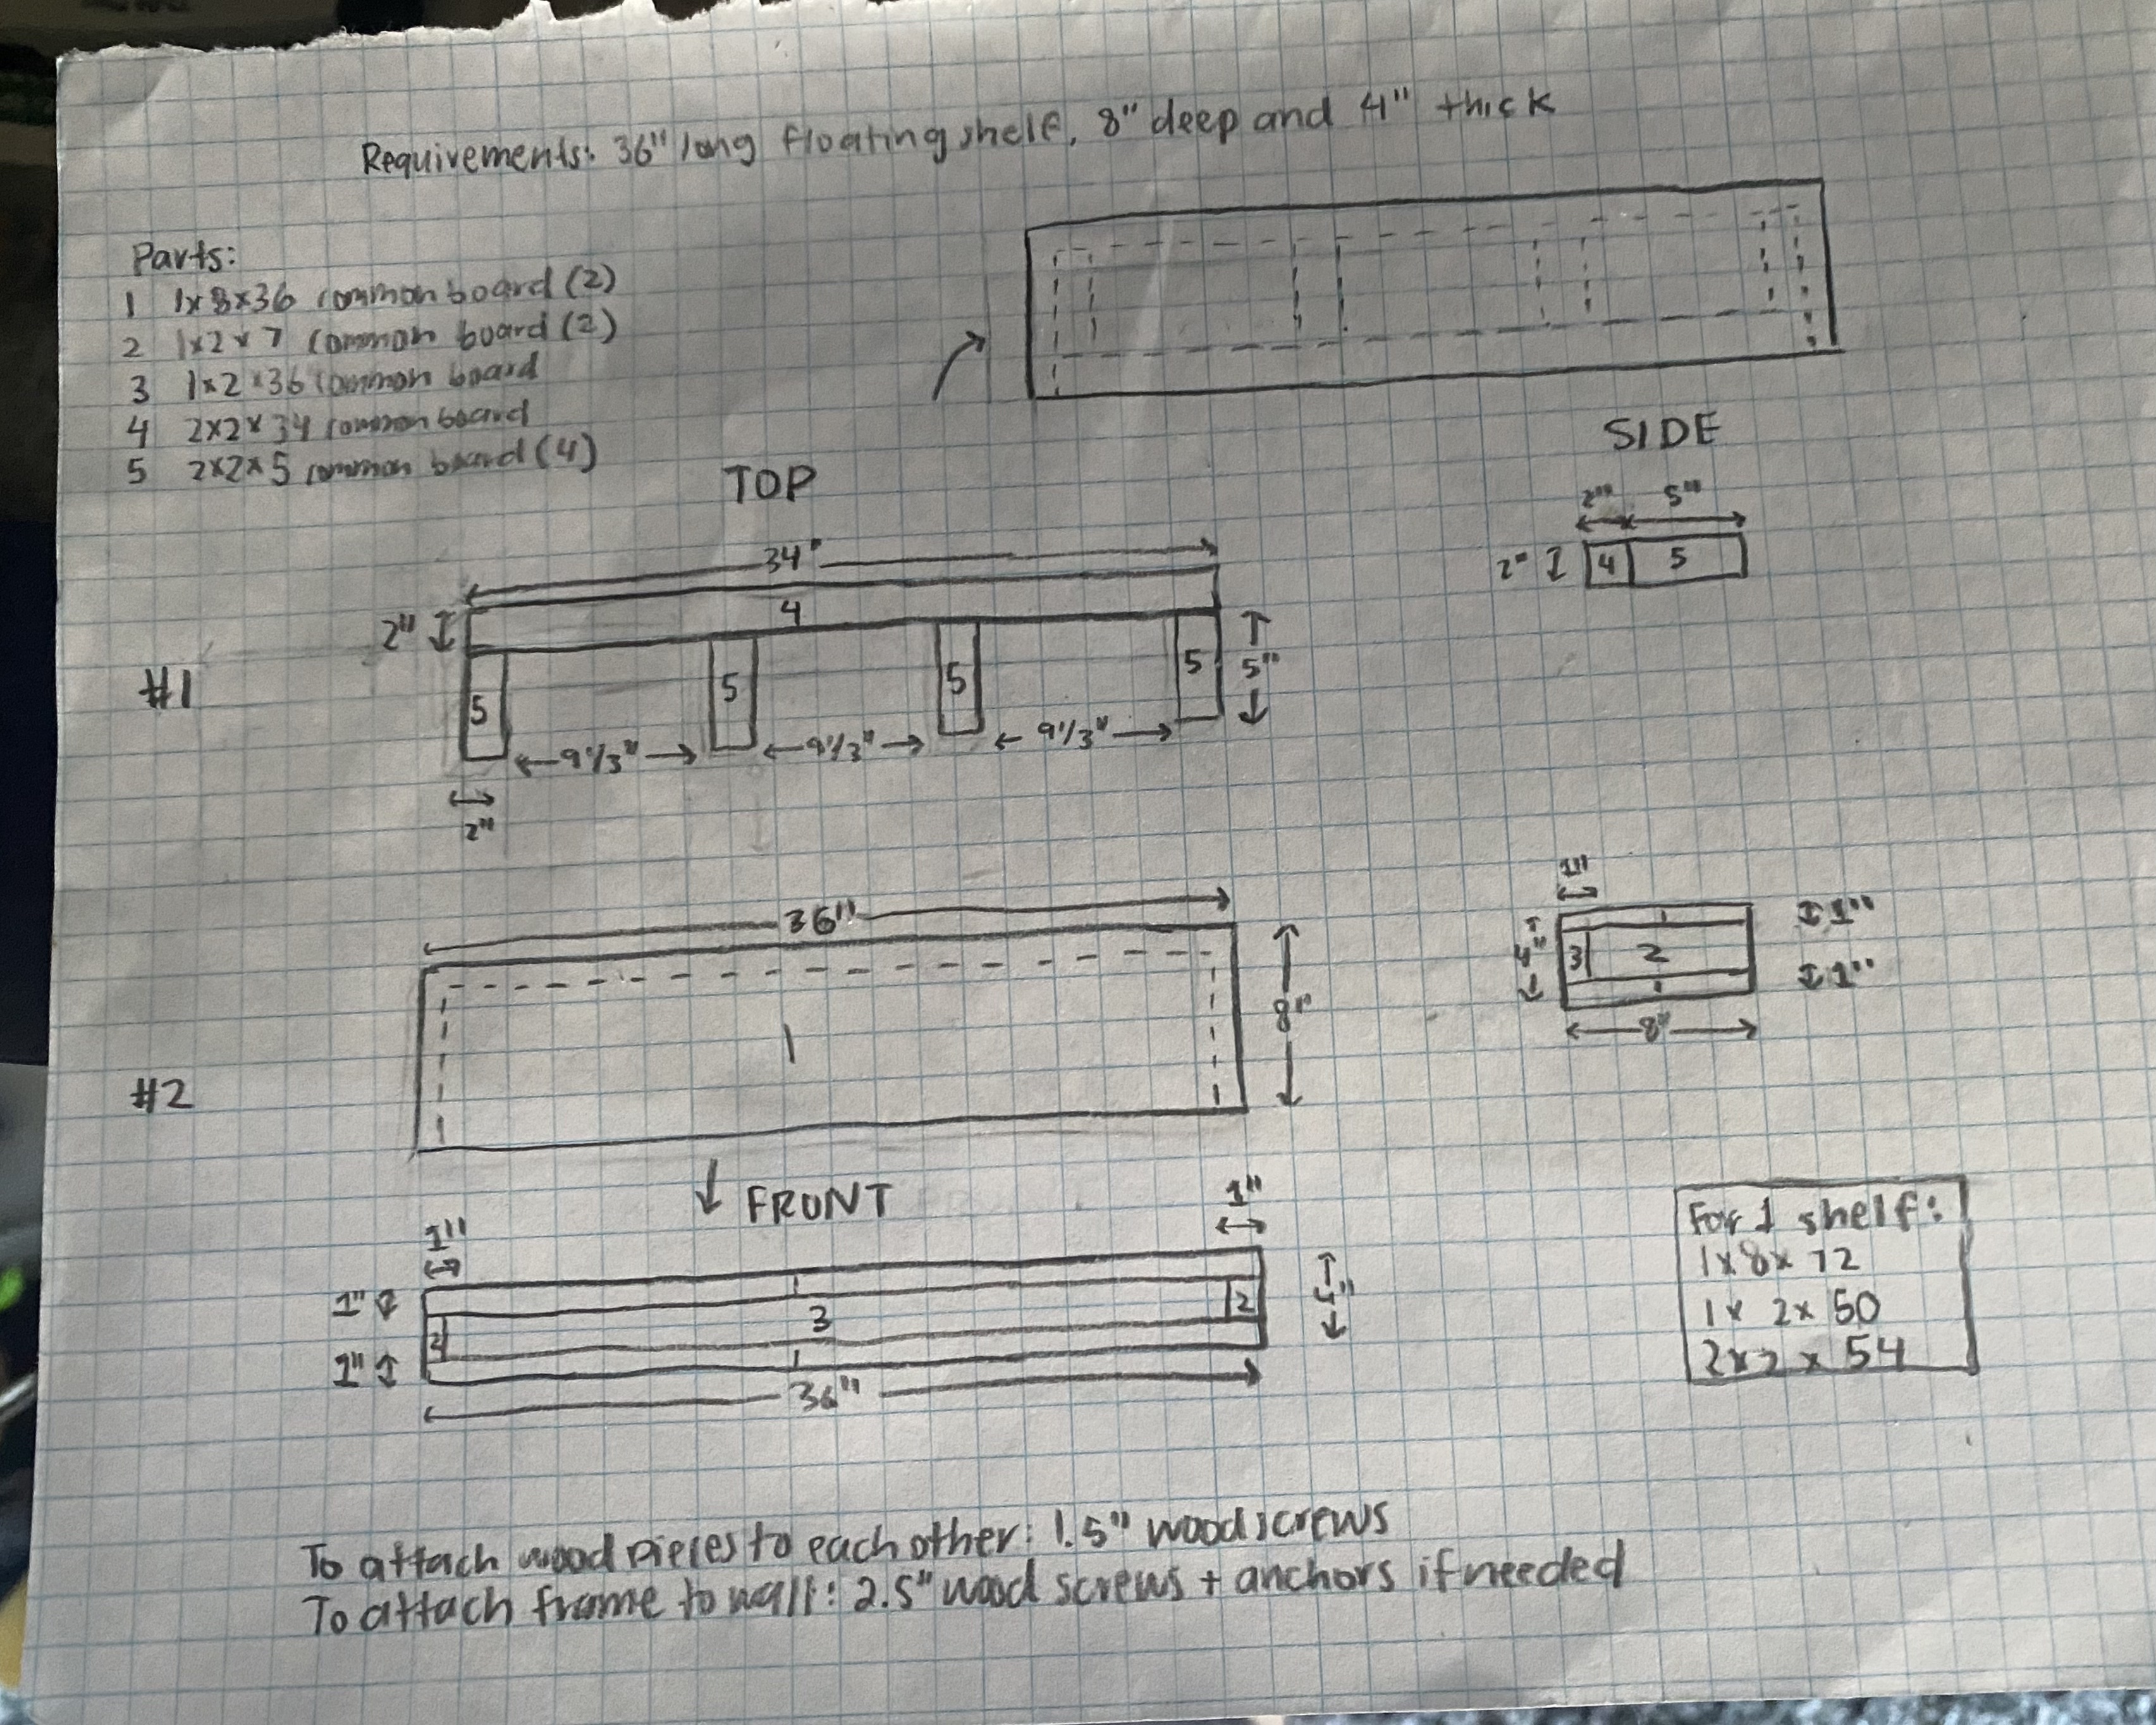
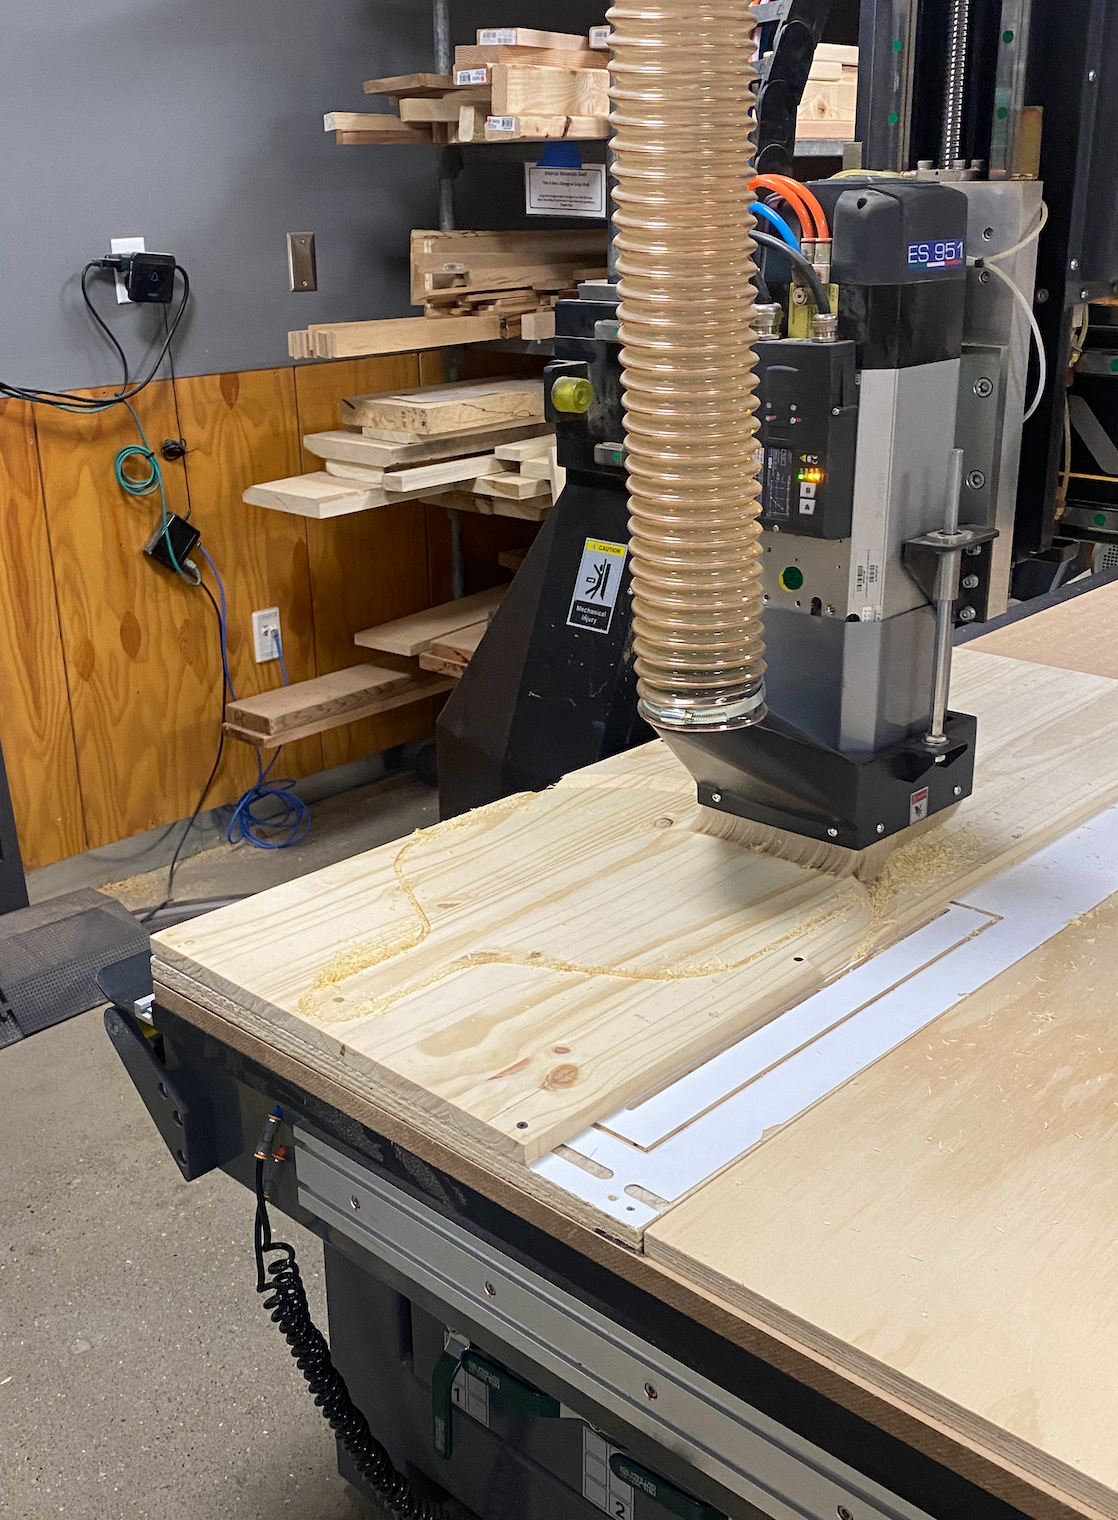
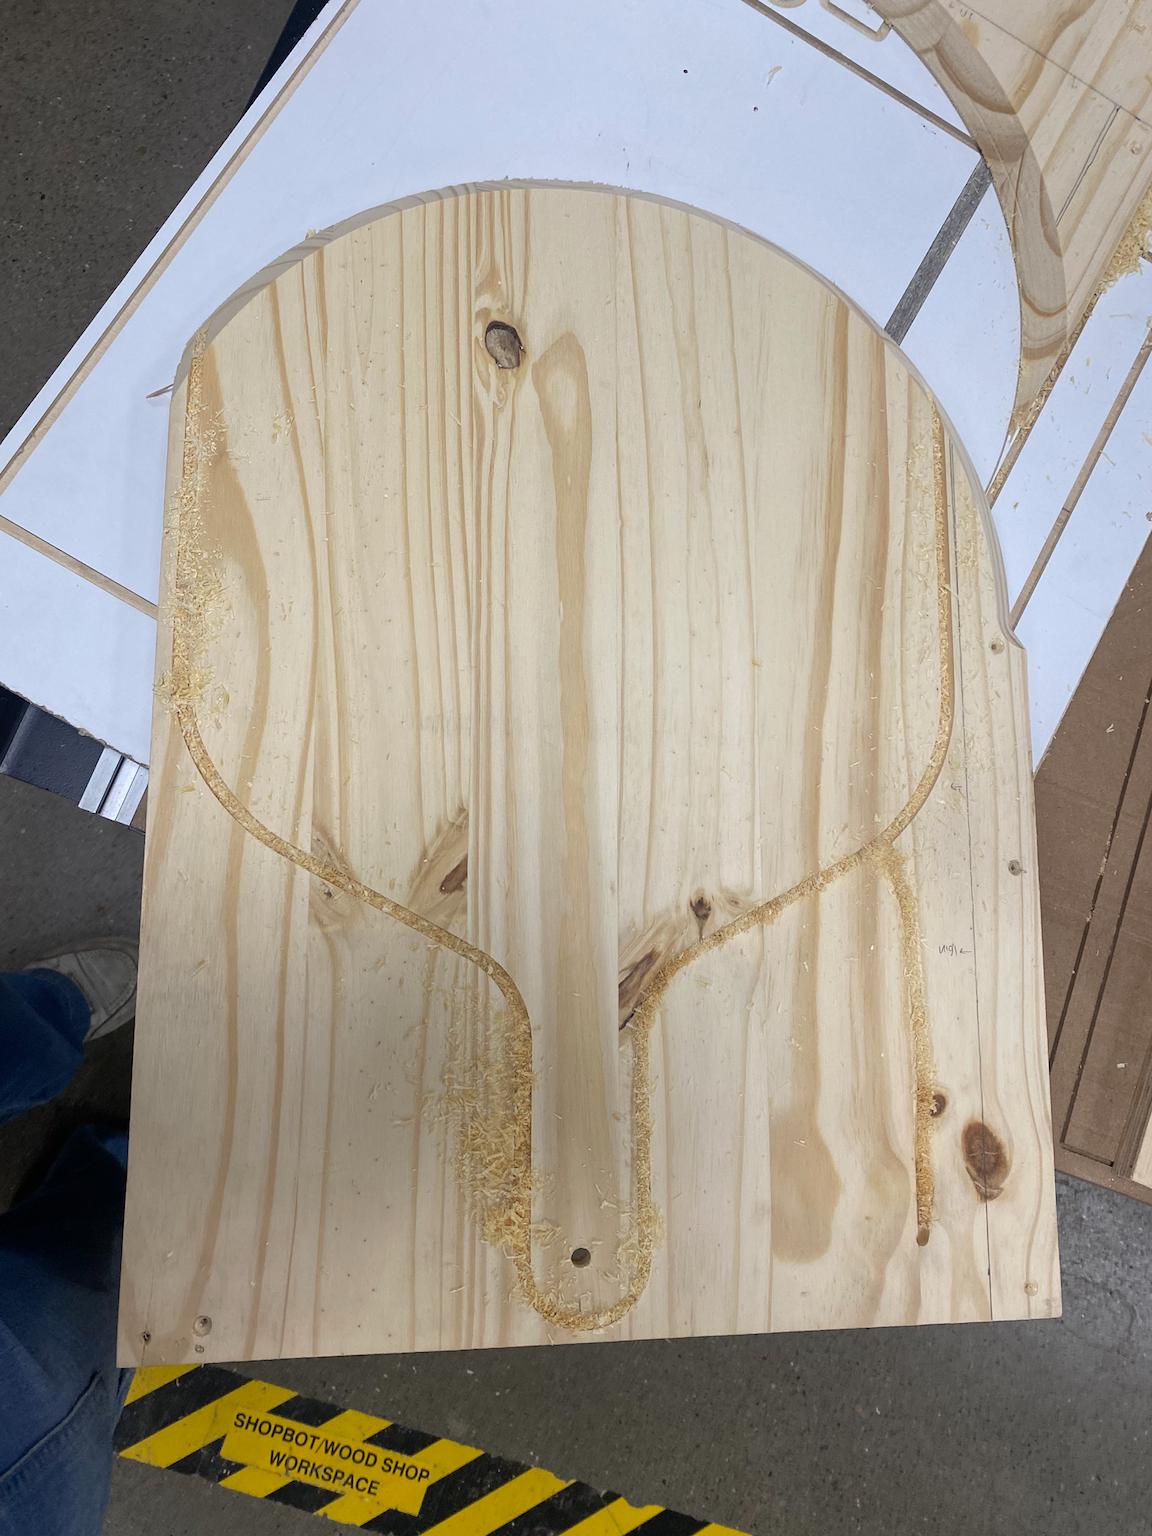
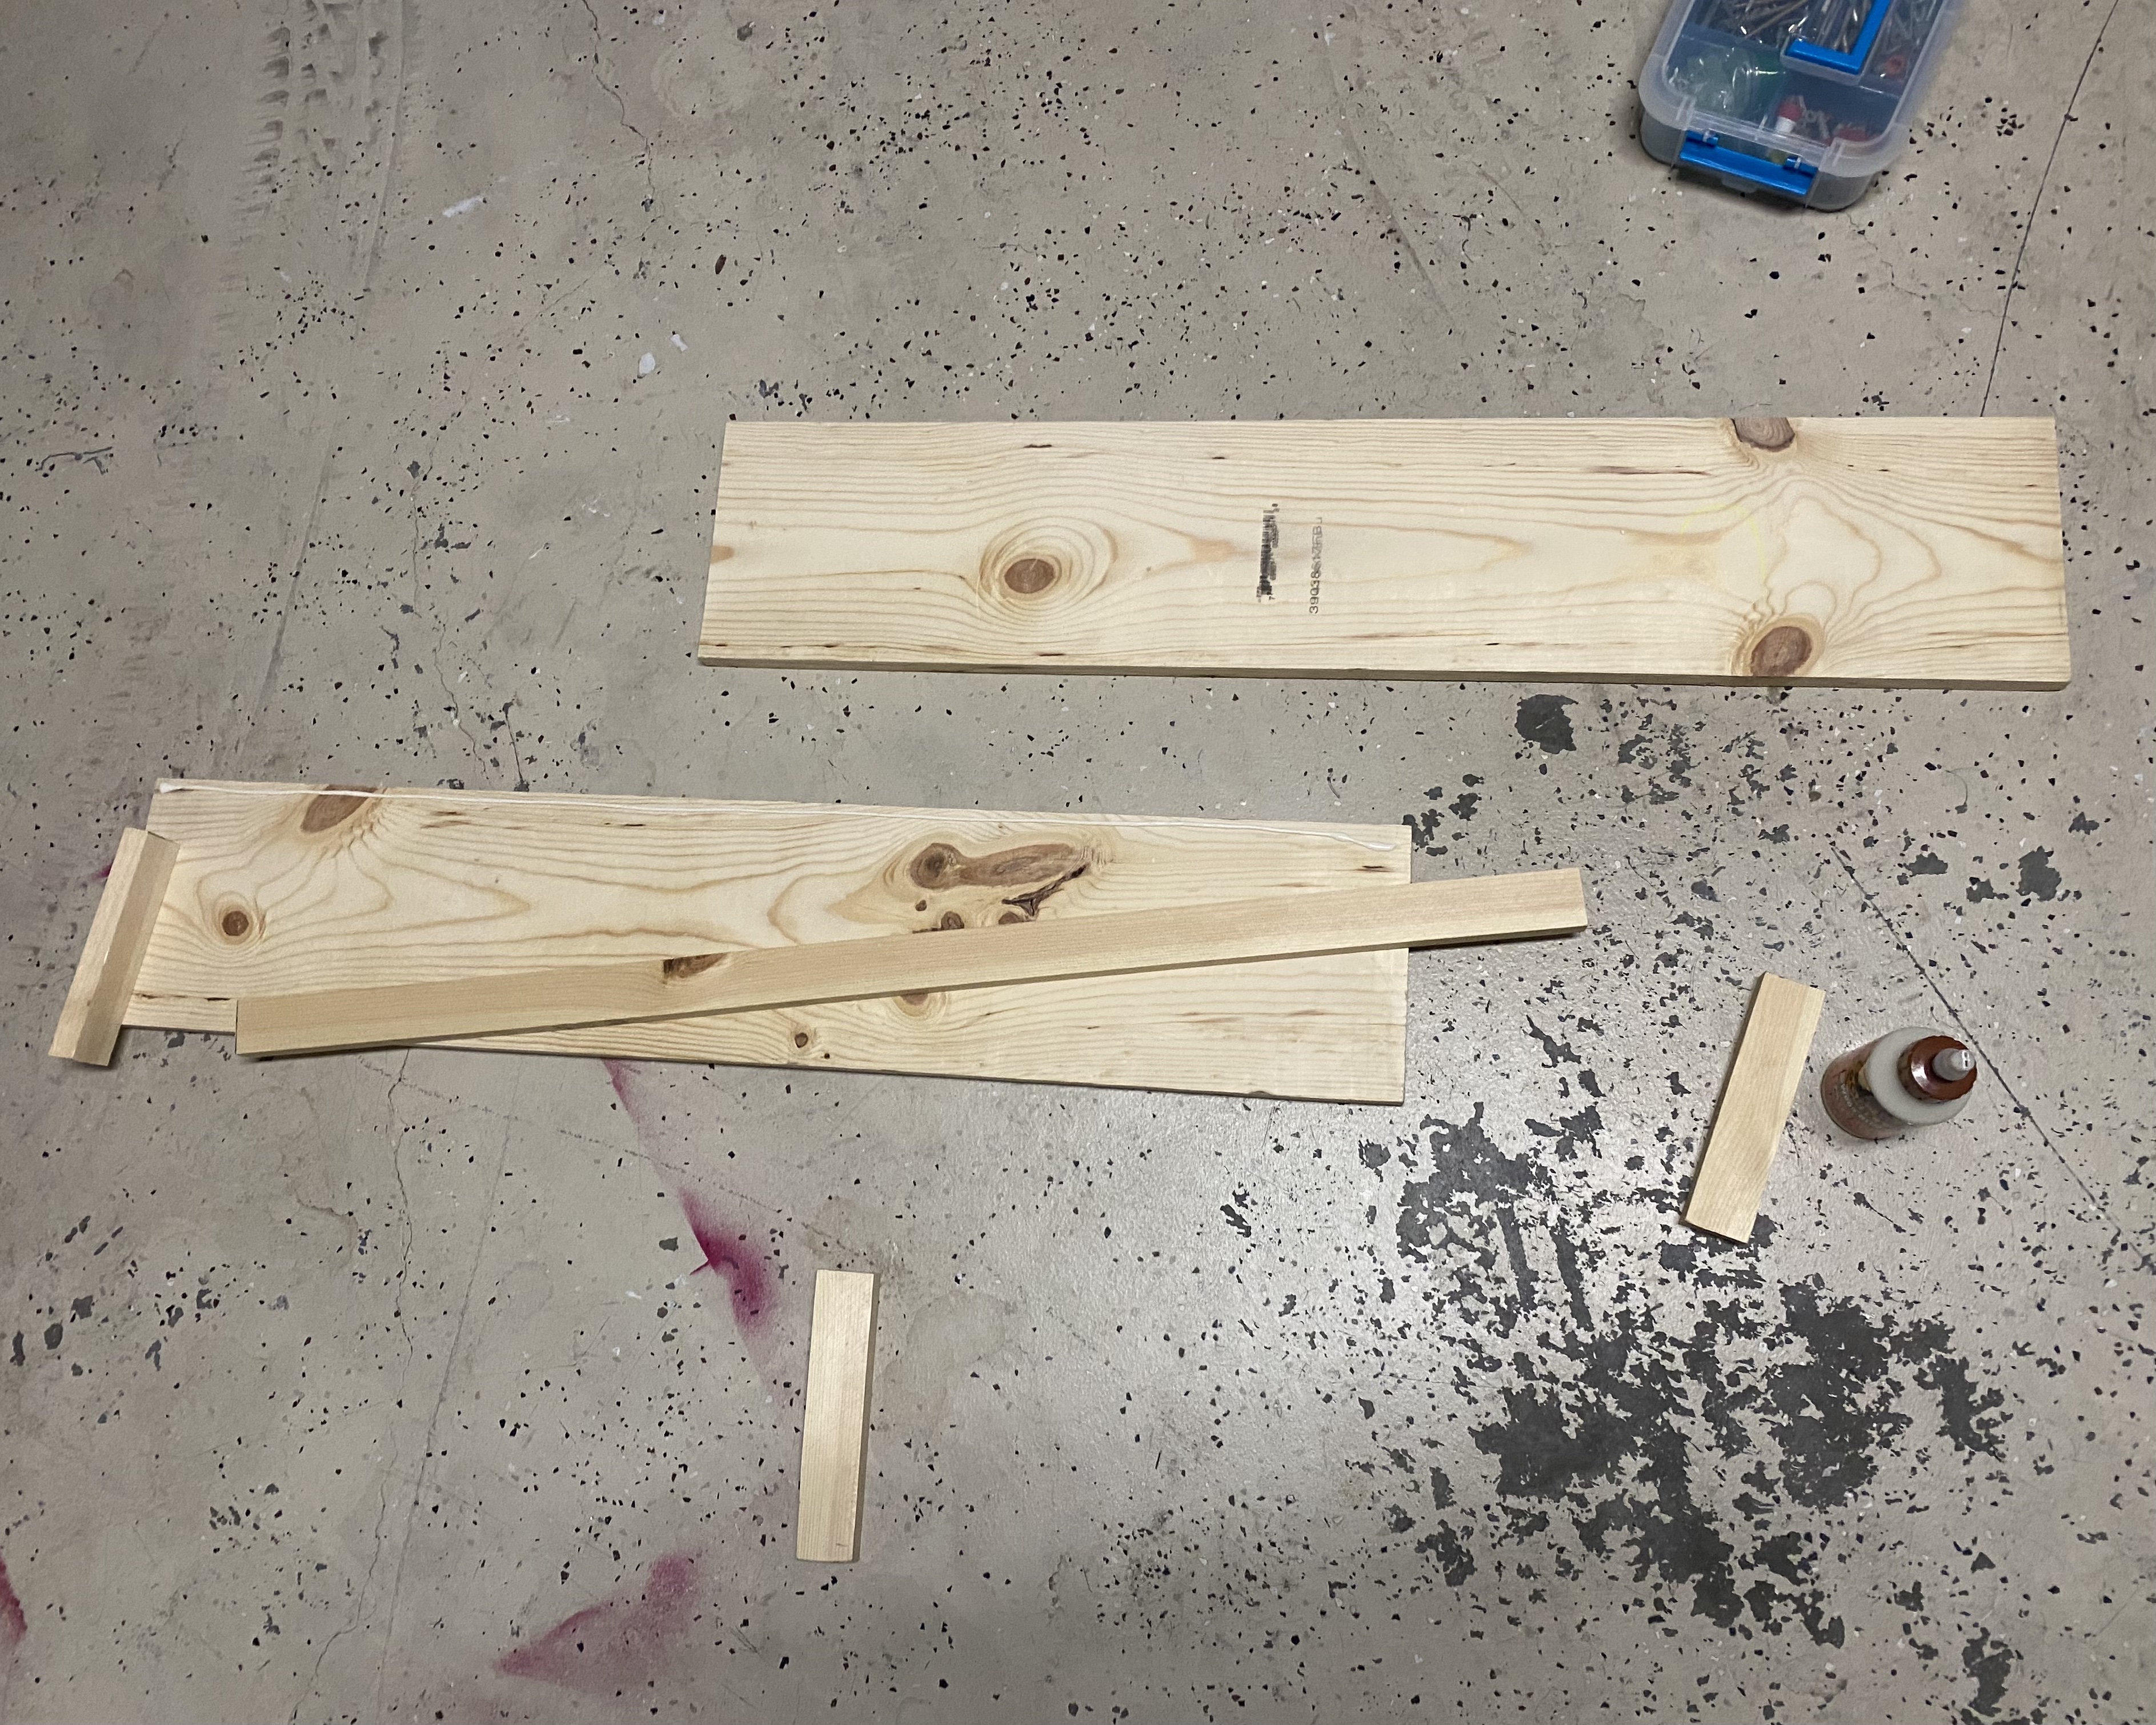
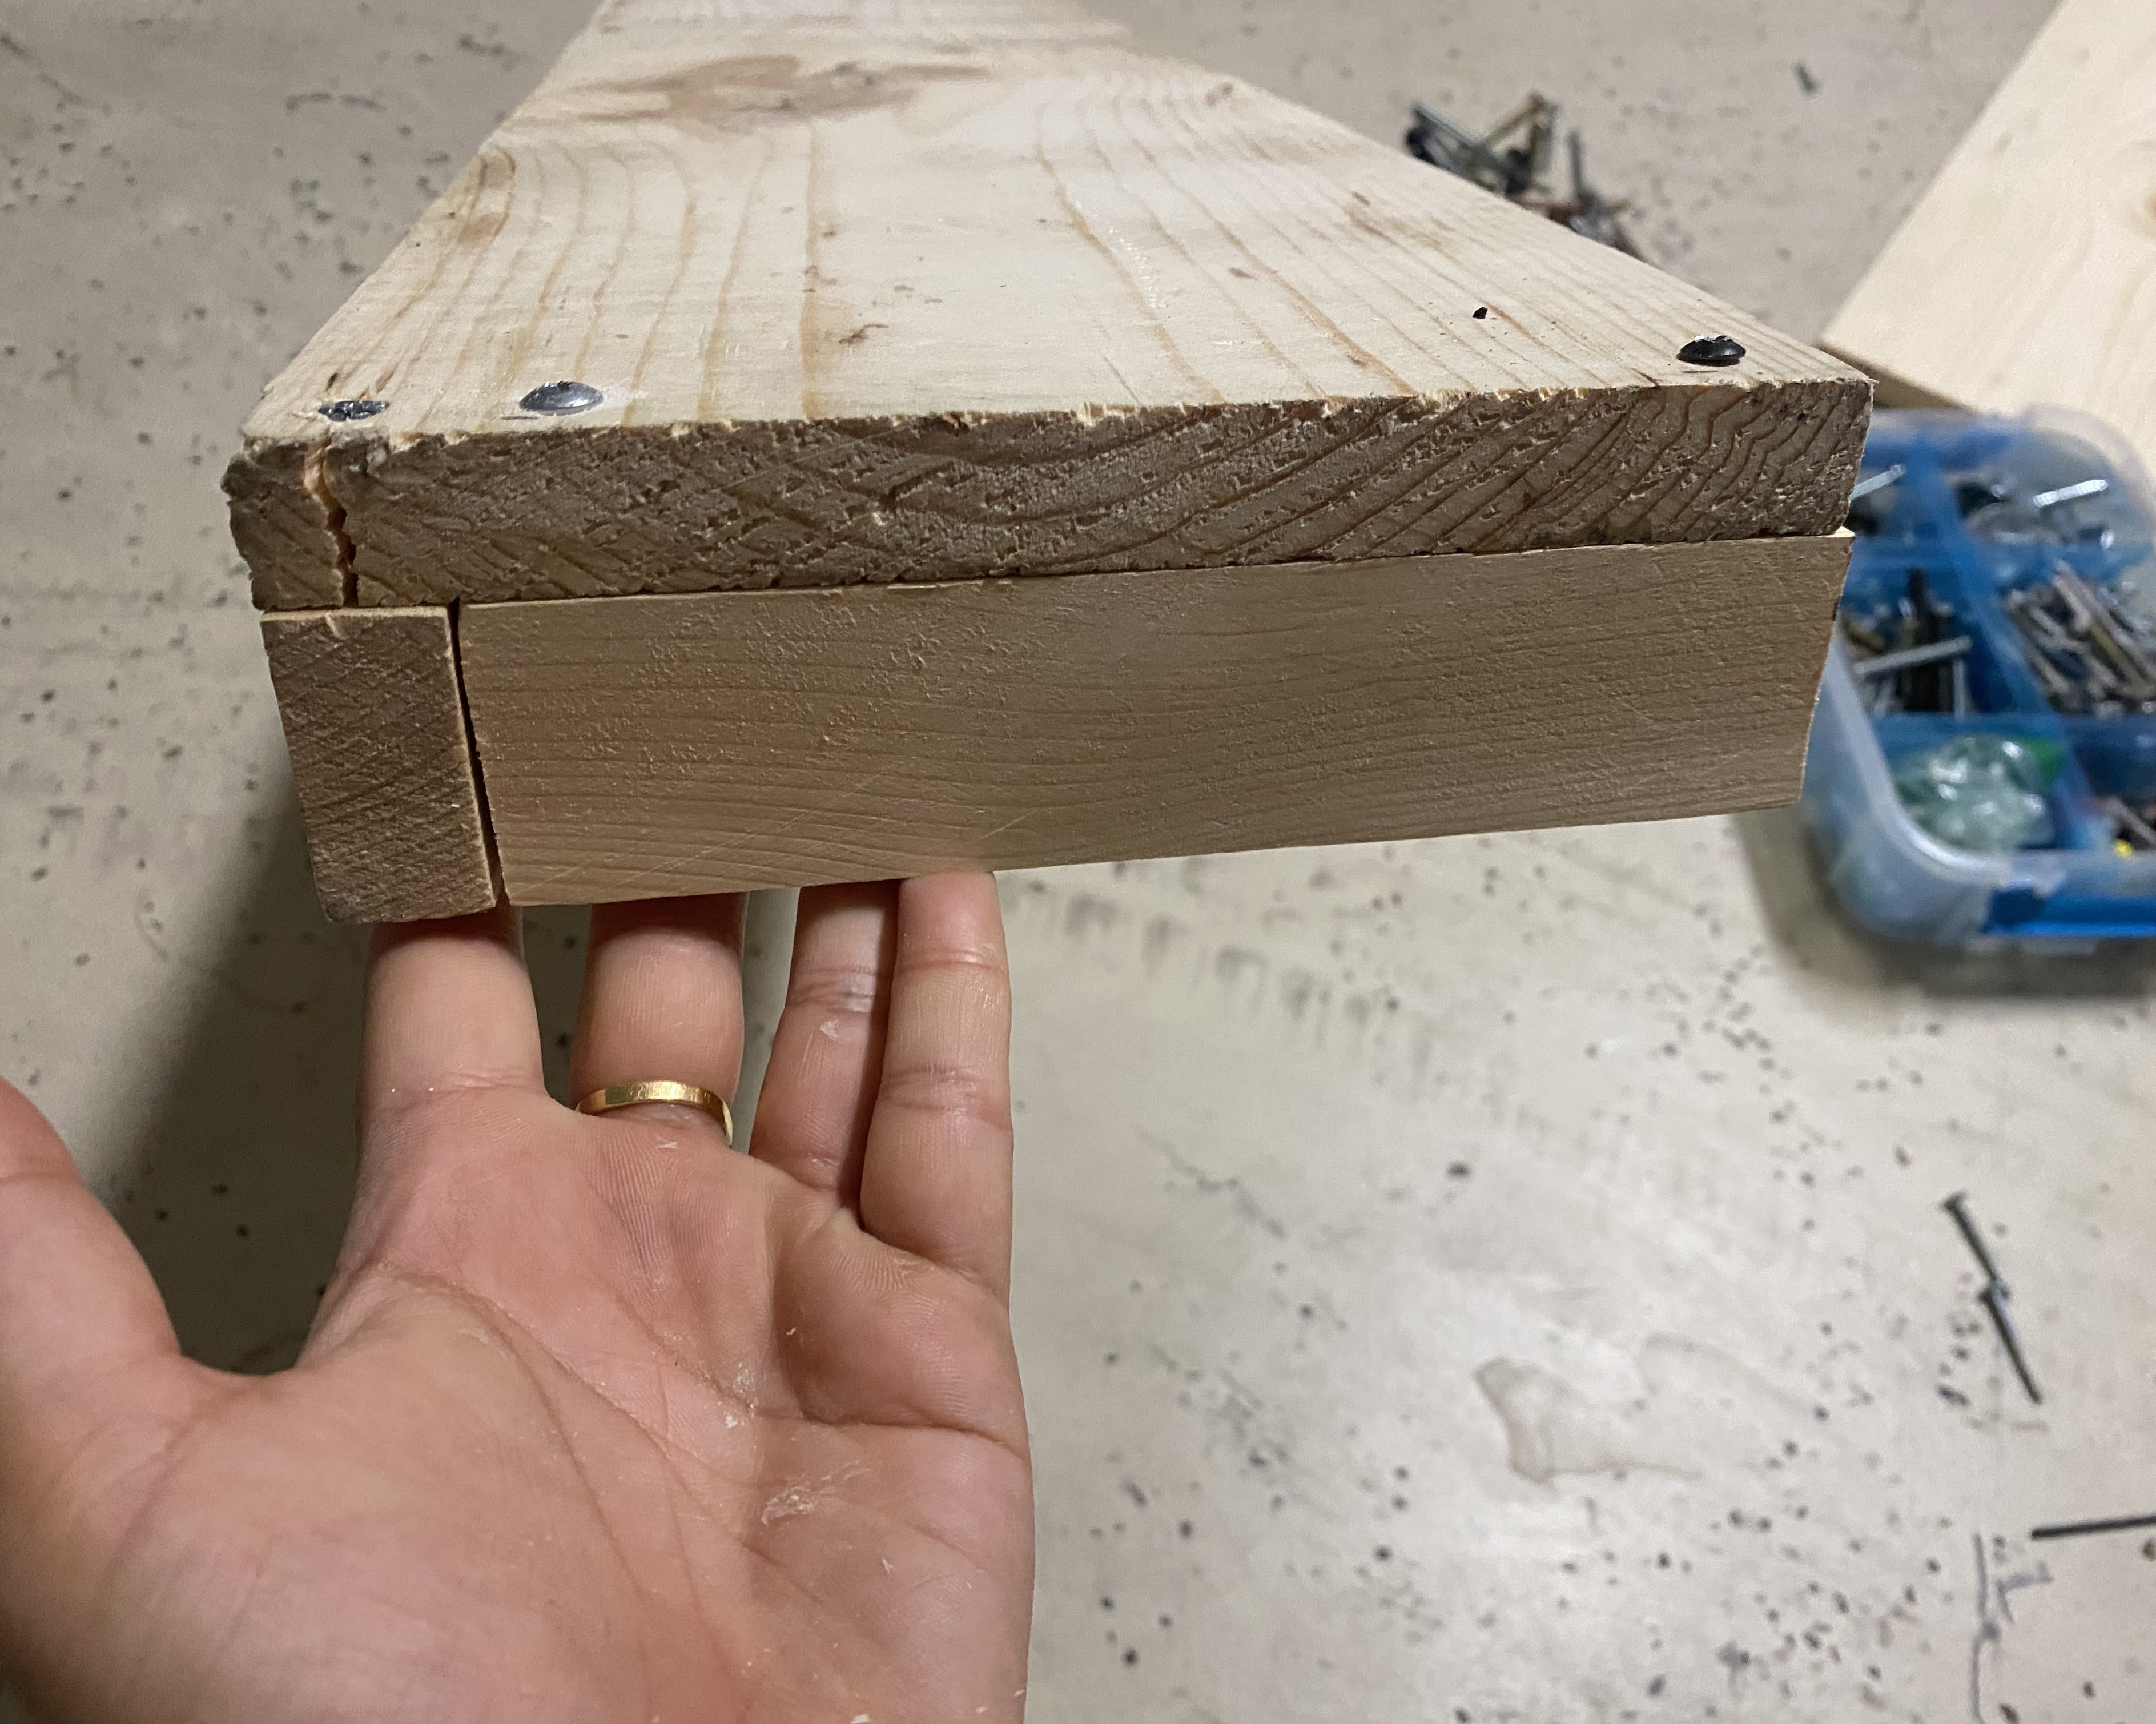
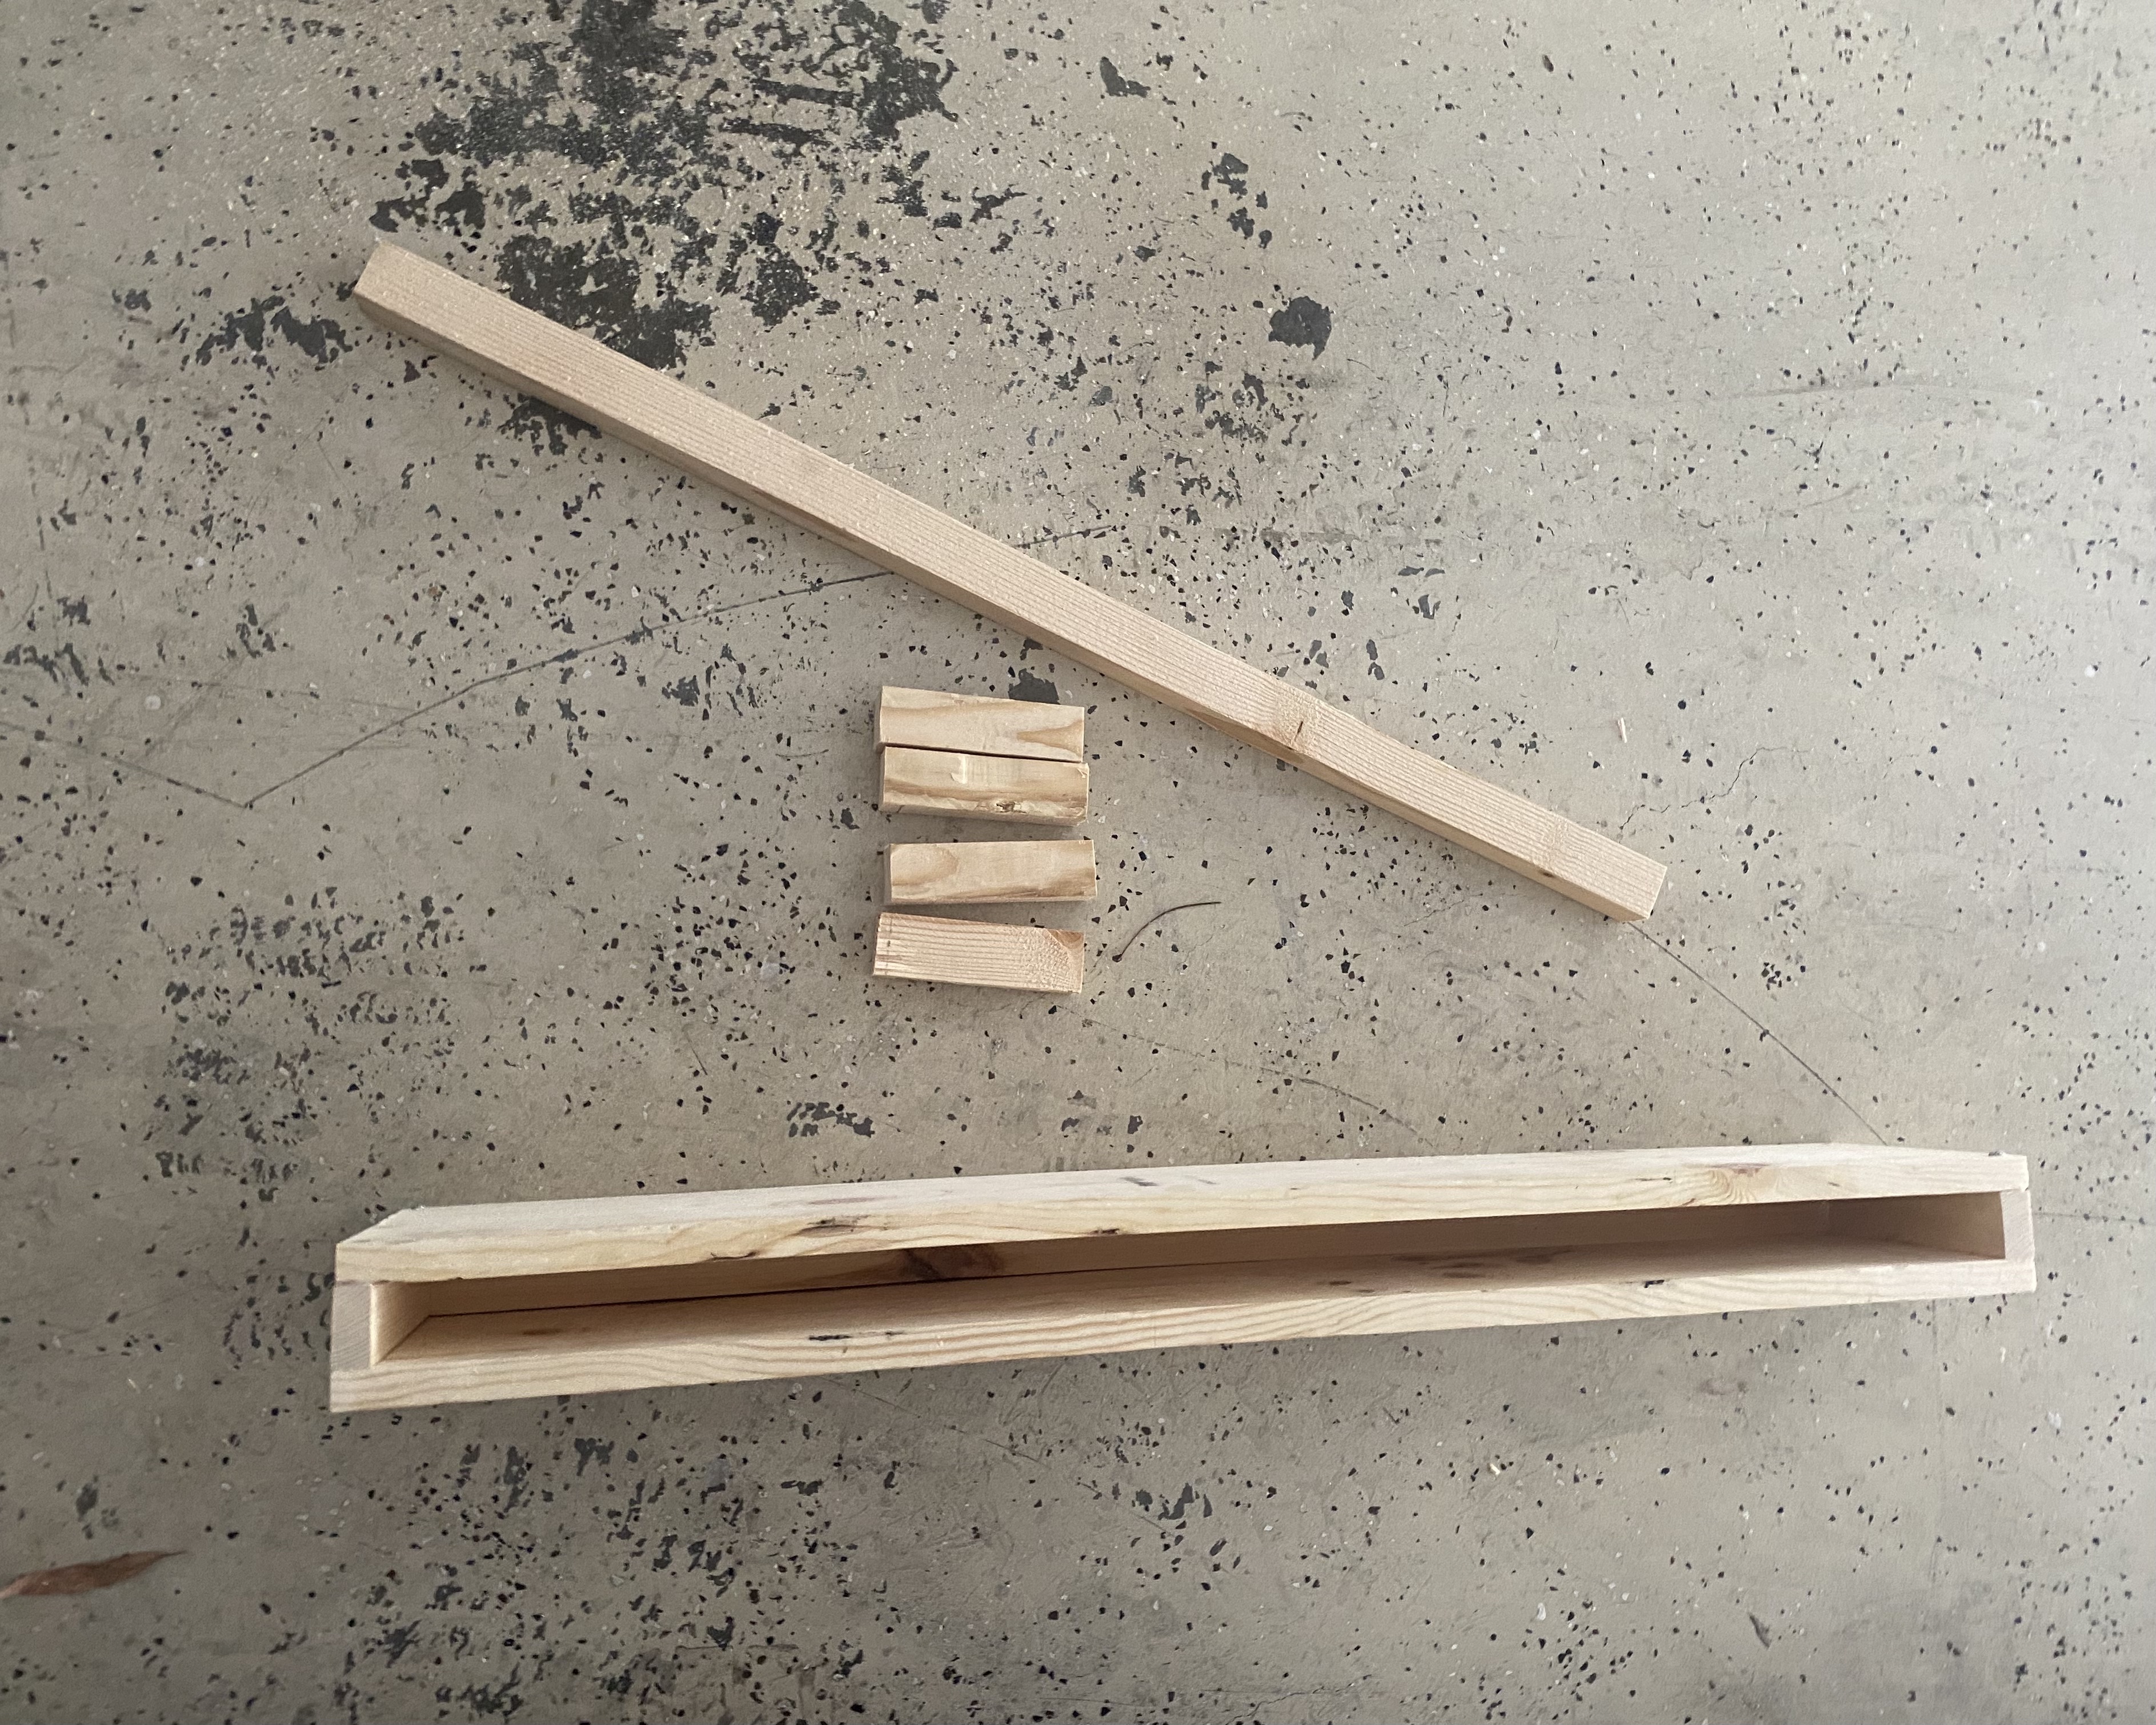
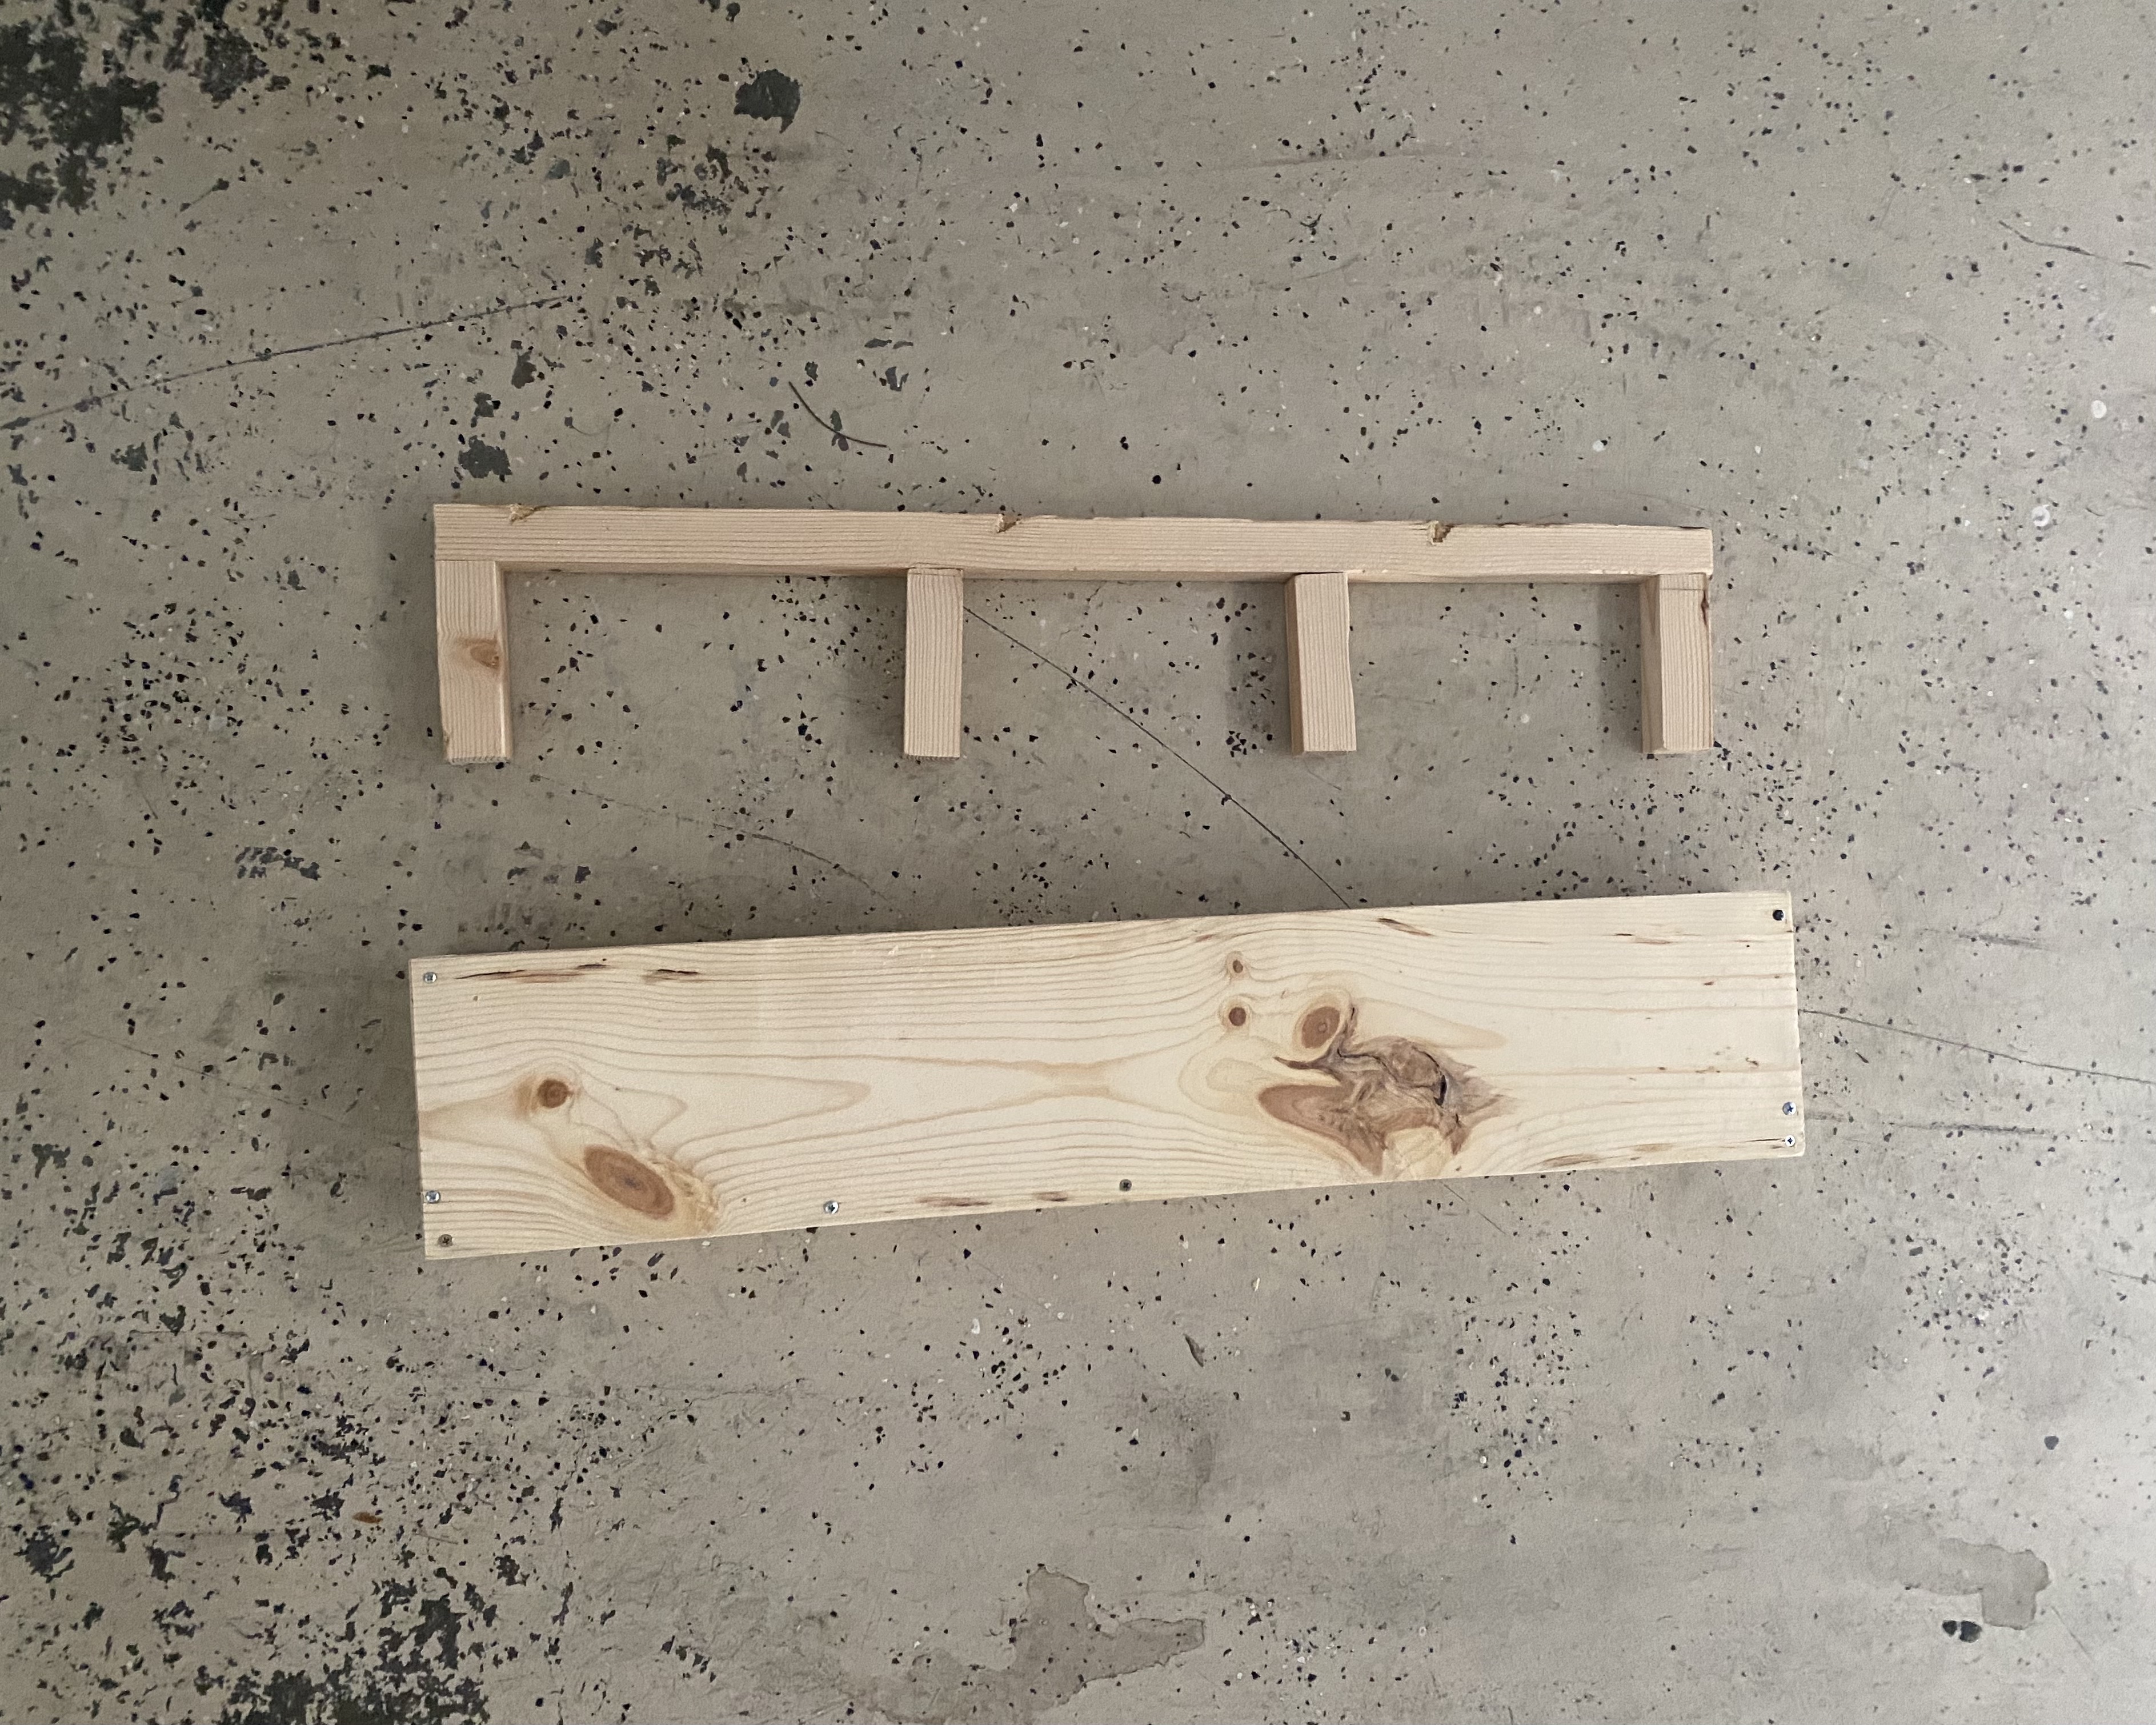
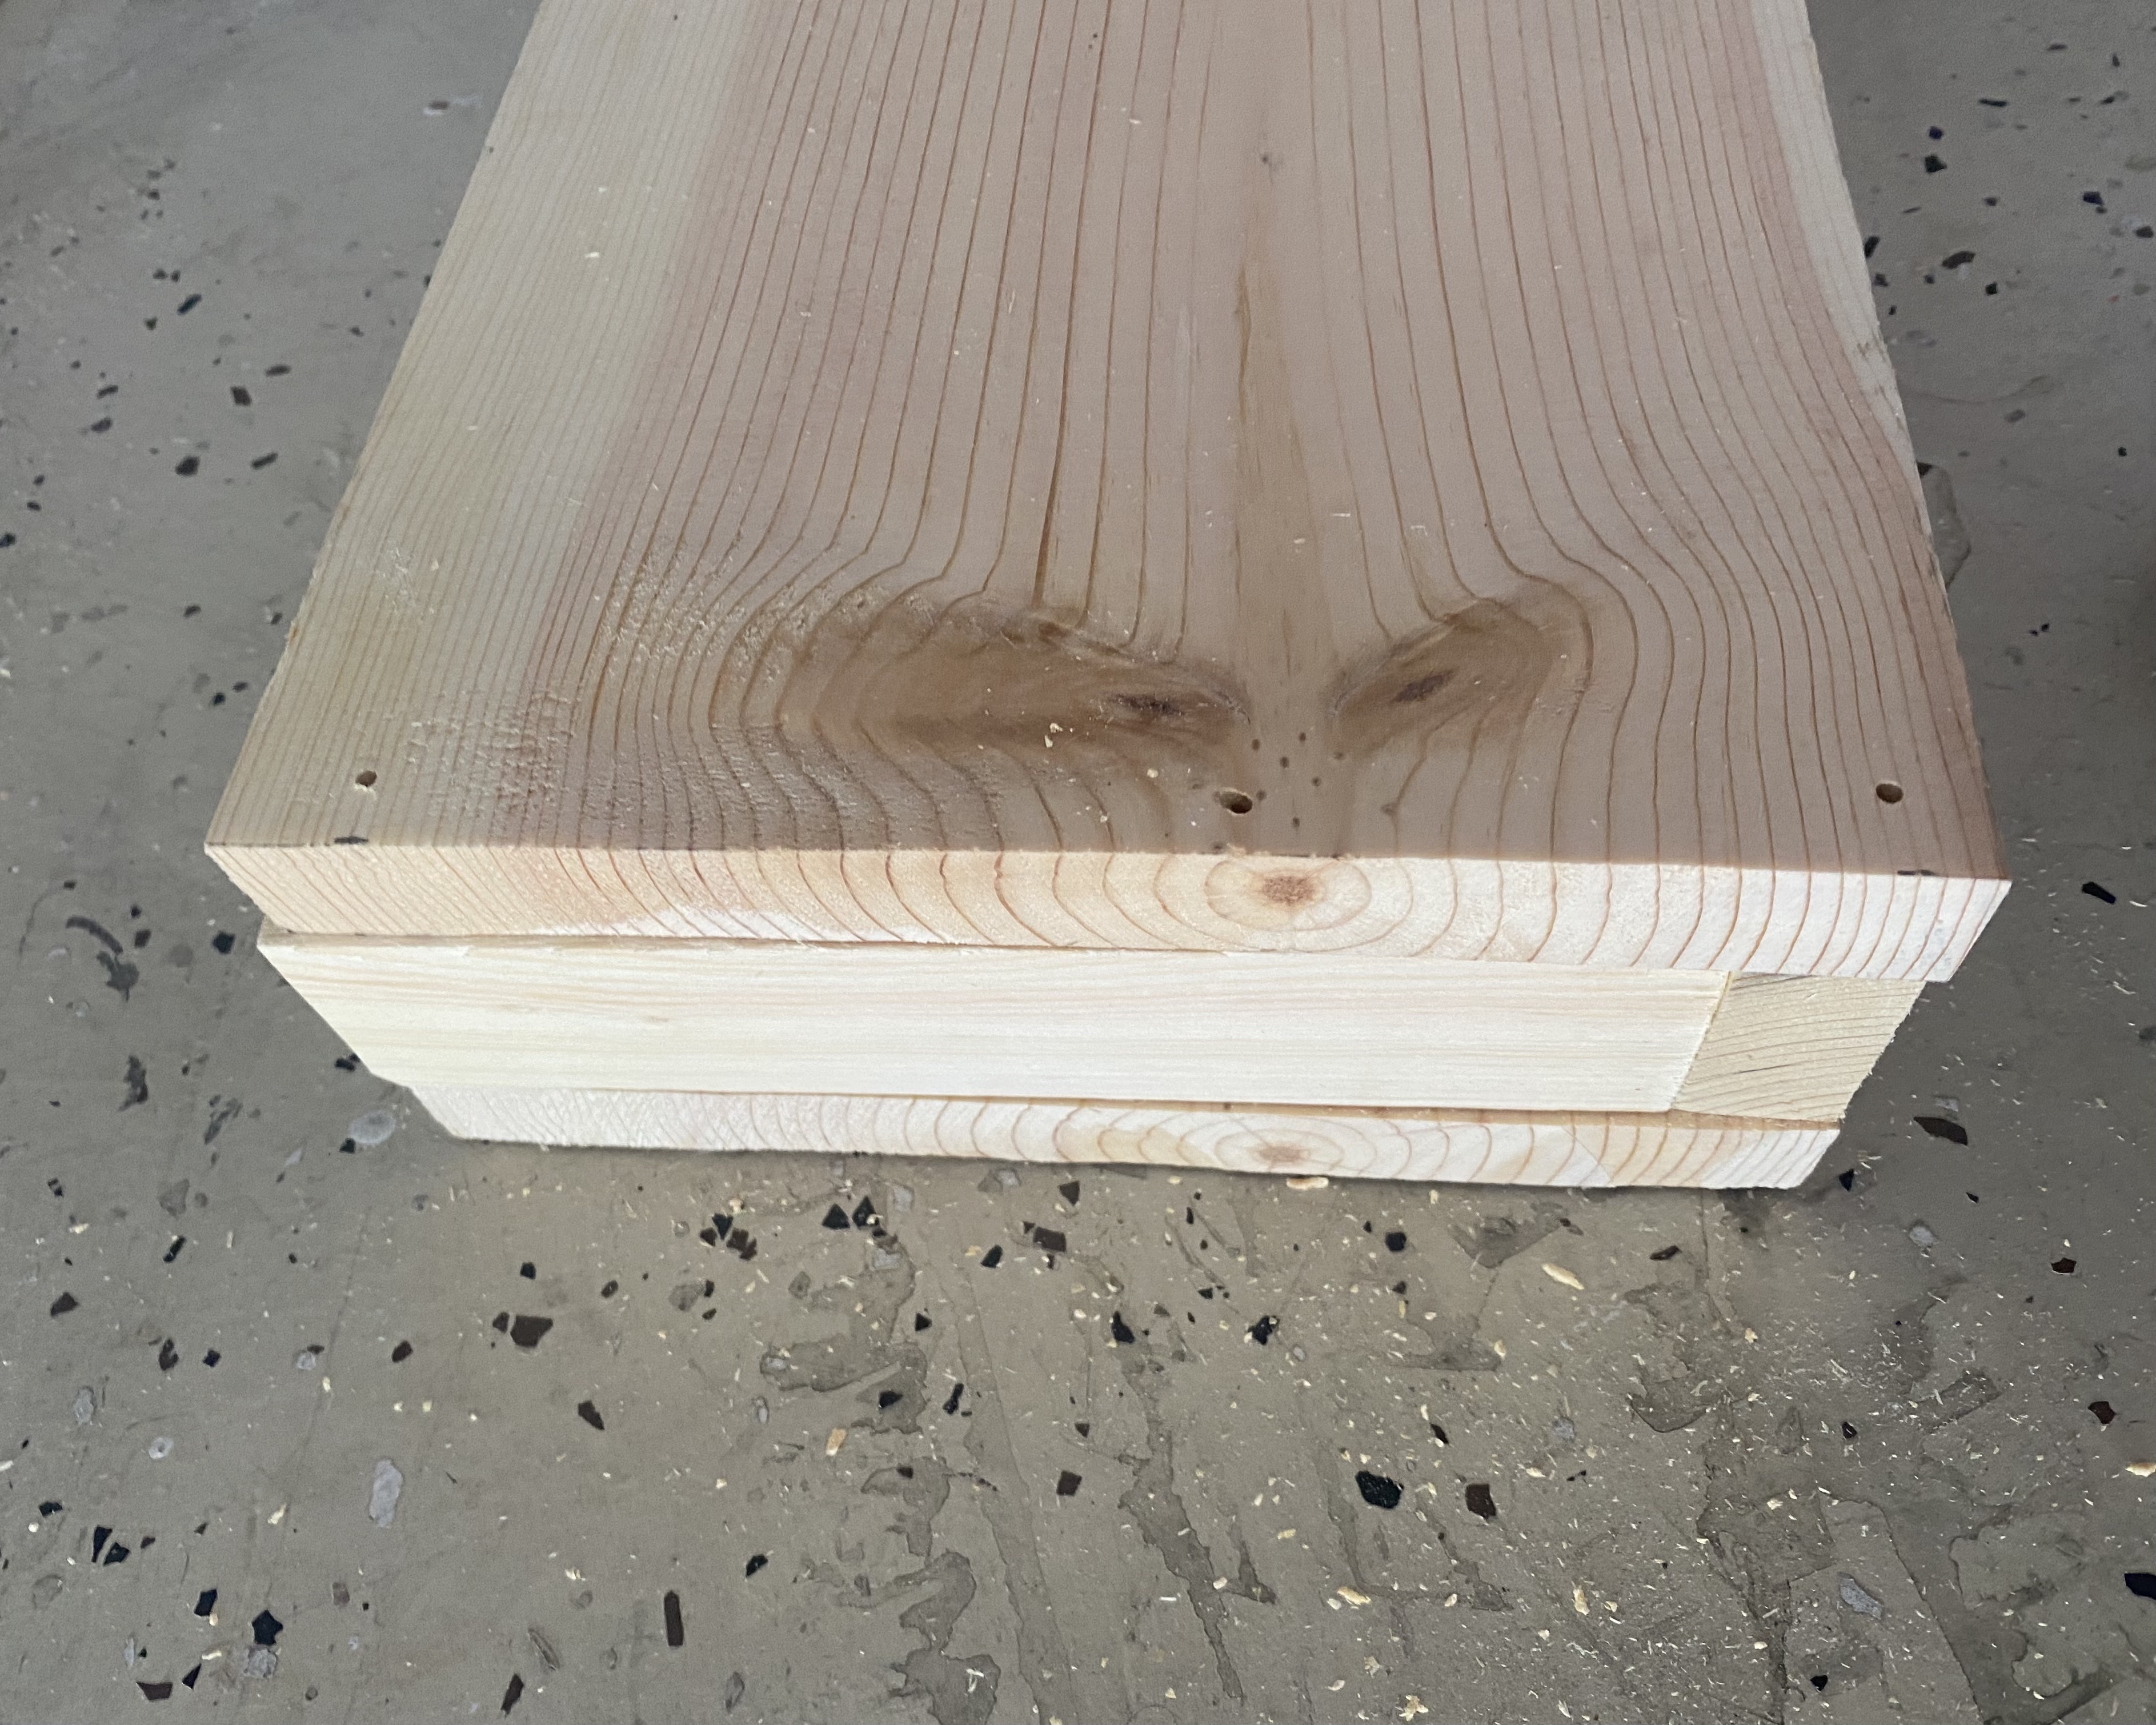
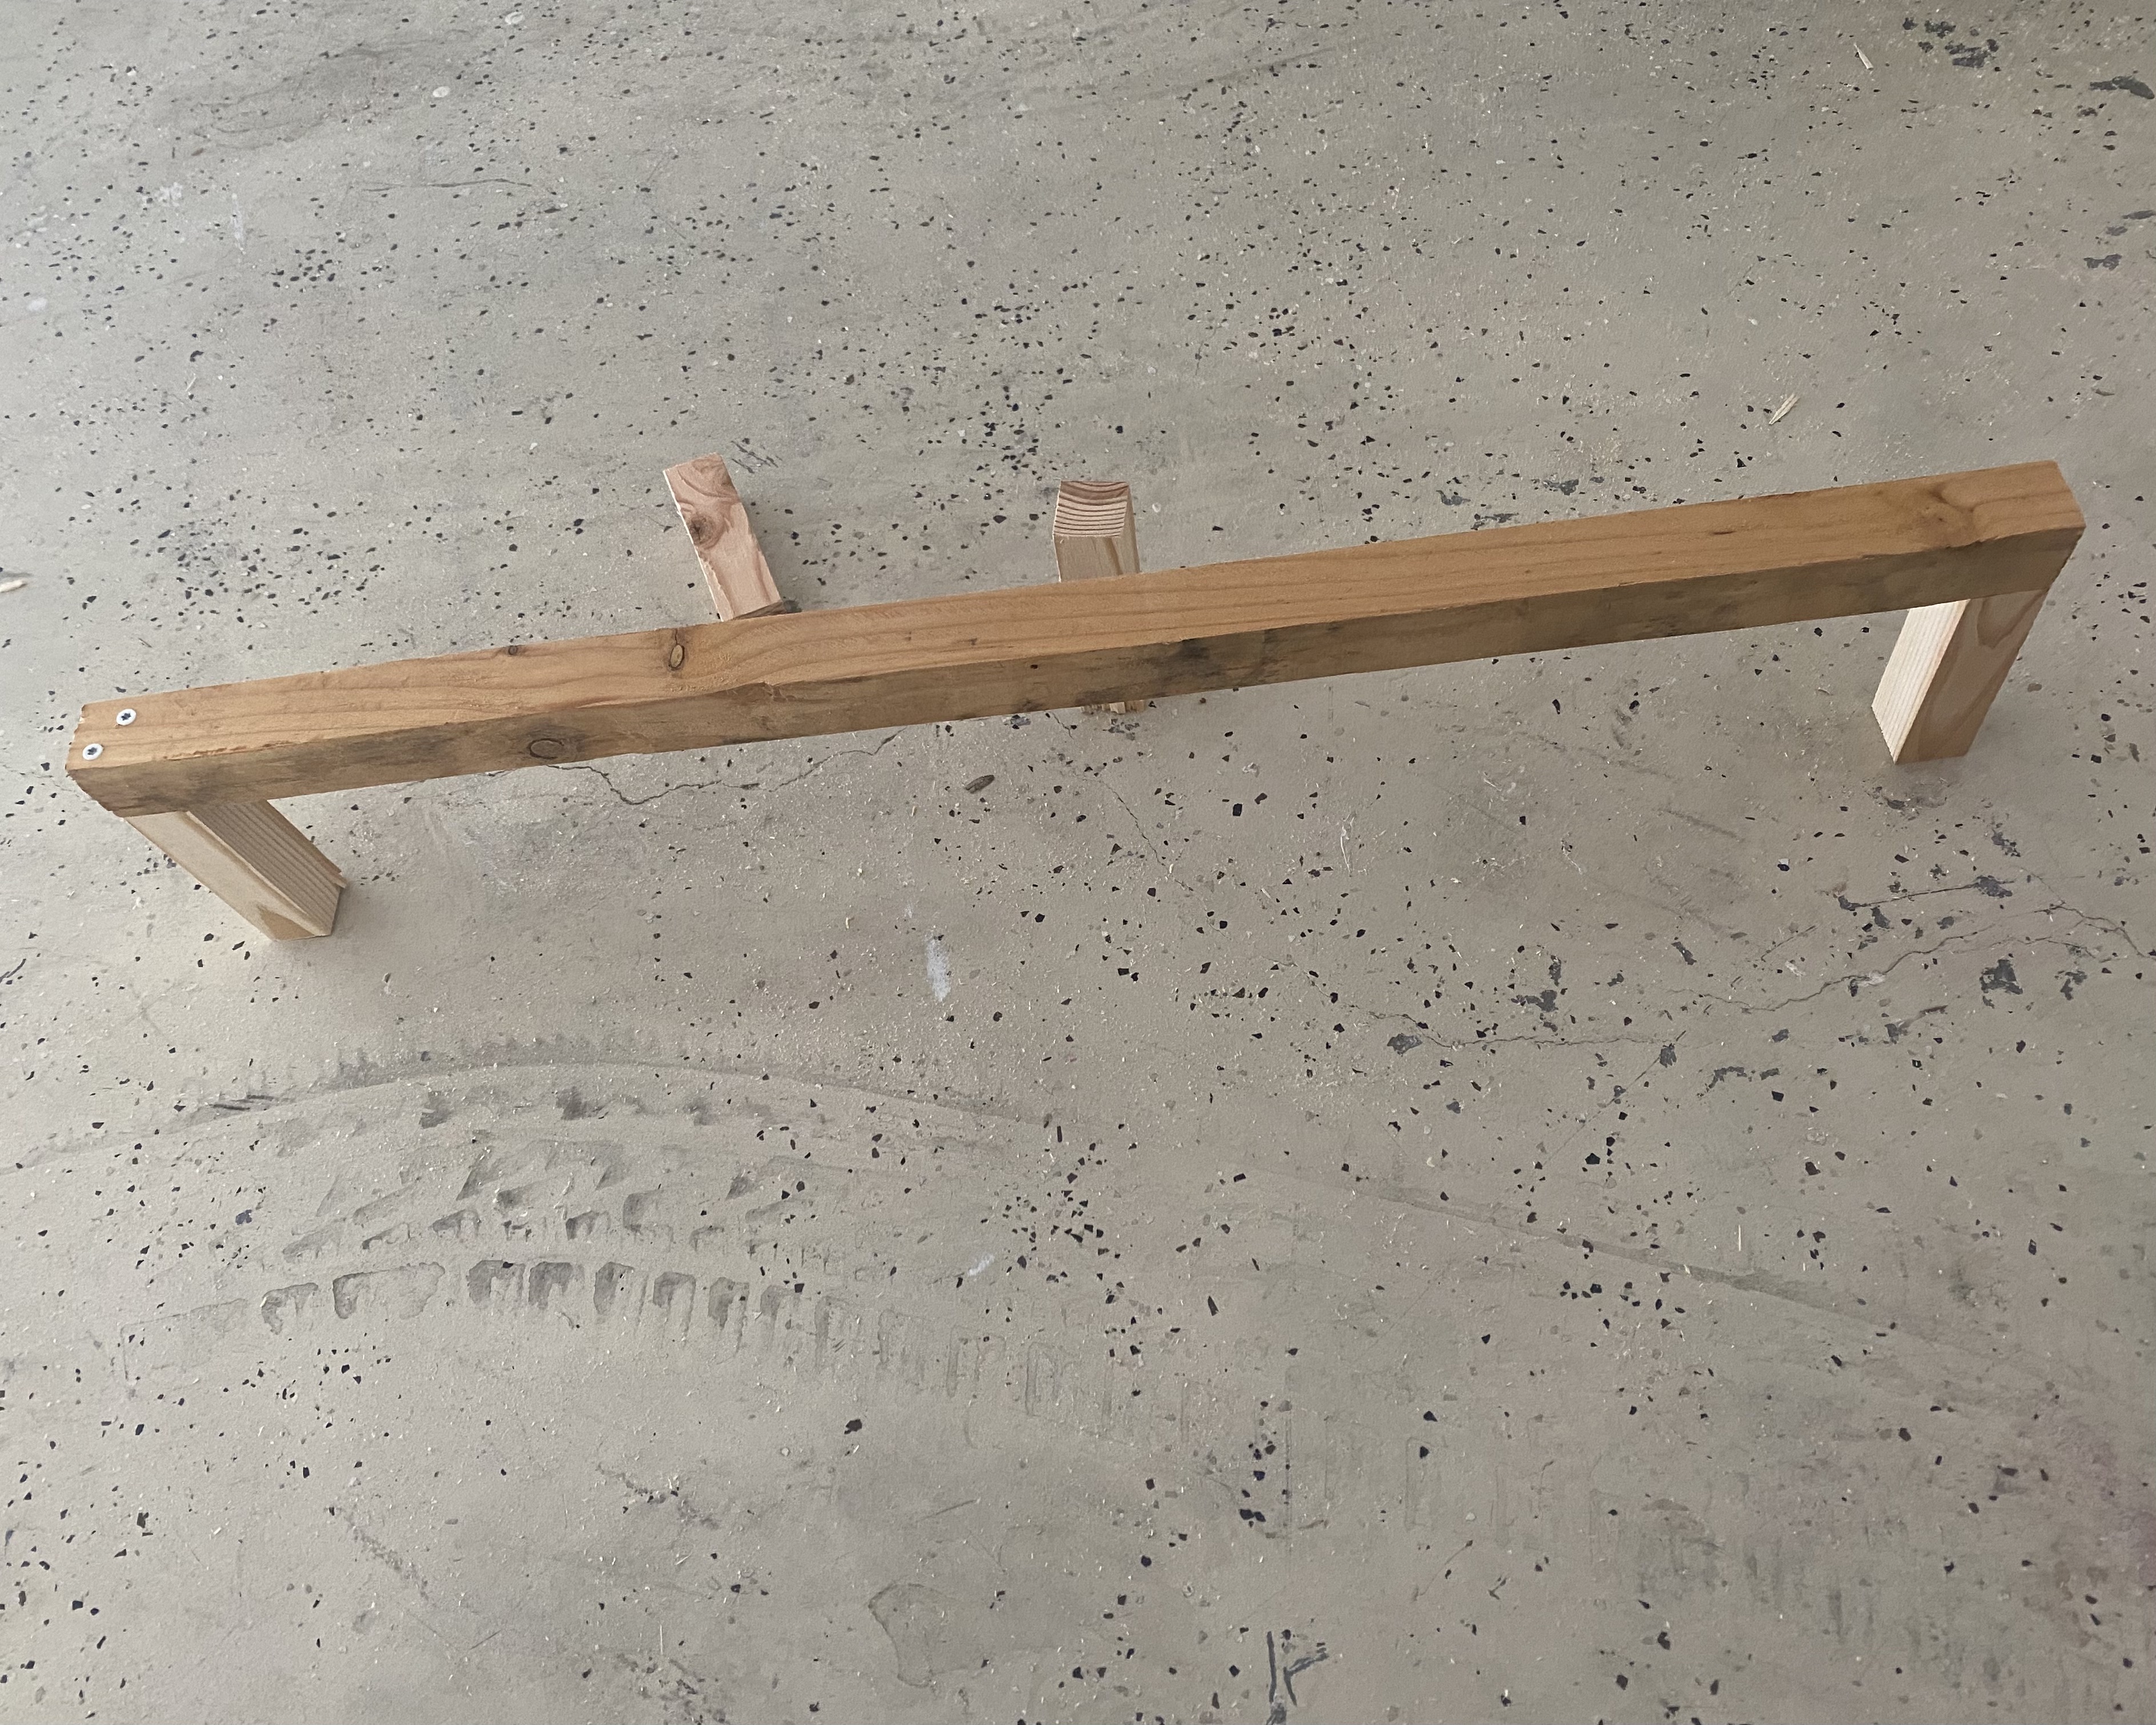
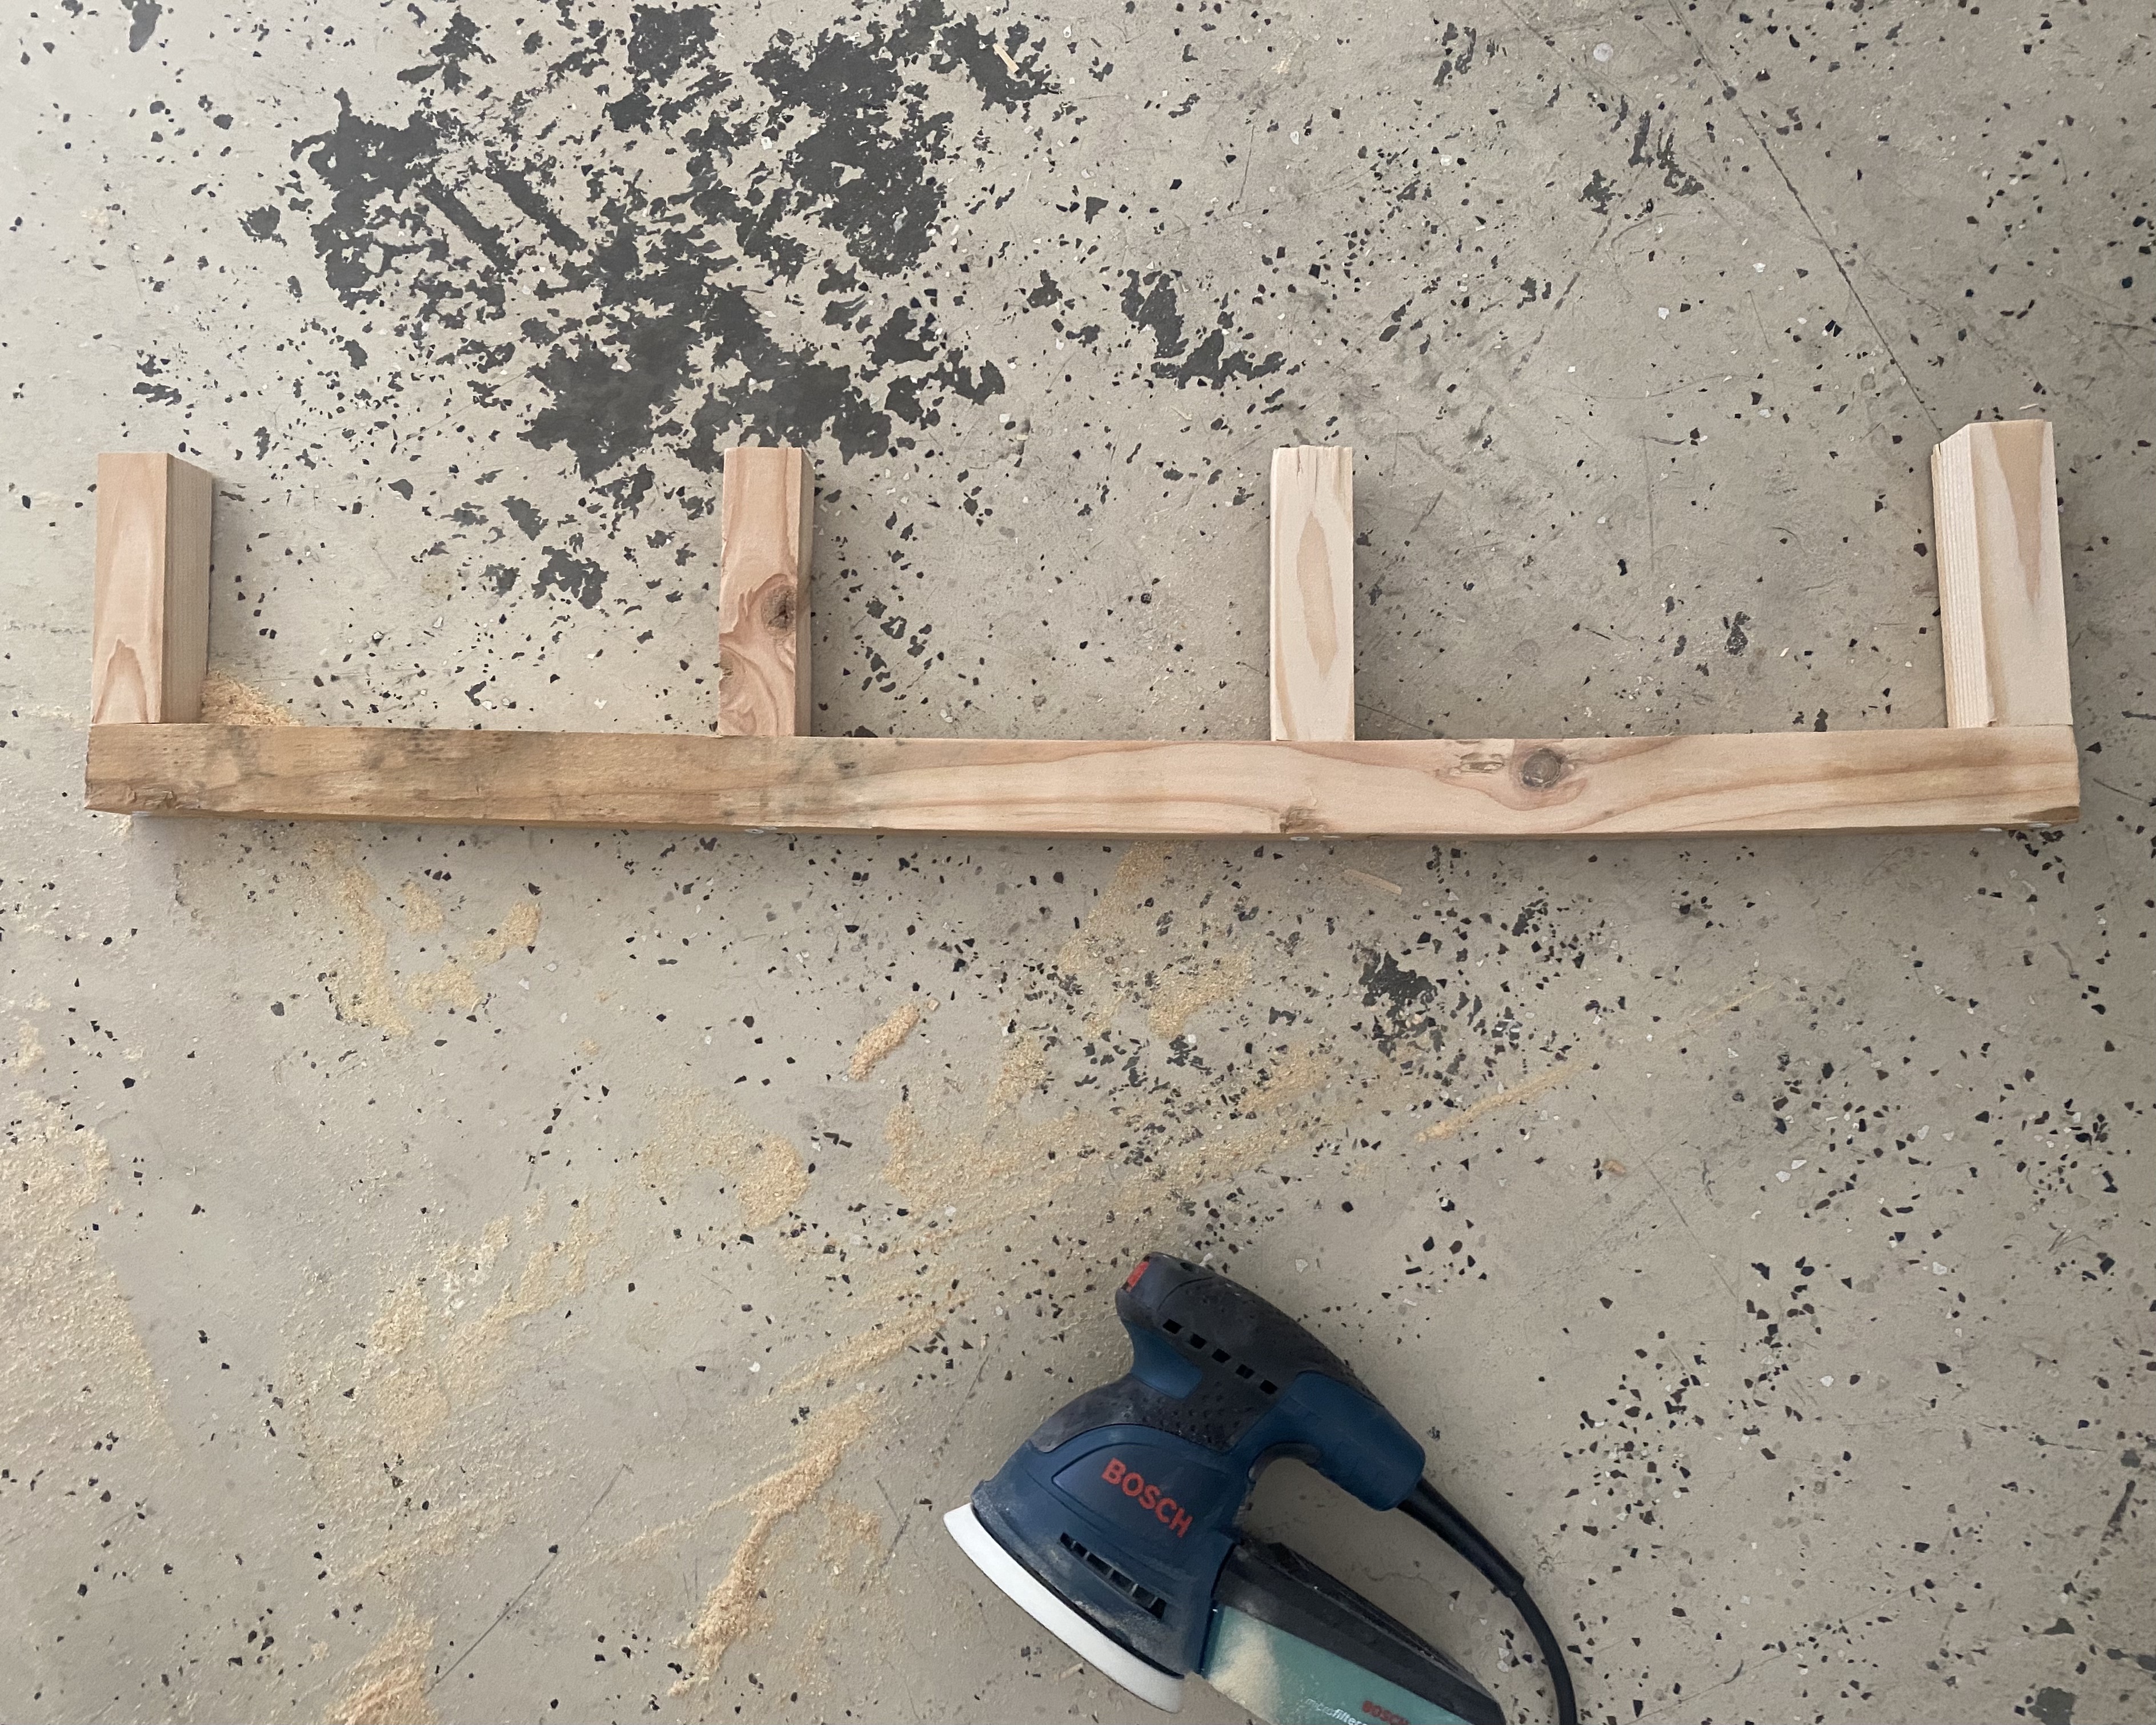
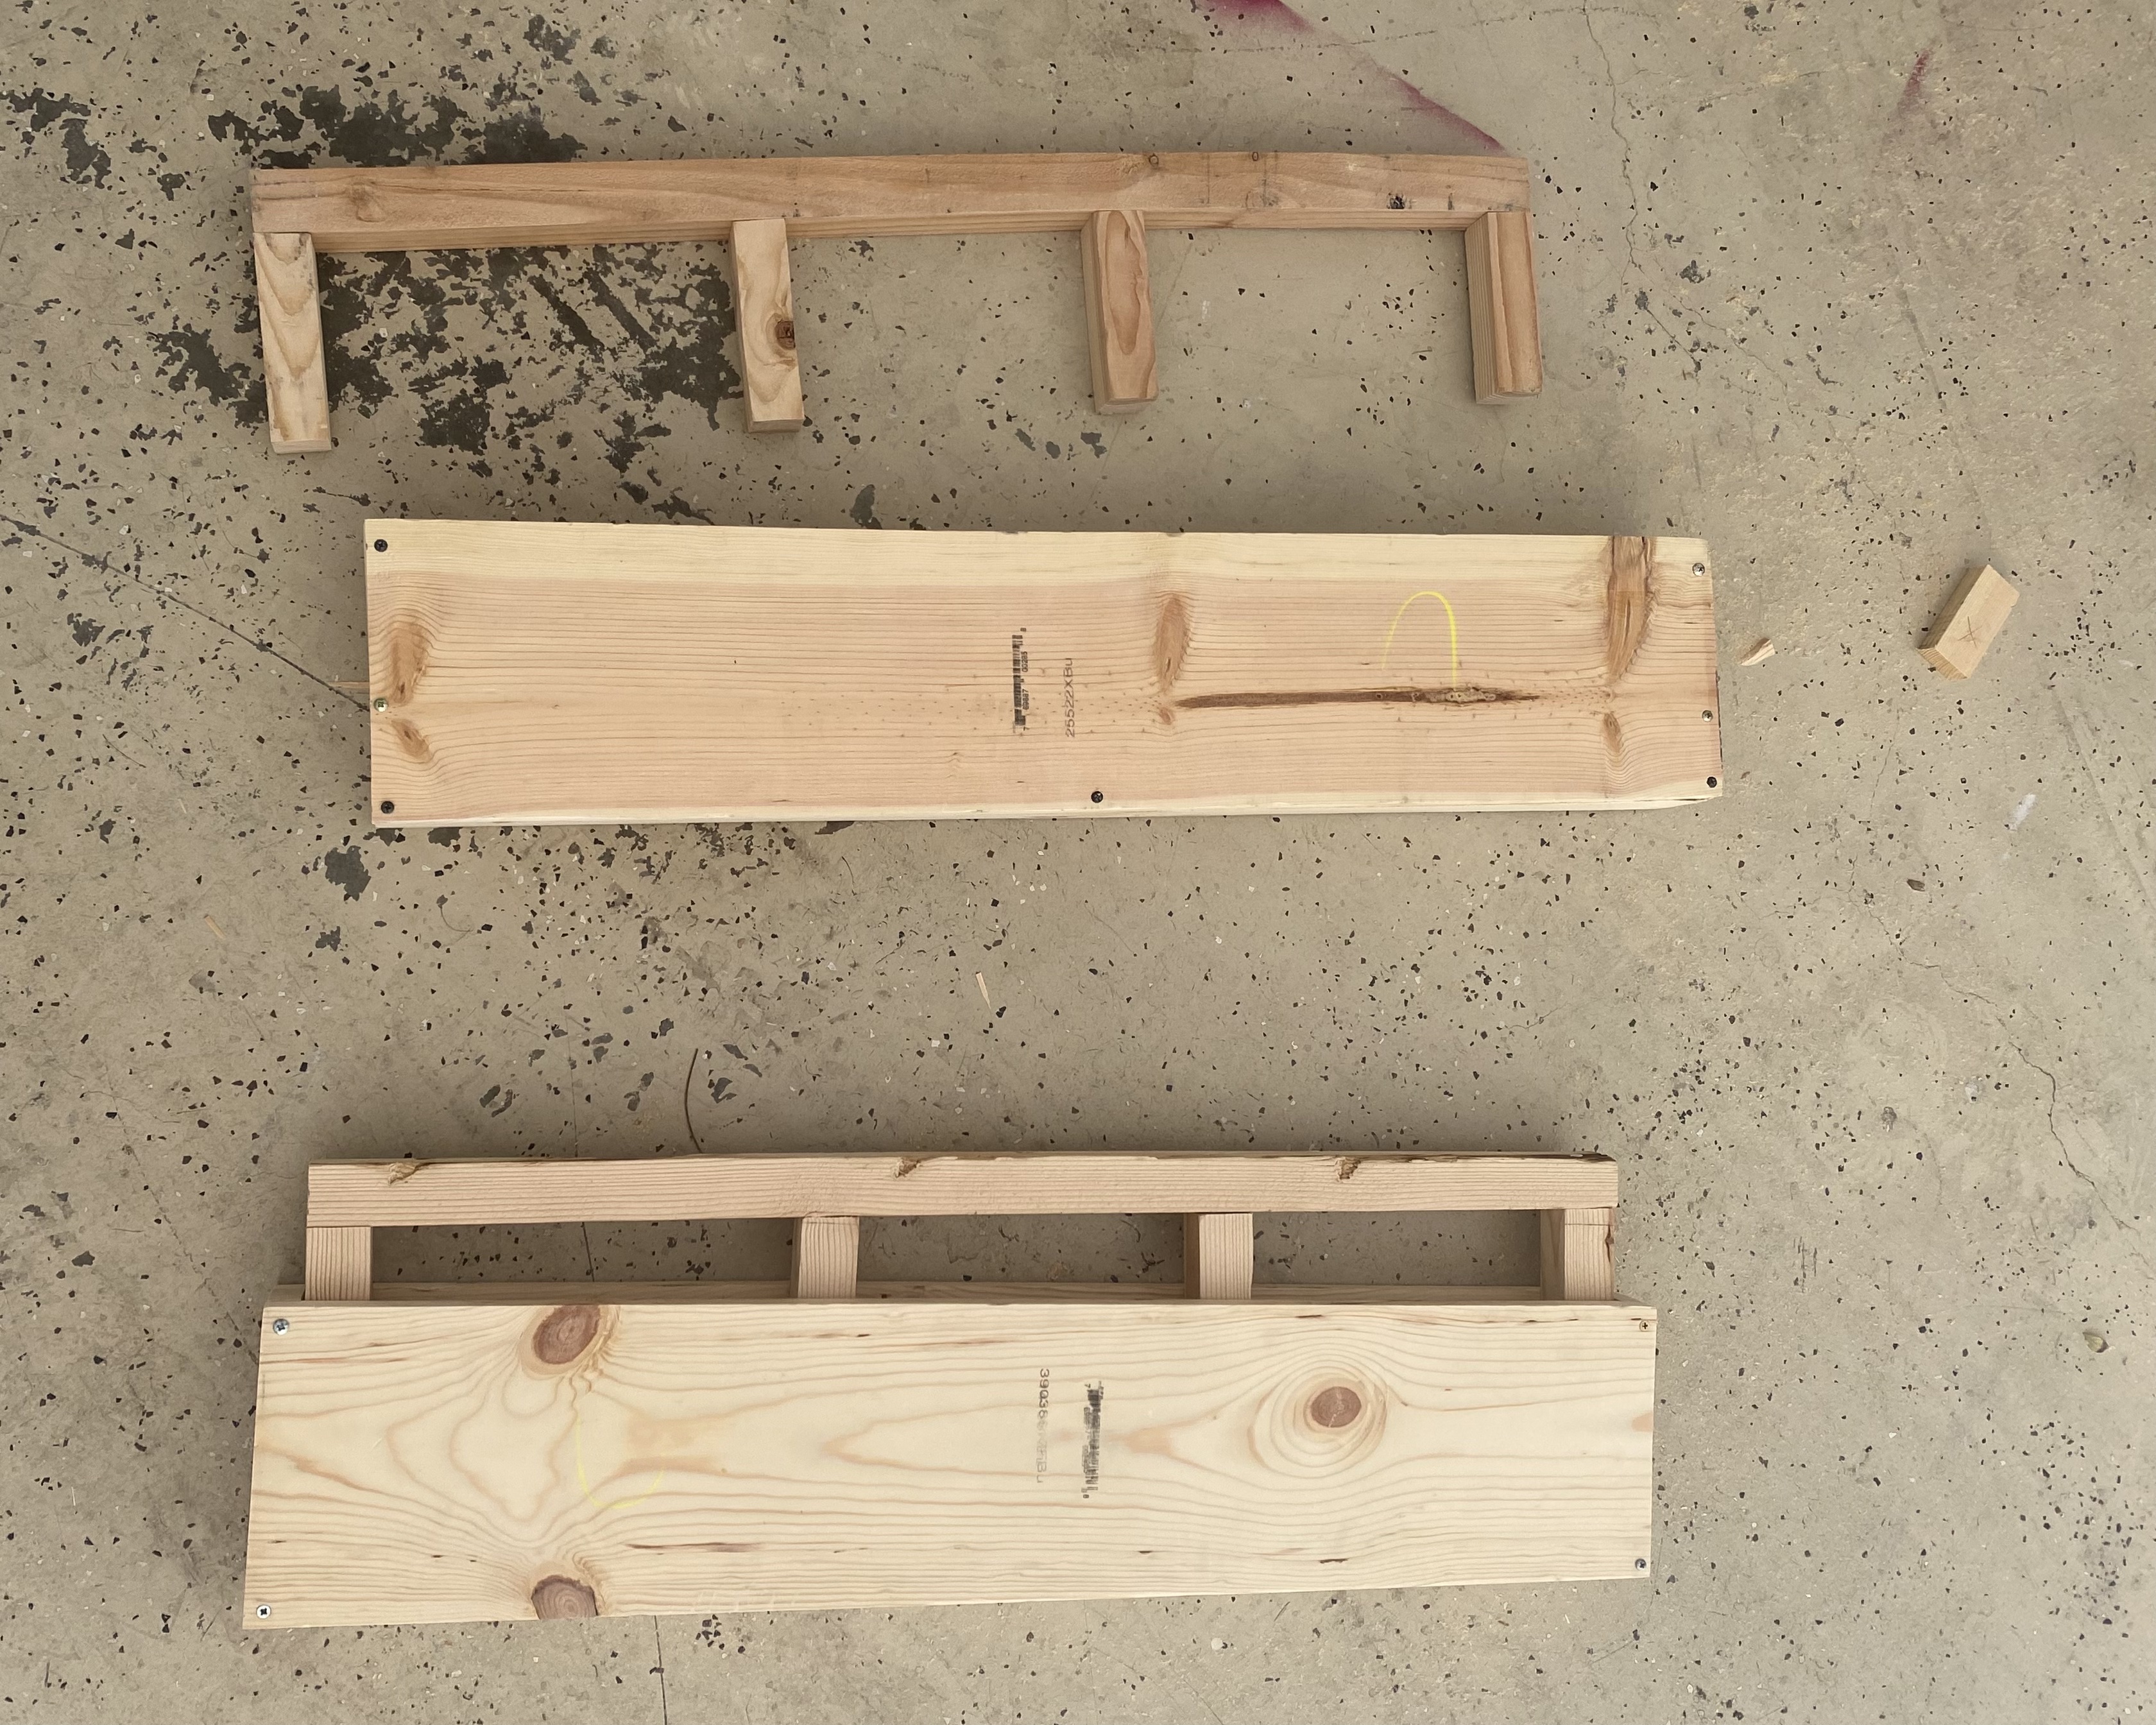
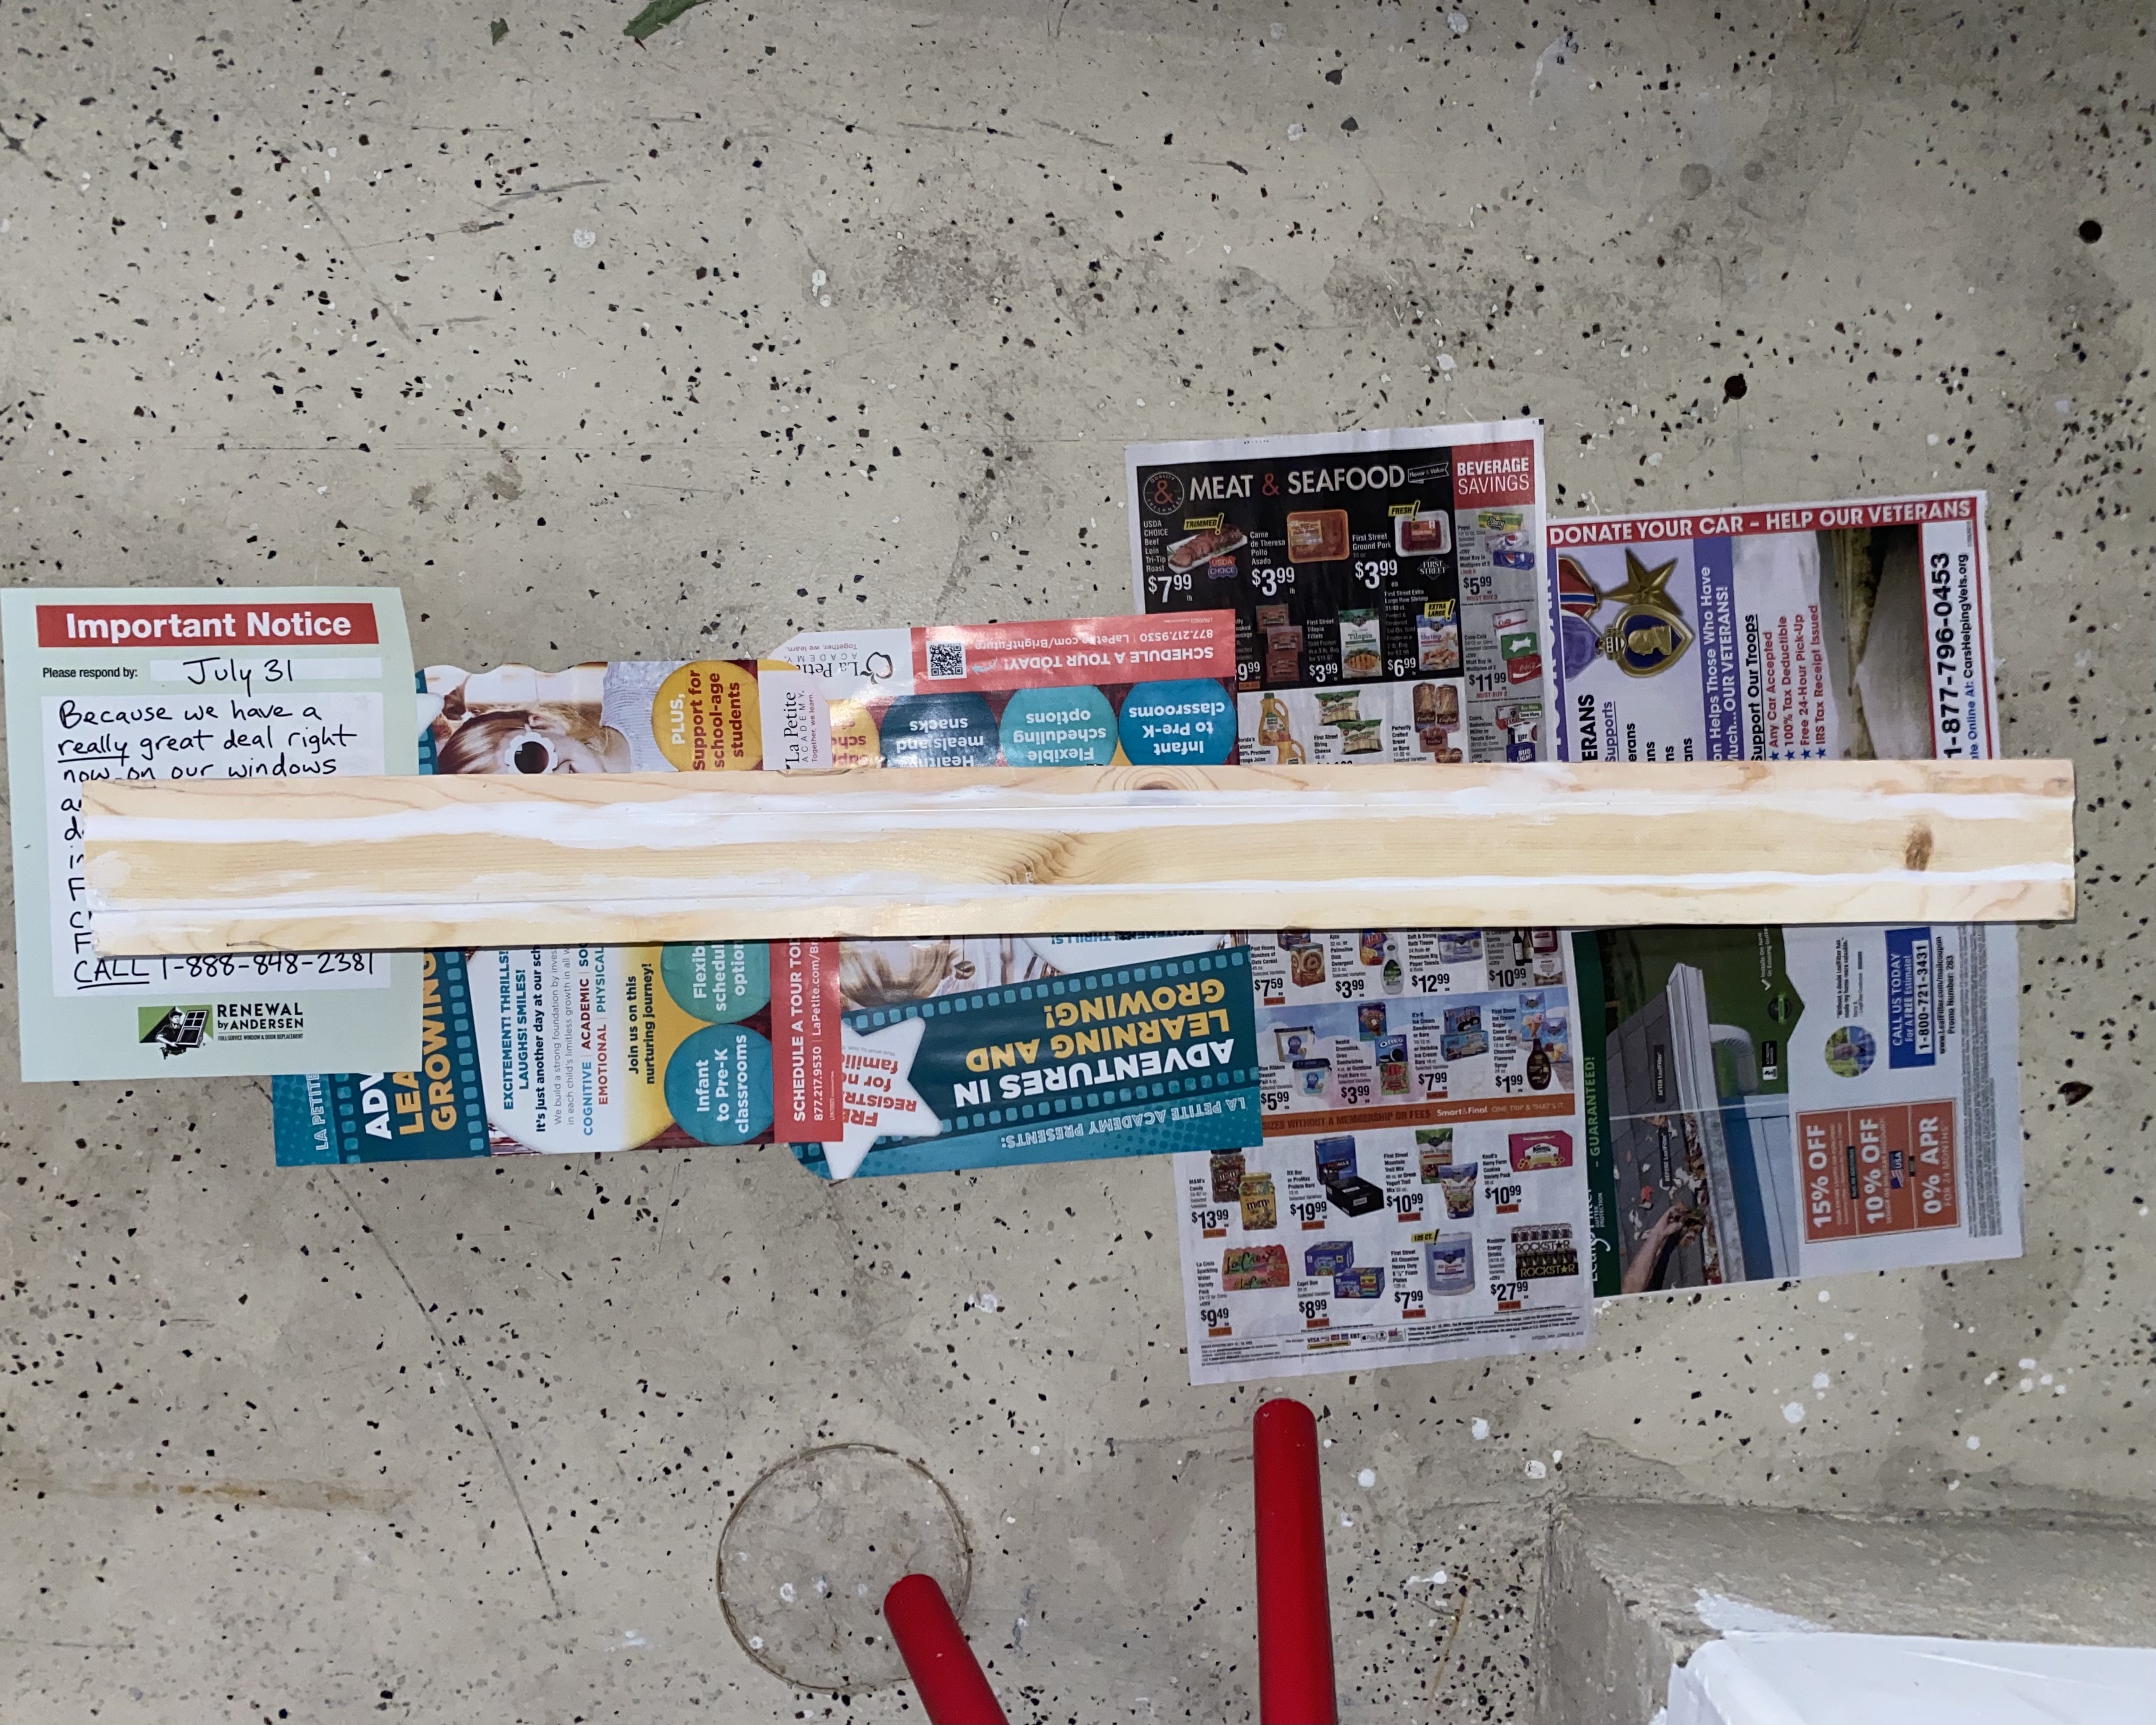
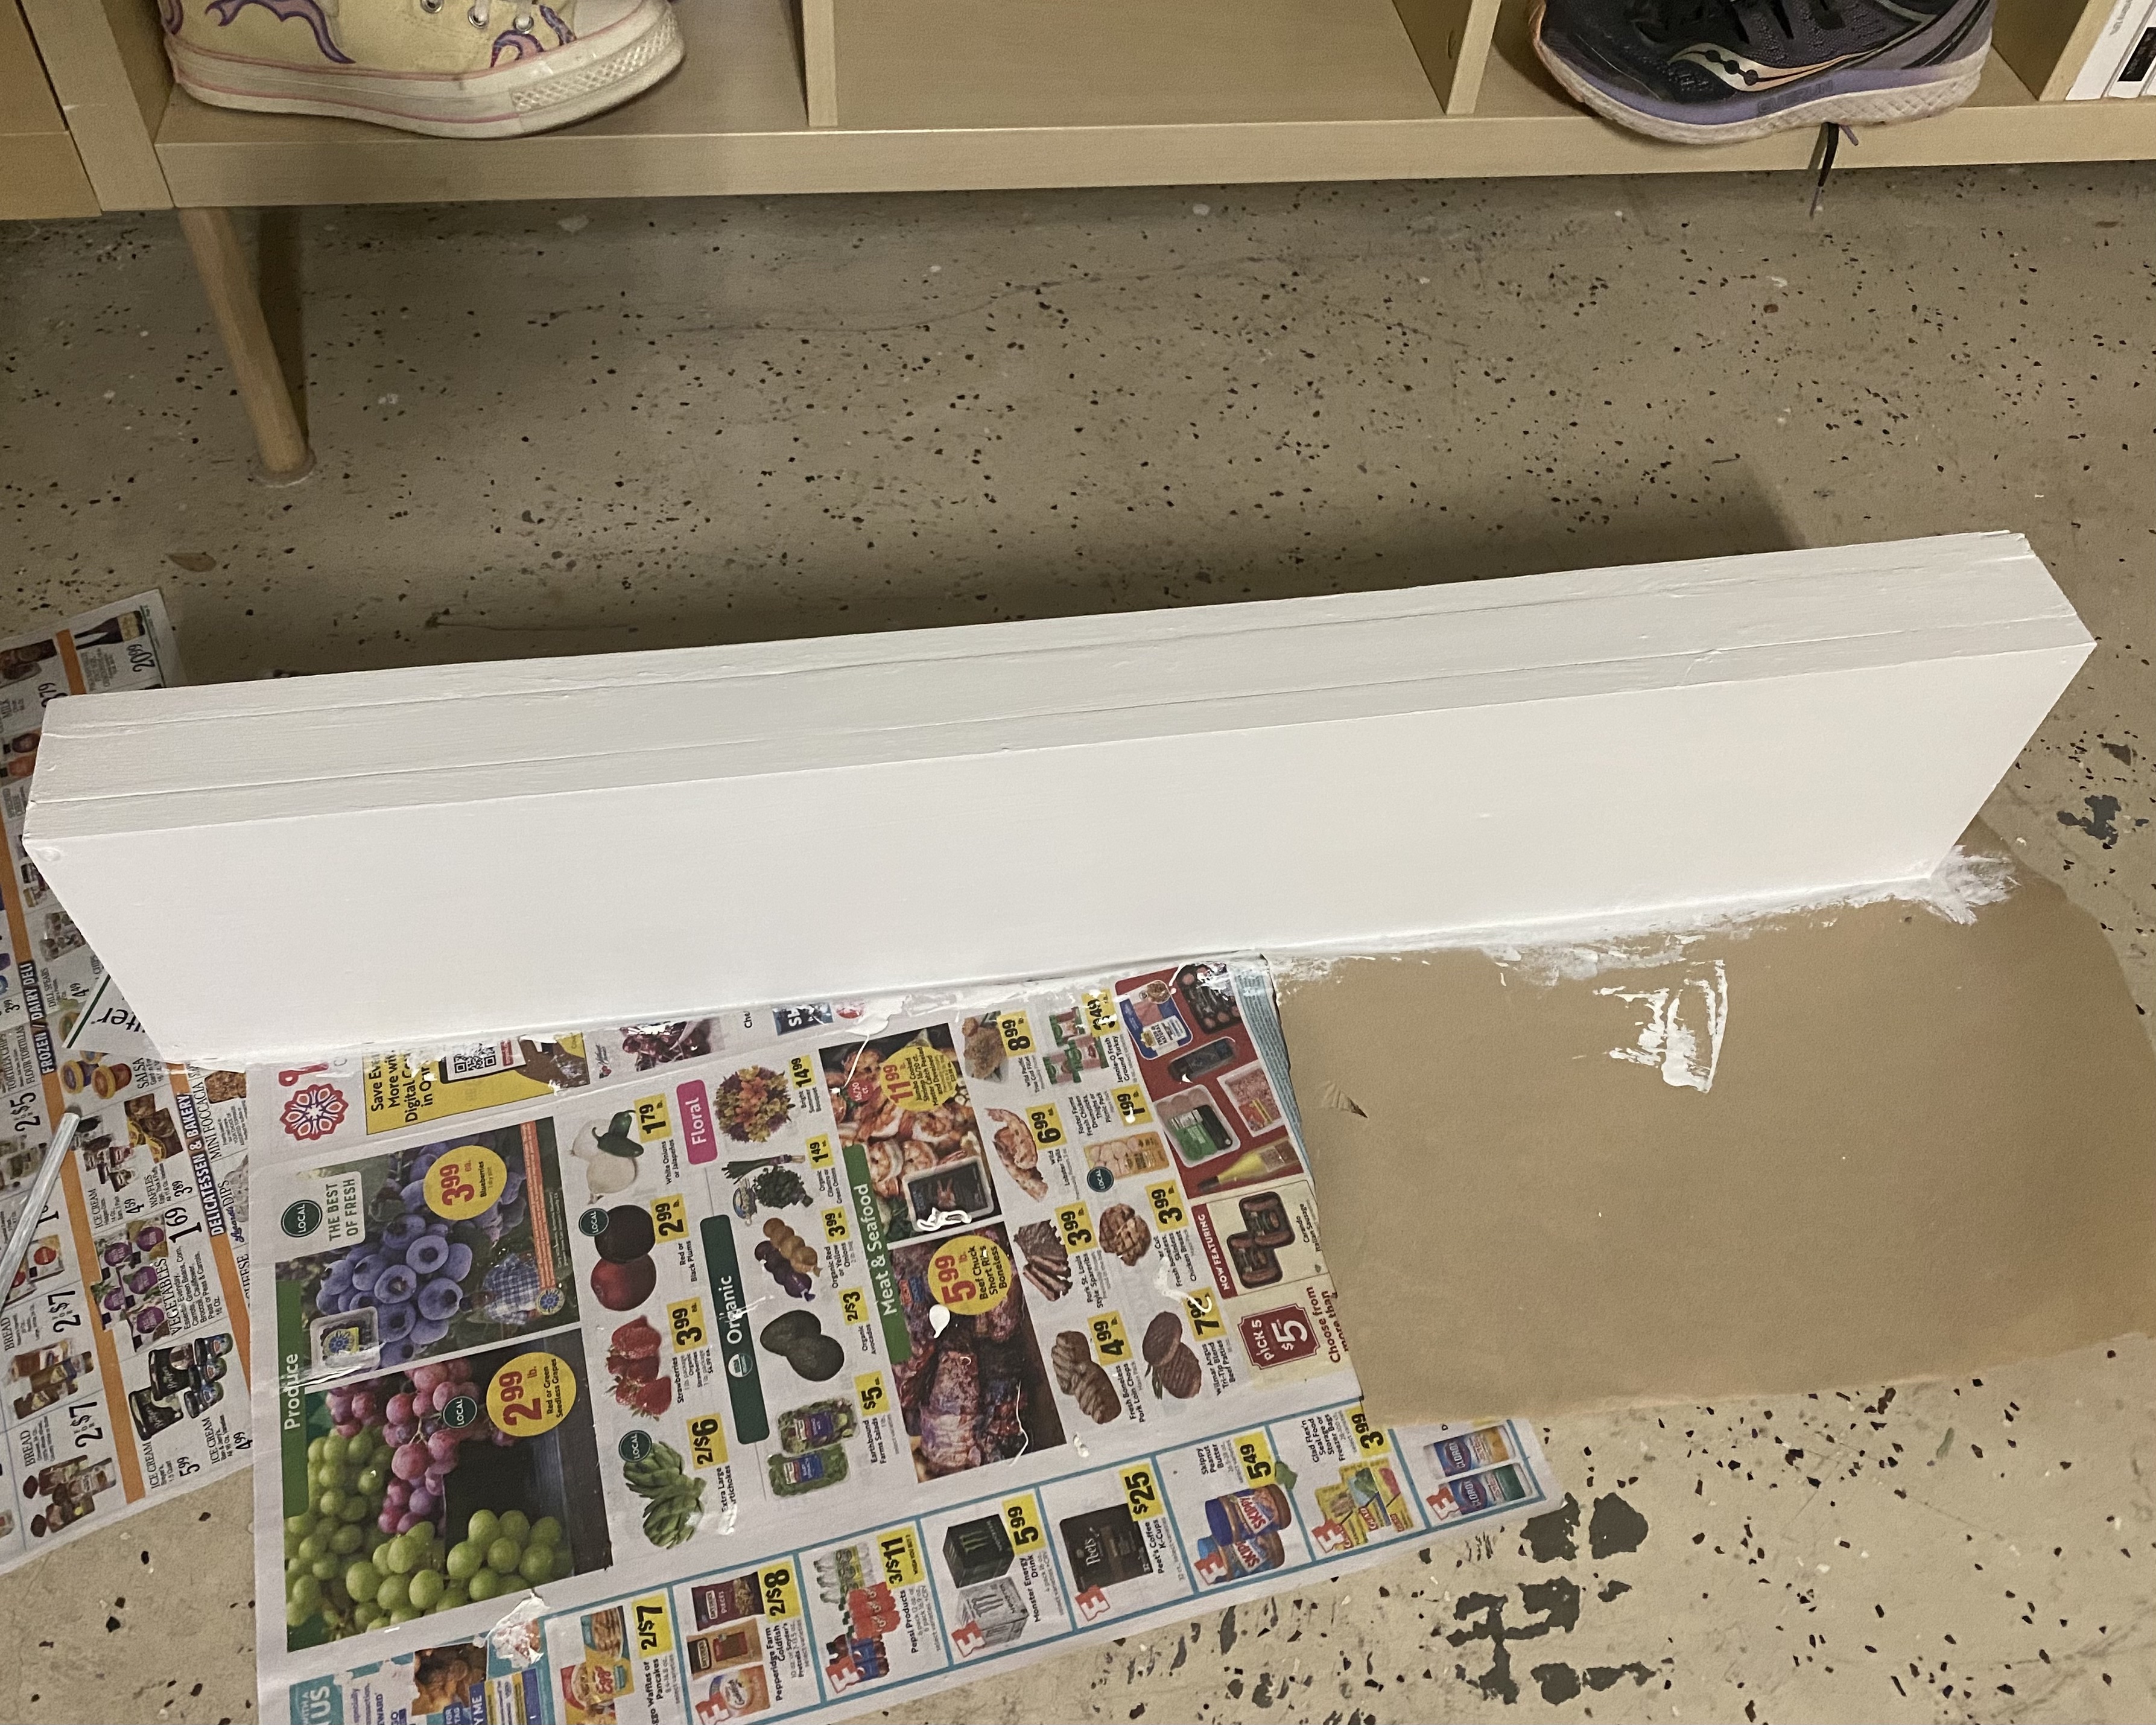
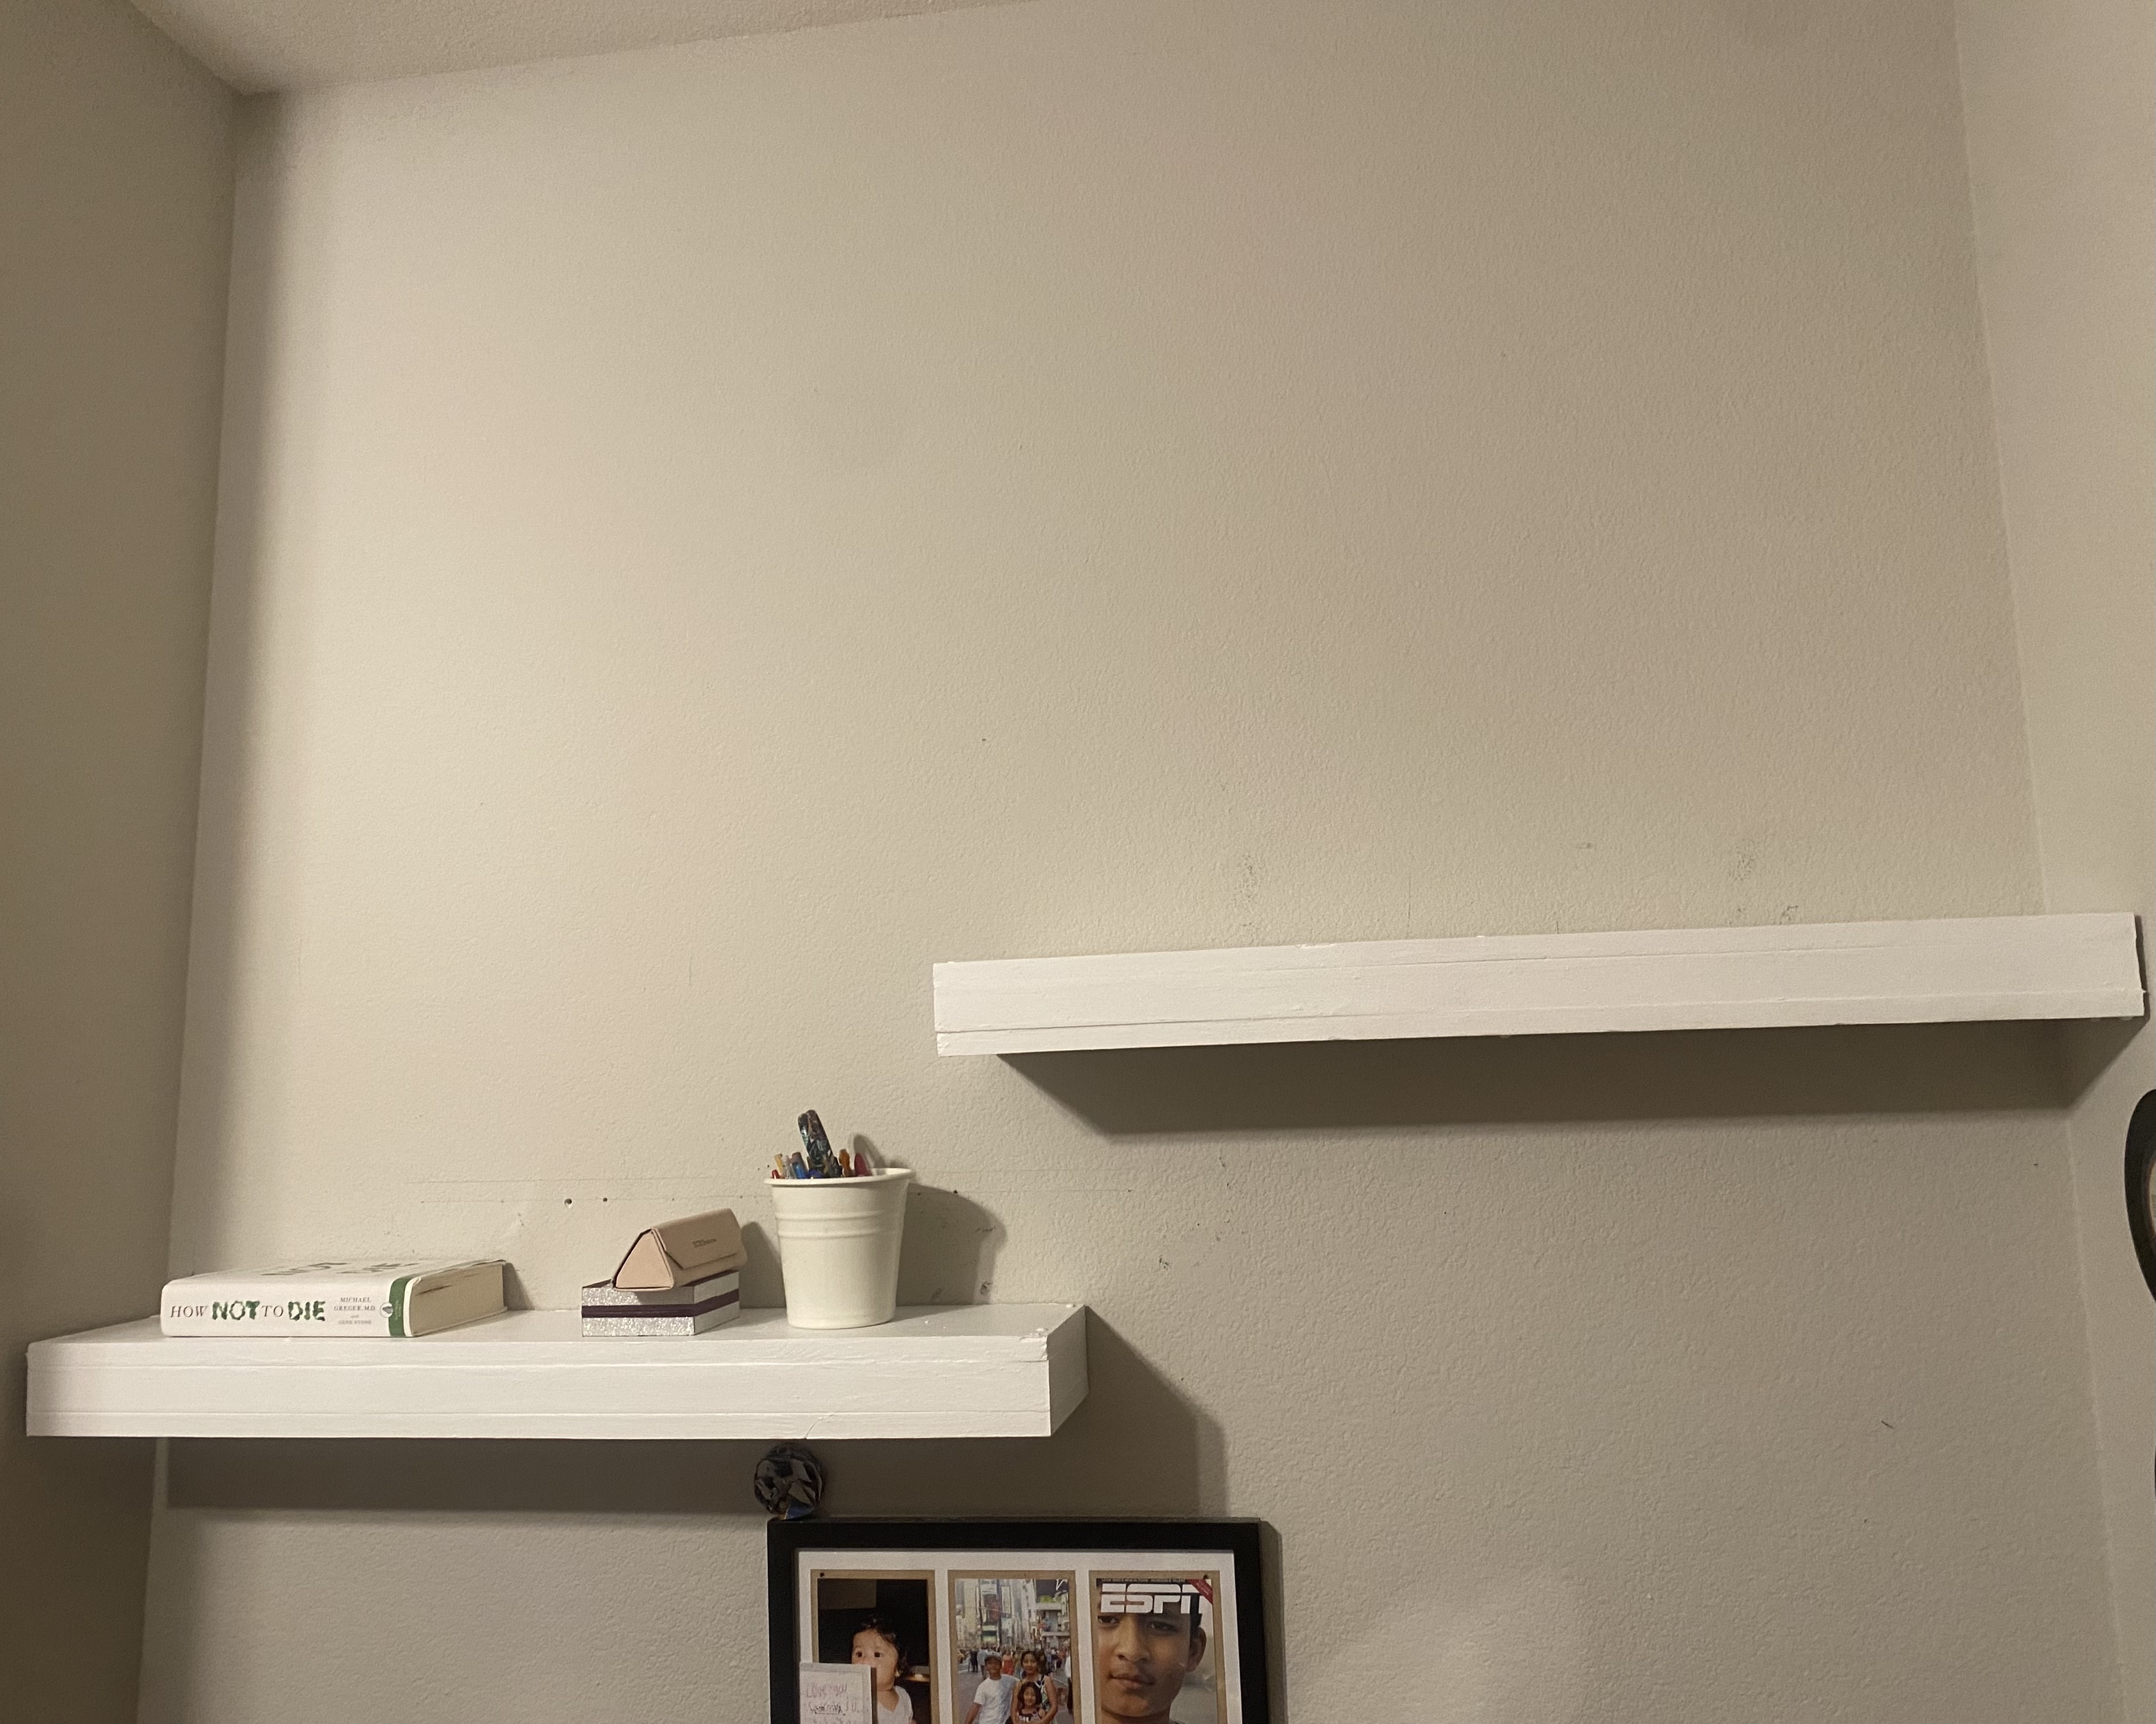
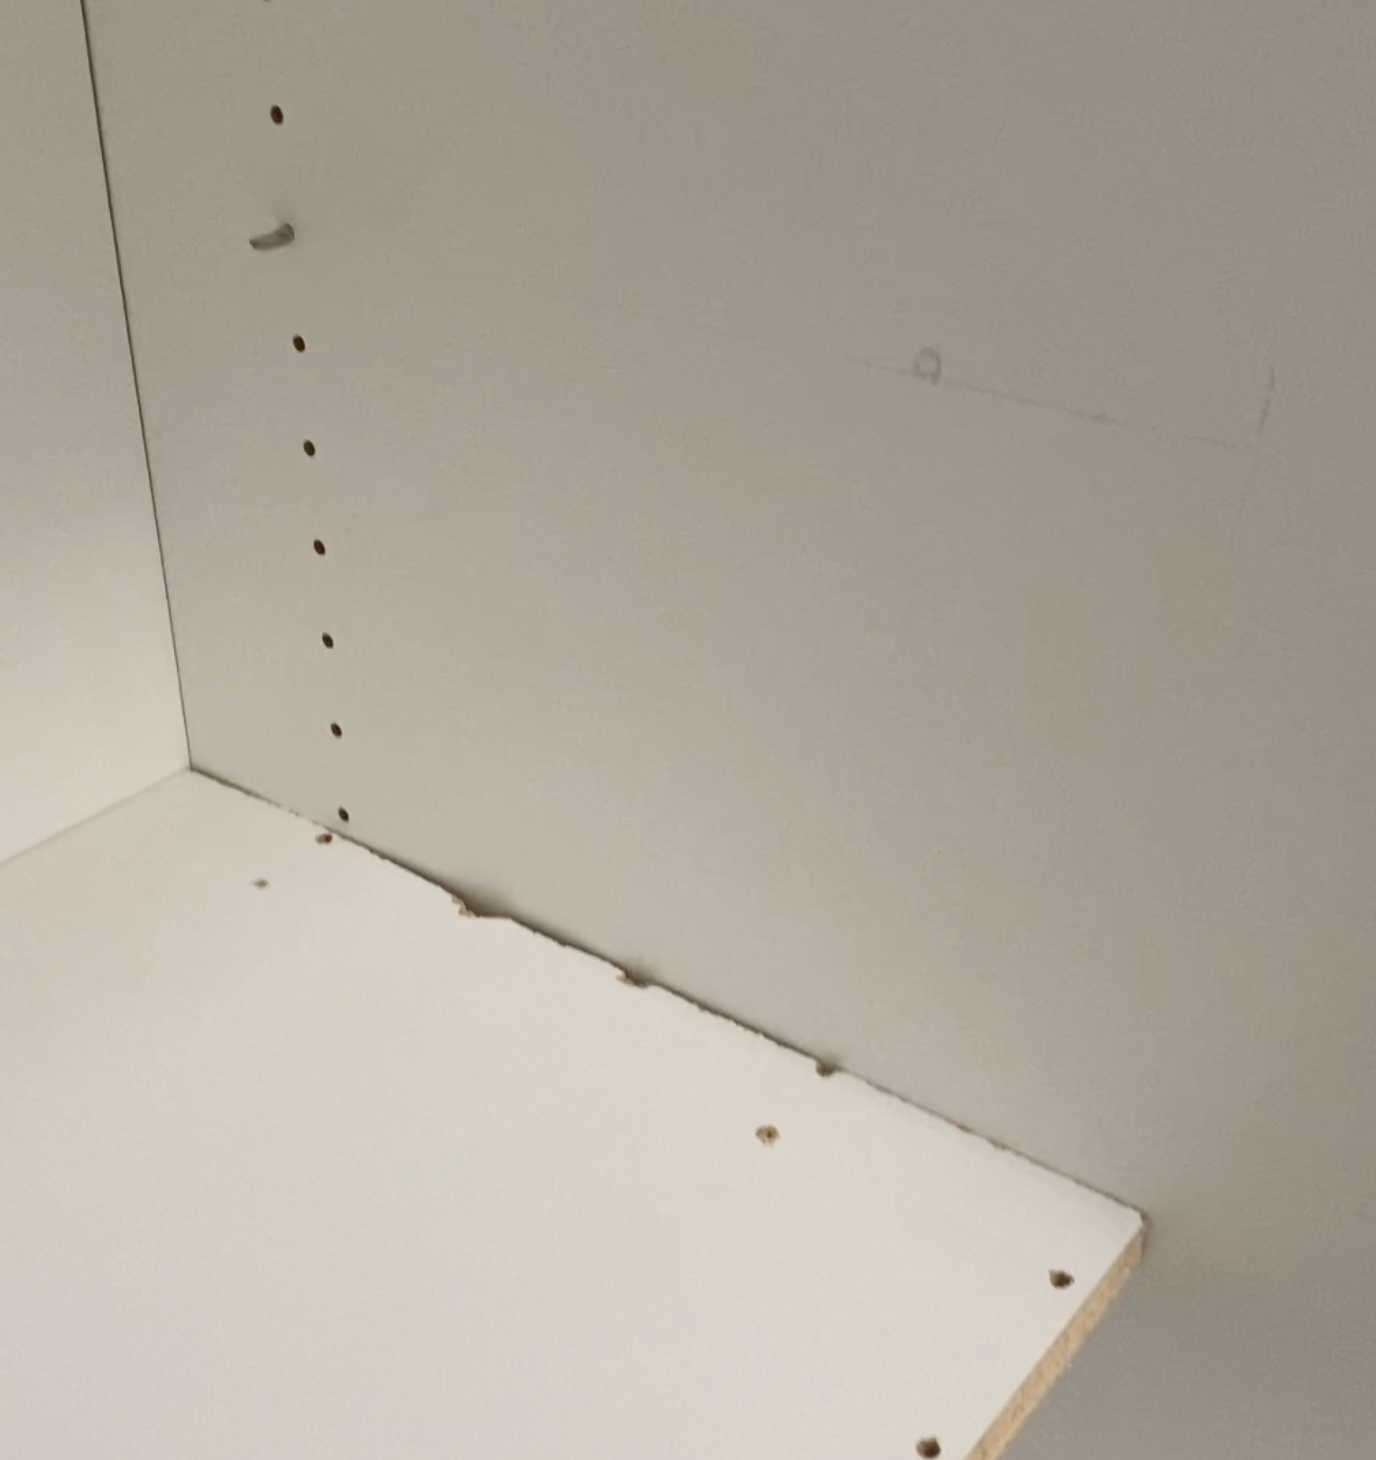
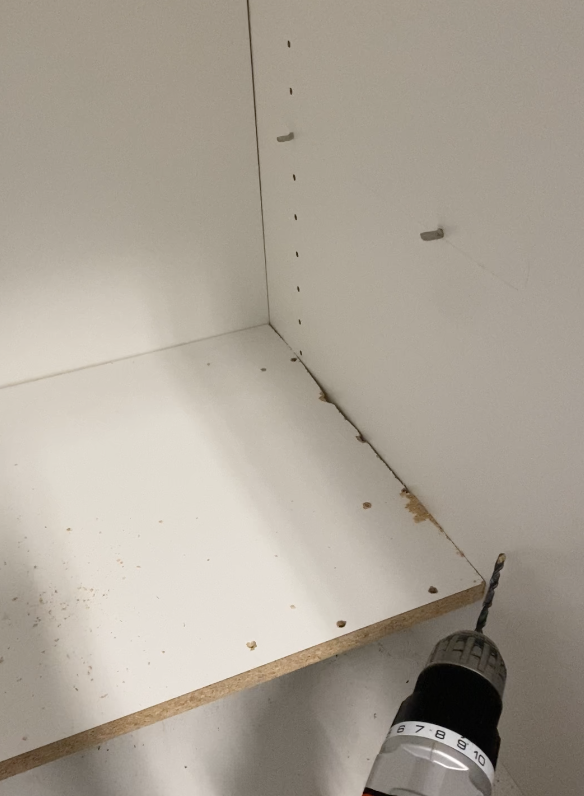
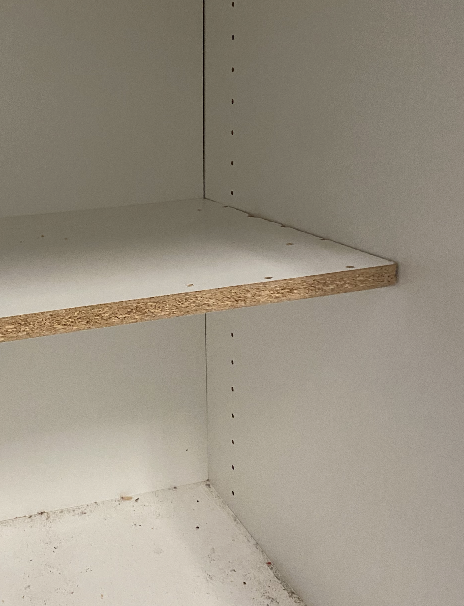
Floating Shelves:Summer 2023
My mom wanted some floating shelves above her desk so I decided to make two for her. She wanted them 3 feet long, 8 inches deep and 4 inches thick. I found a design online and then adapted it for the size she wanted. Each shelf was two pieces, the bracket that went into the wall(1), and the actual shelf that went over the bracket(2).
Show More!!
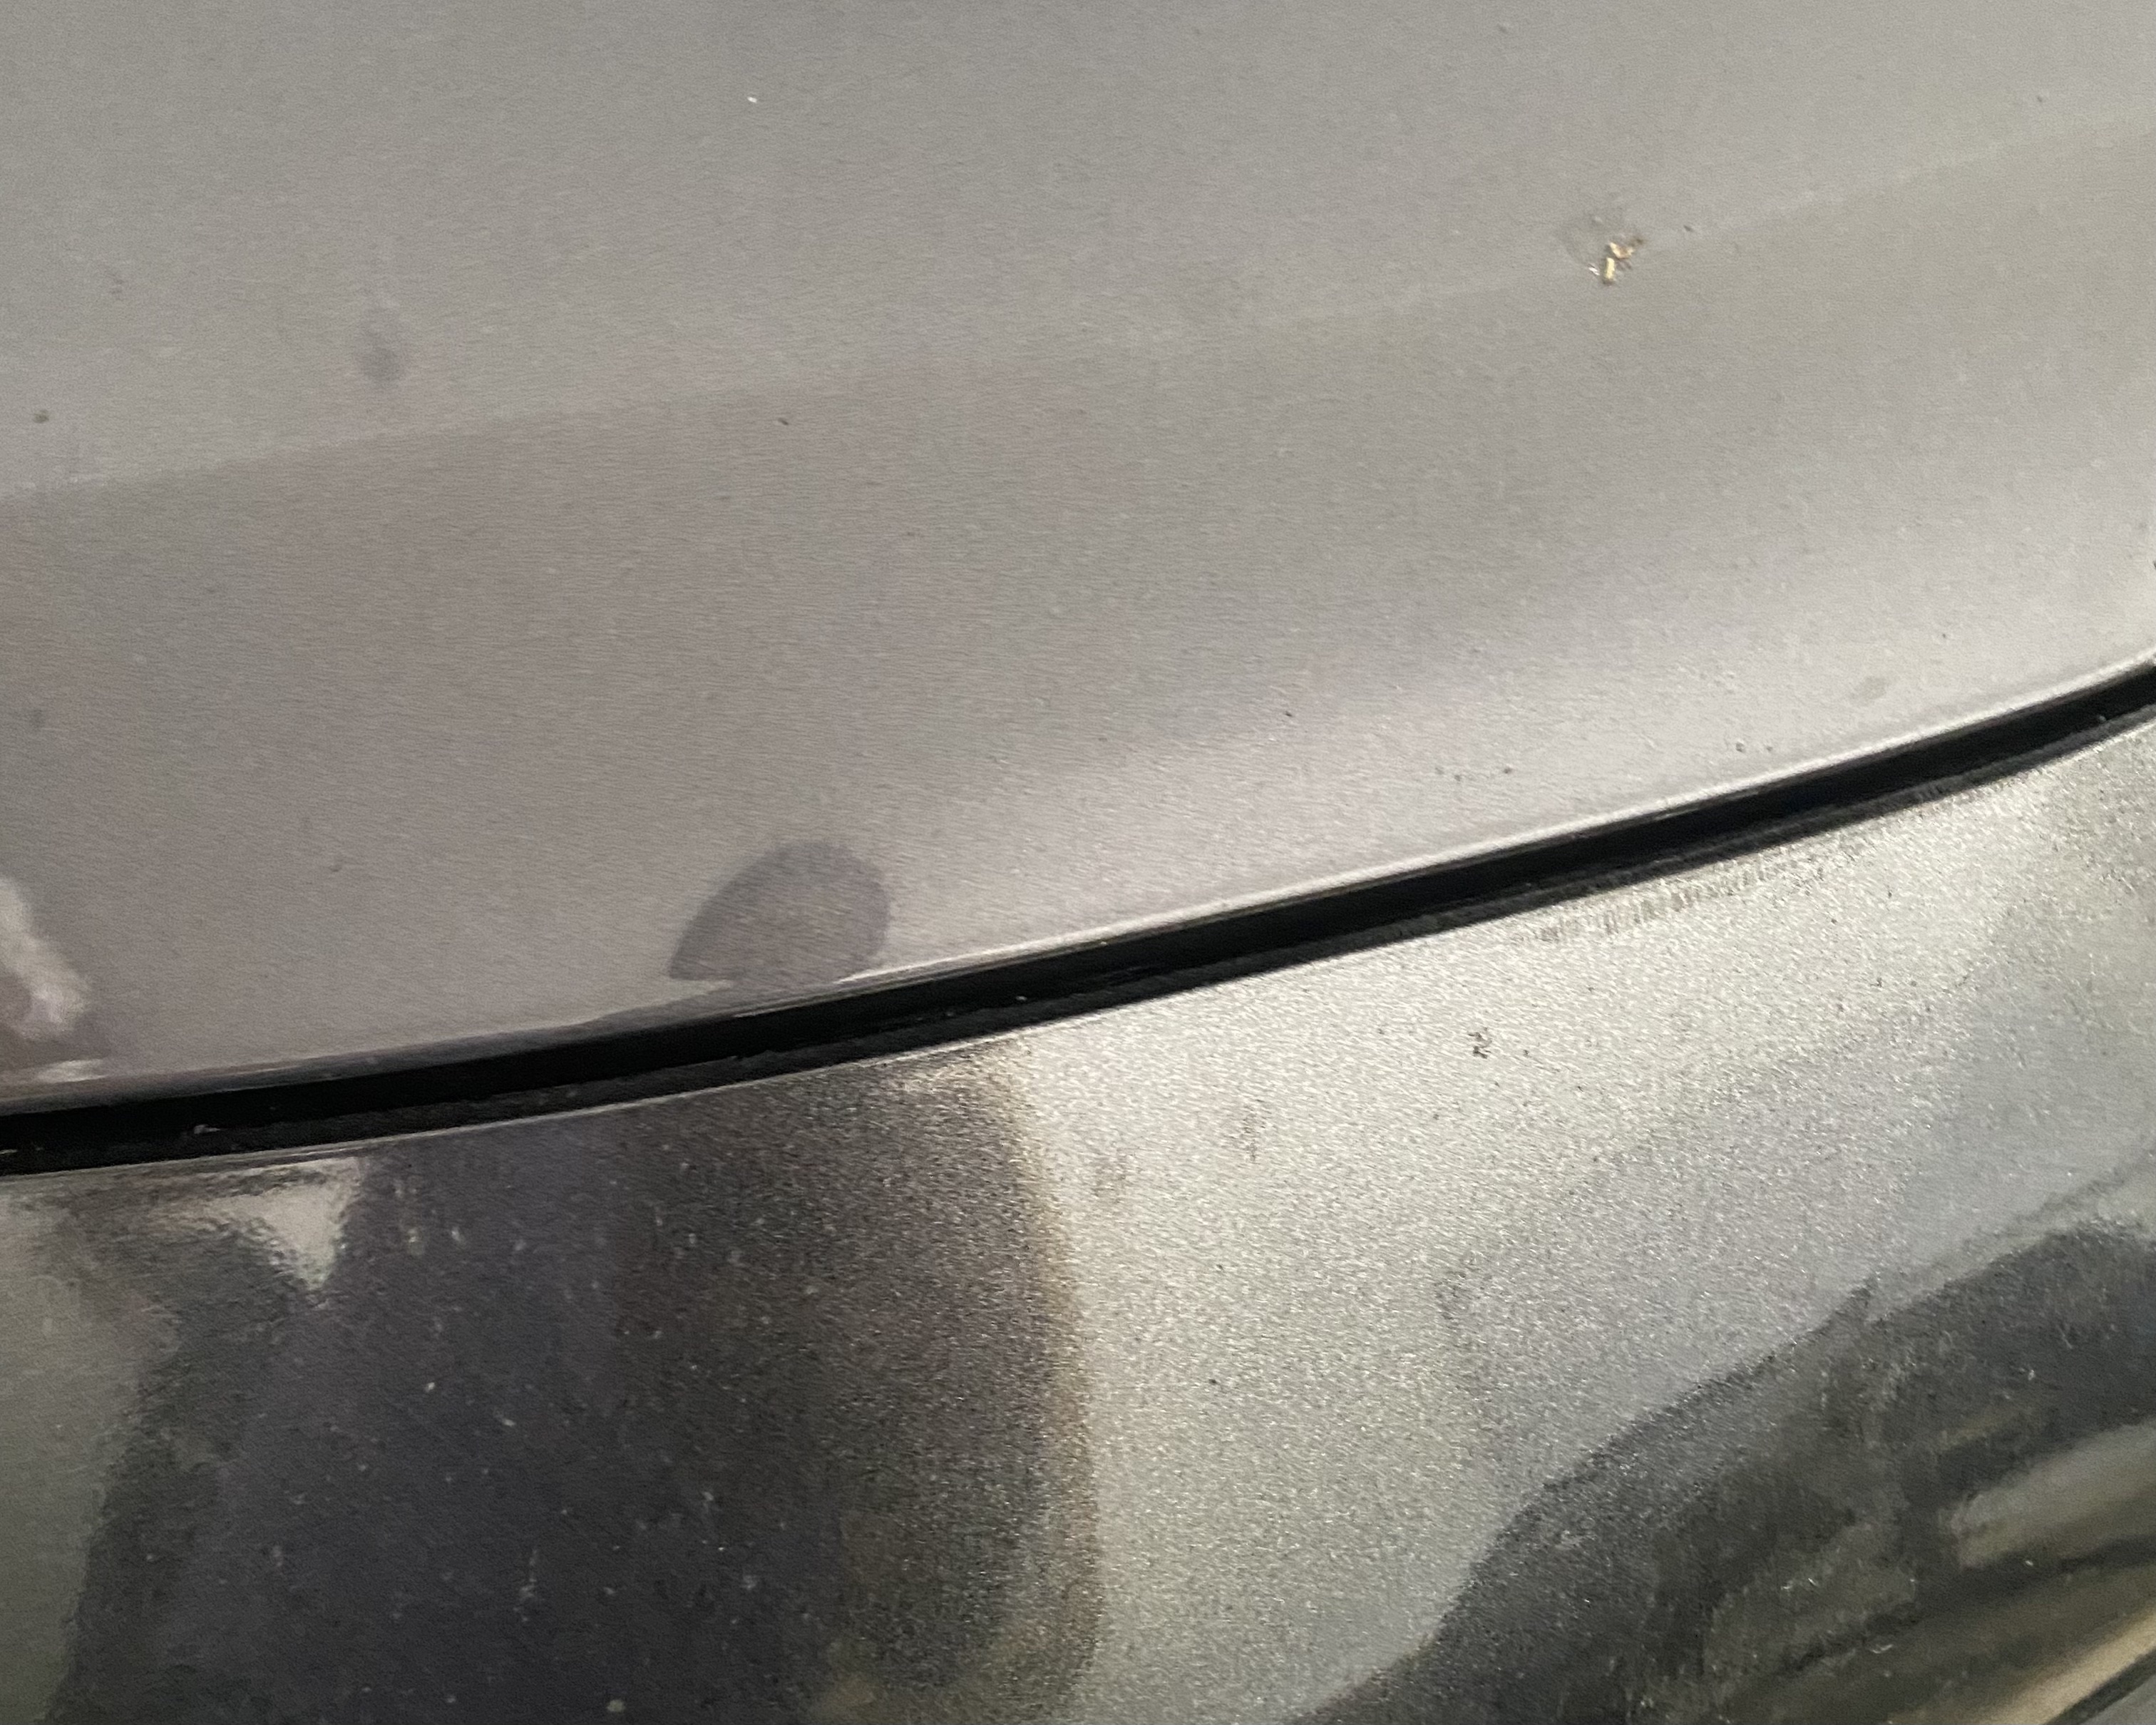
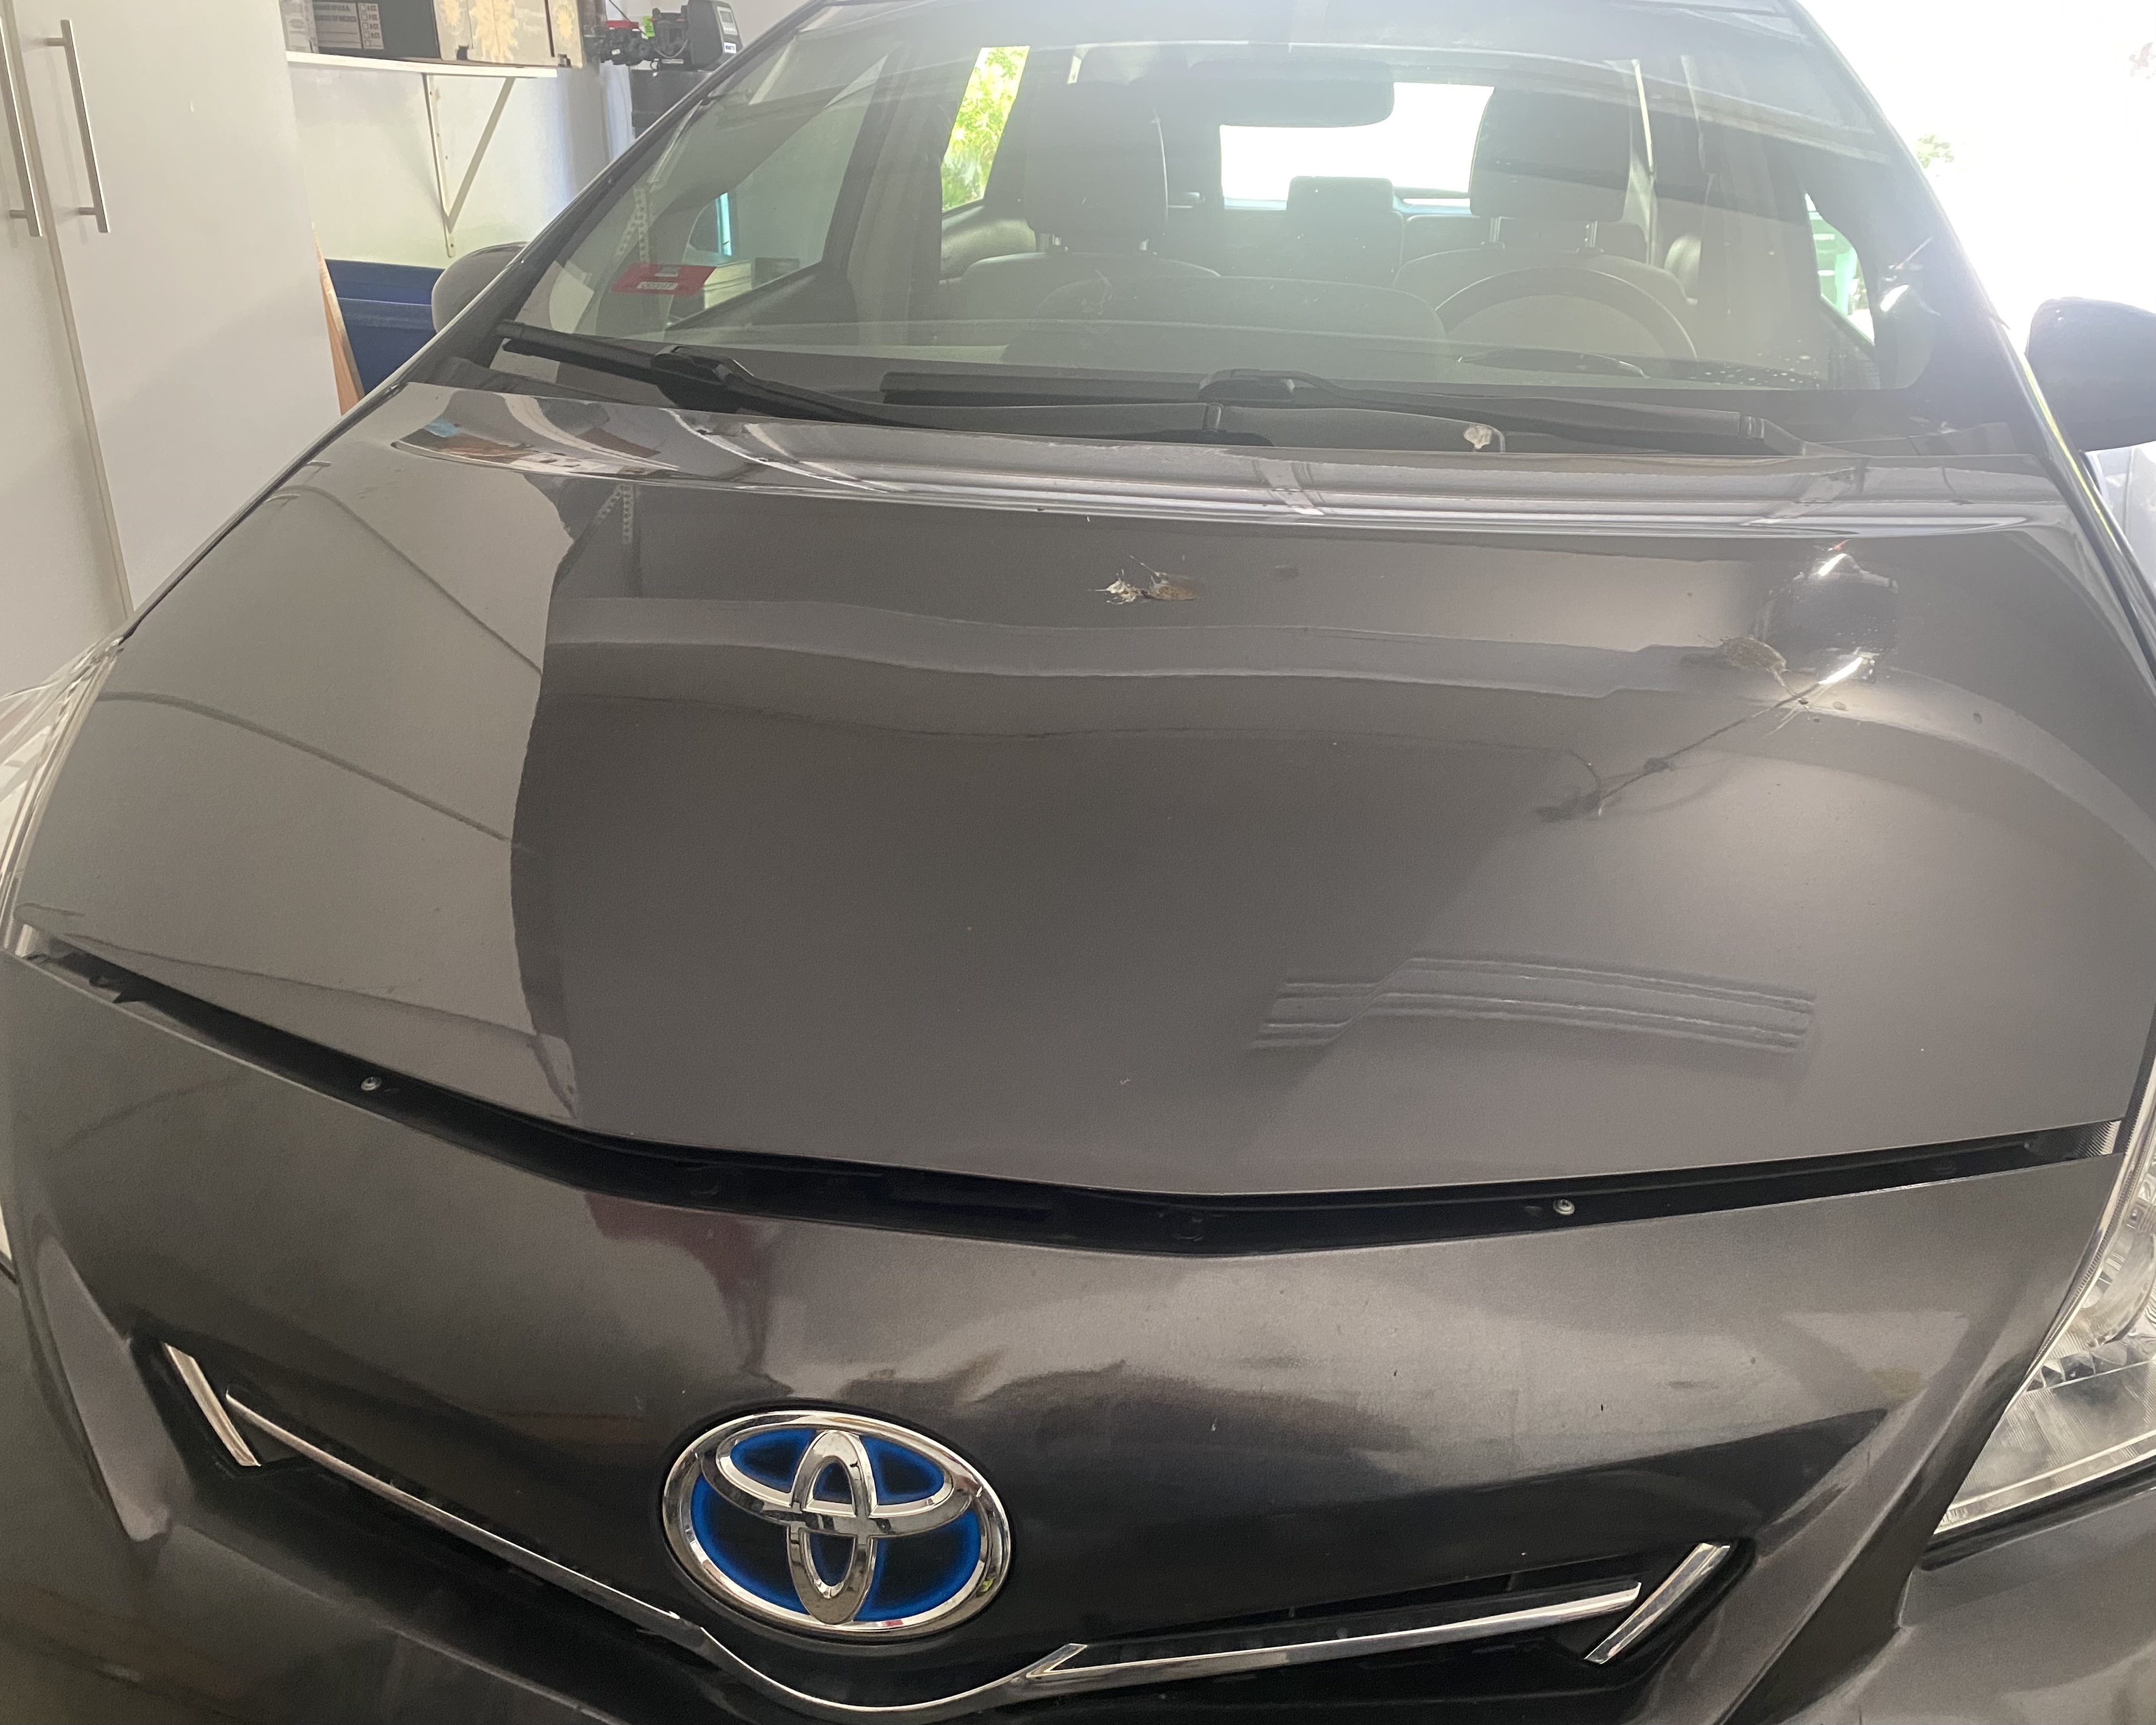
Hood Hinges: Summer 2023
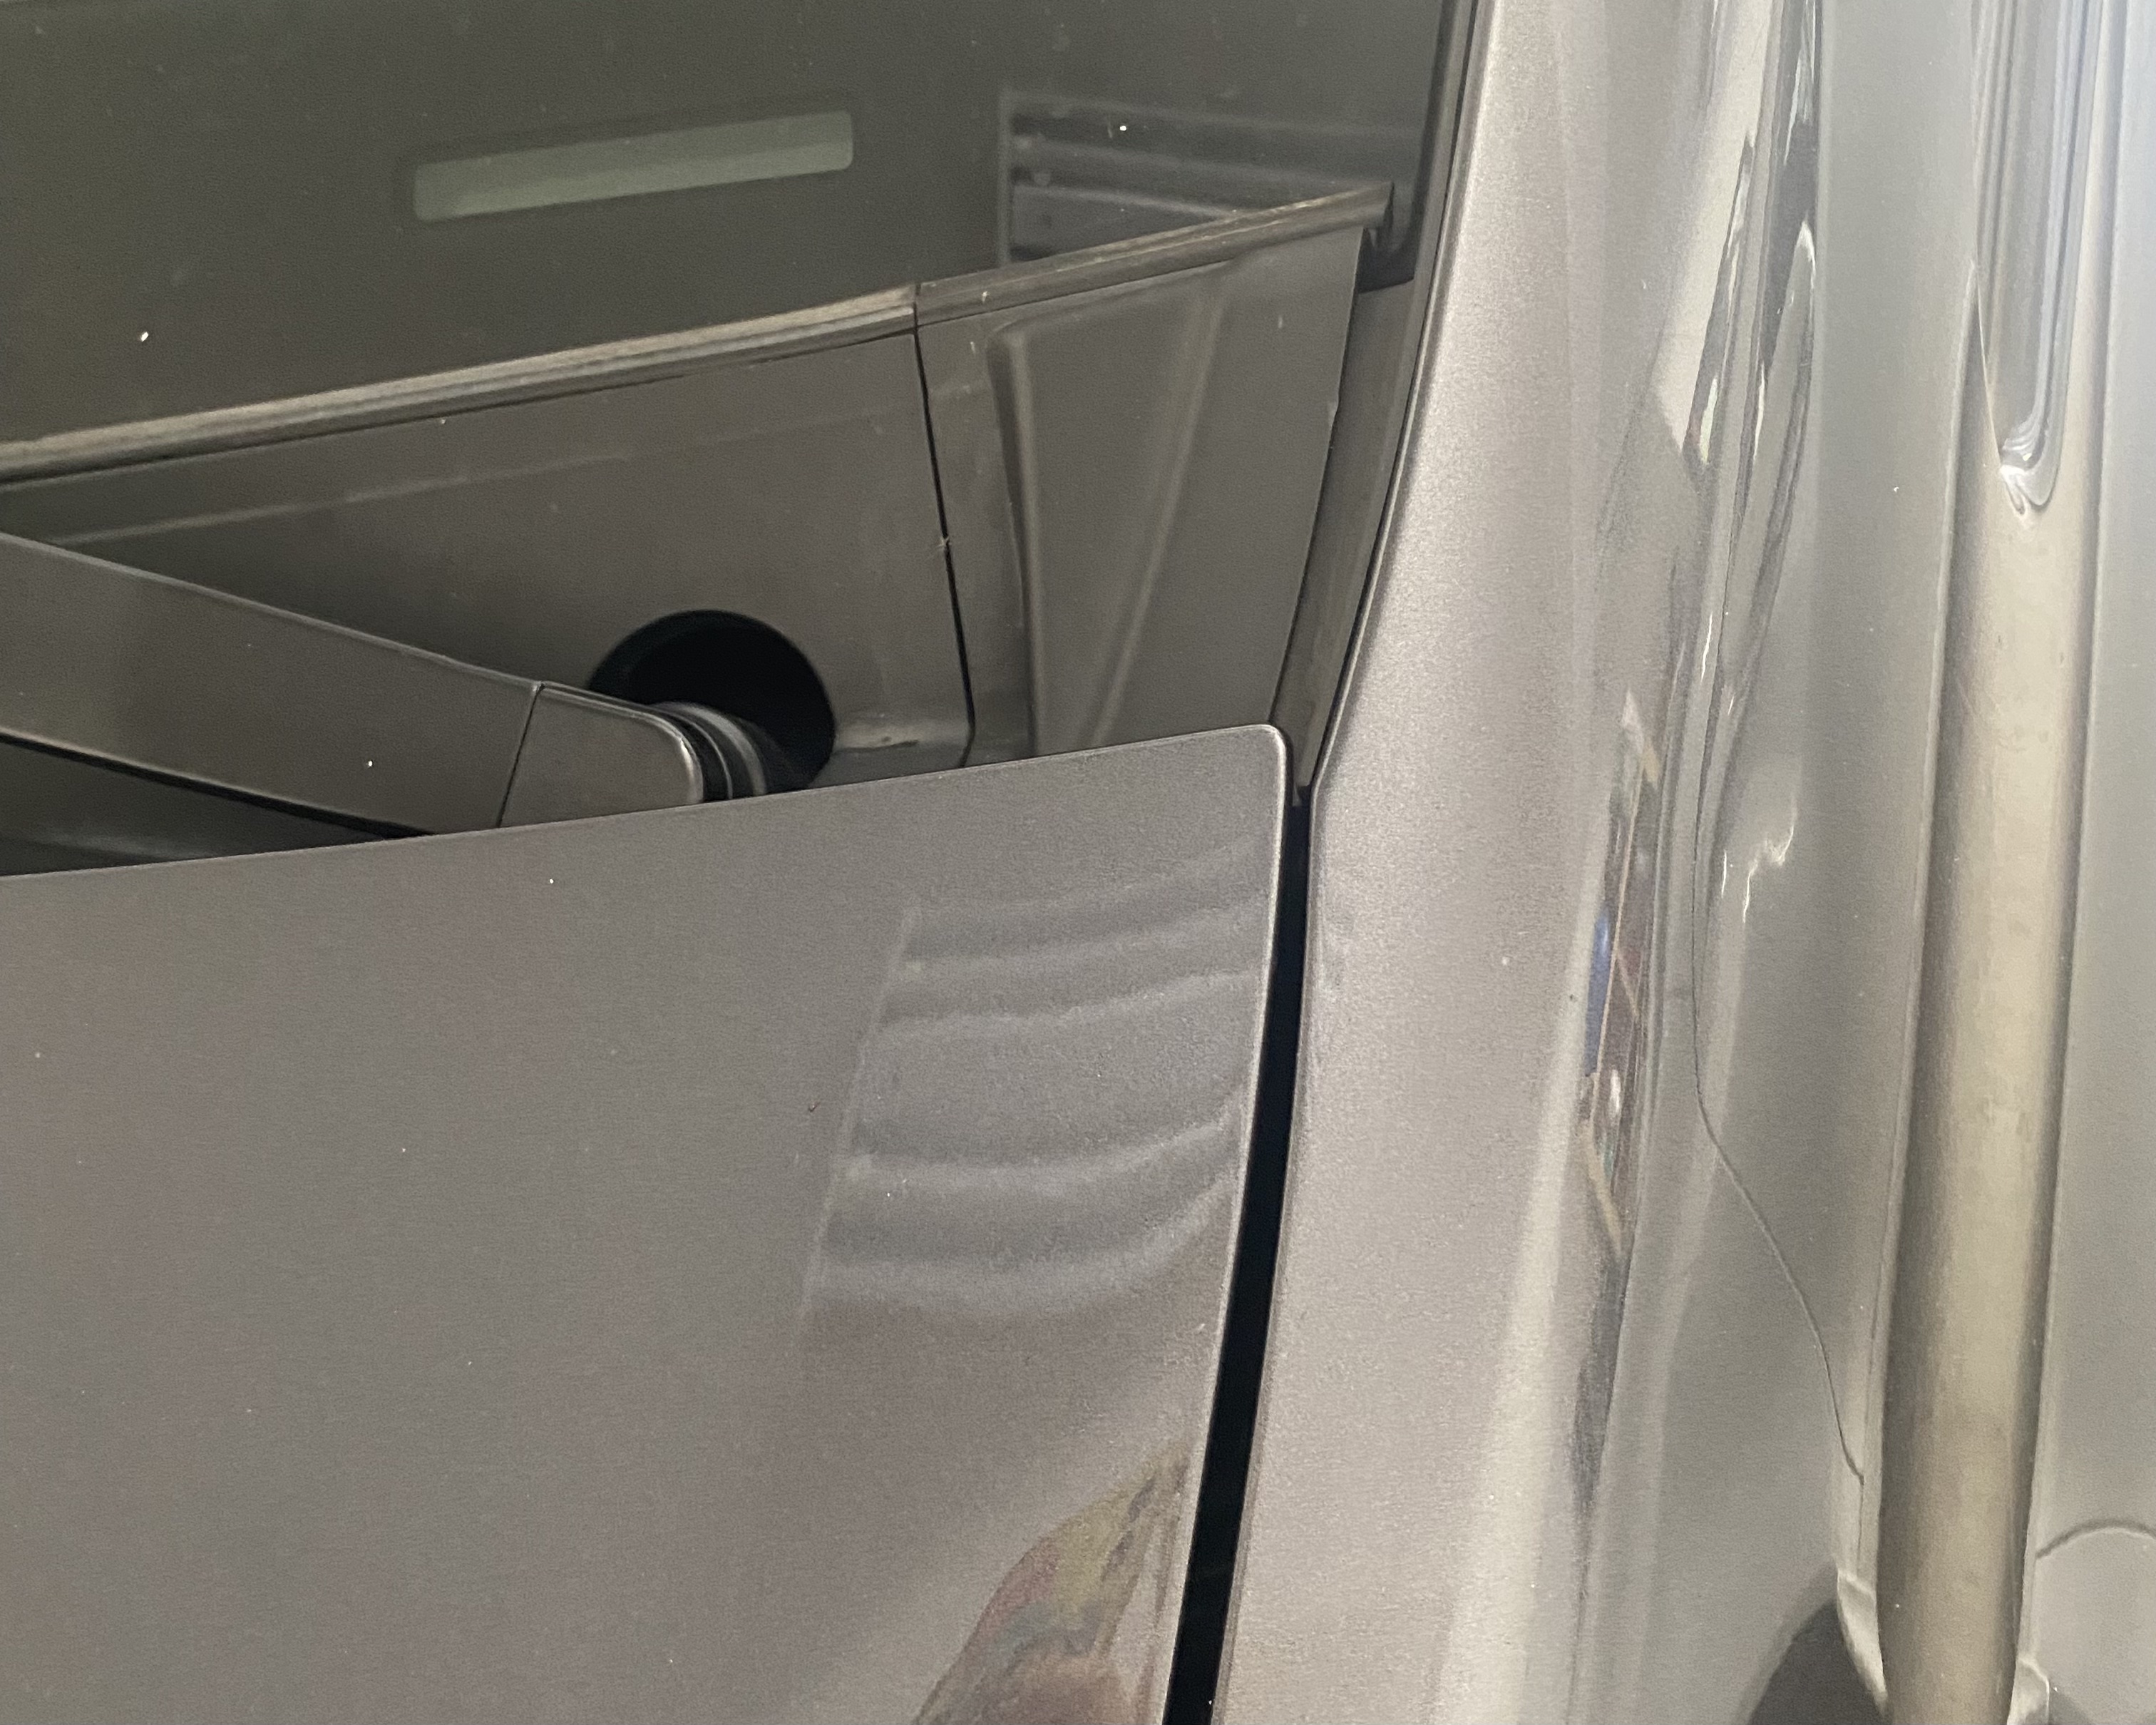
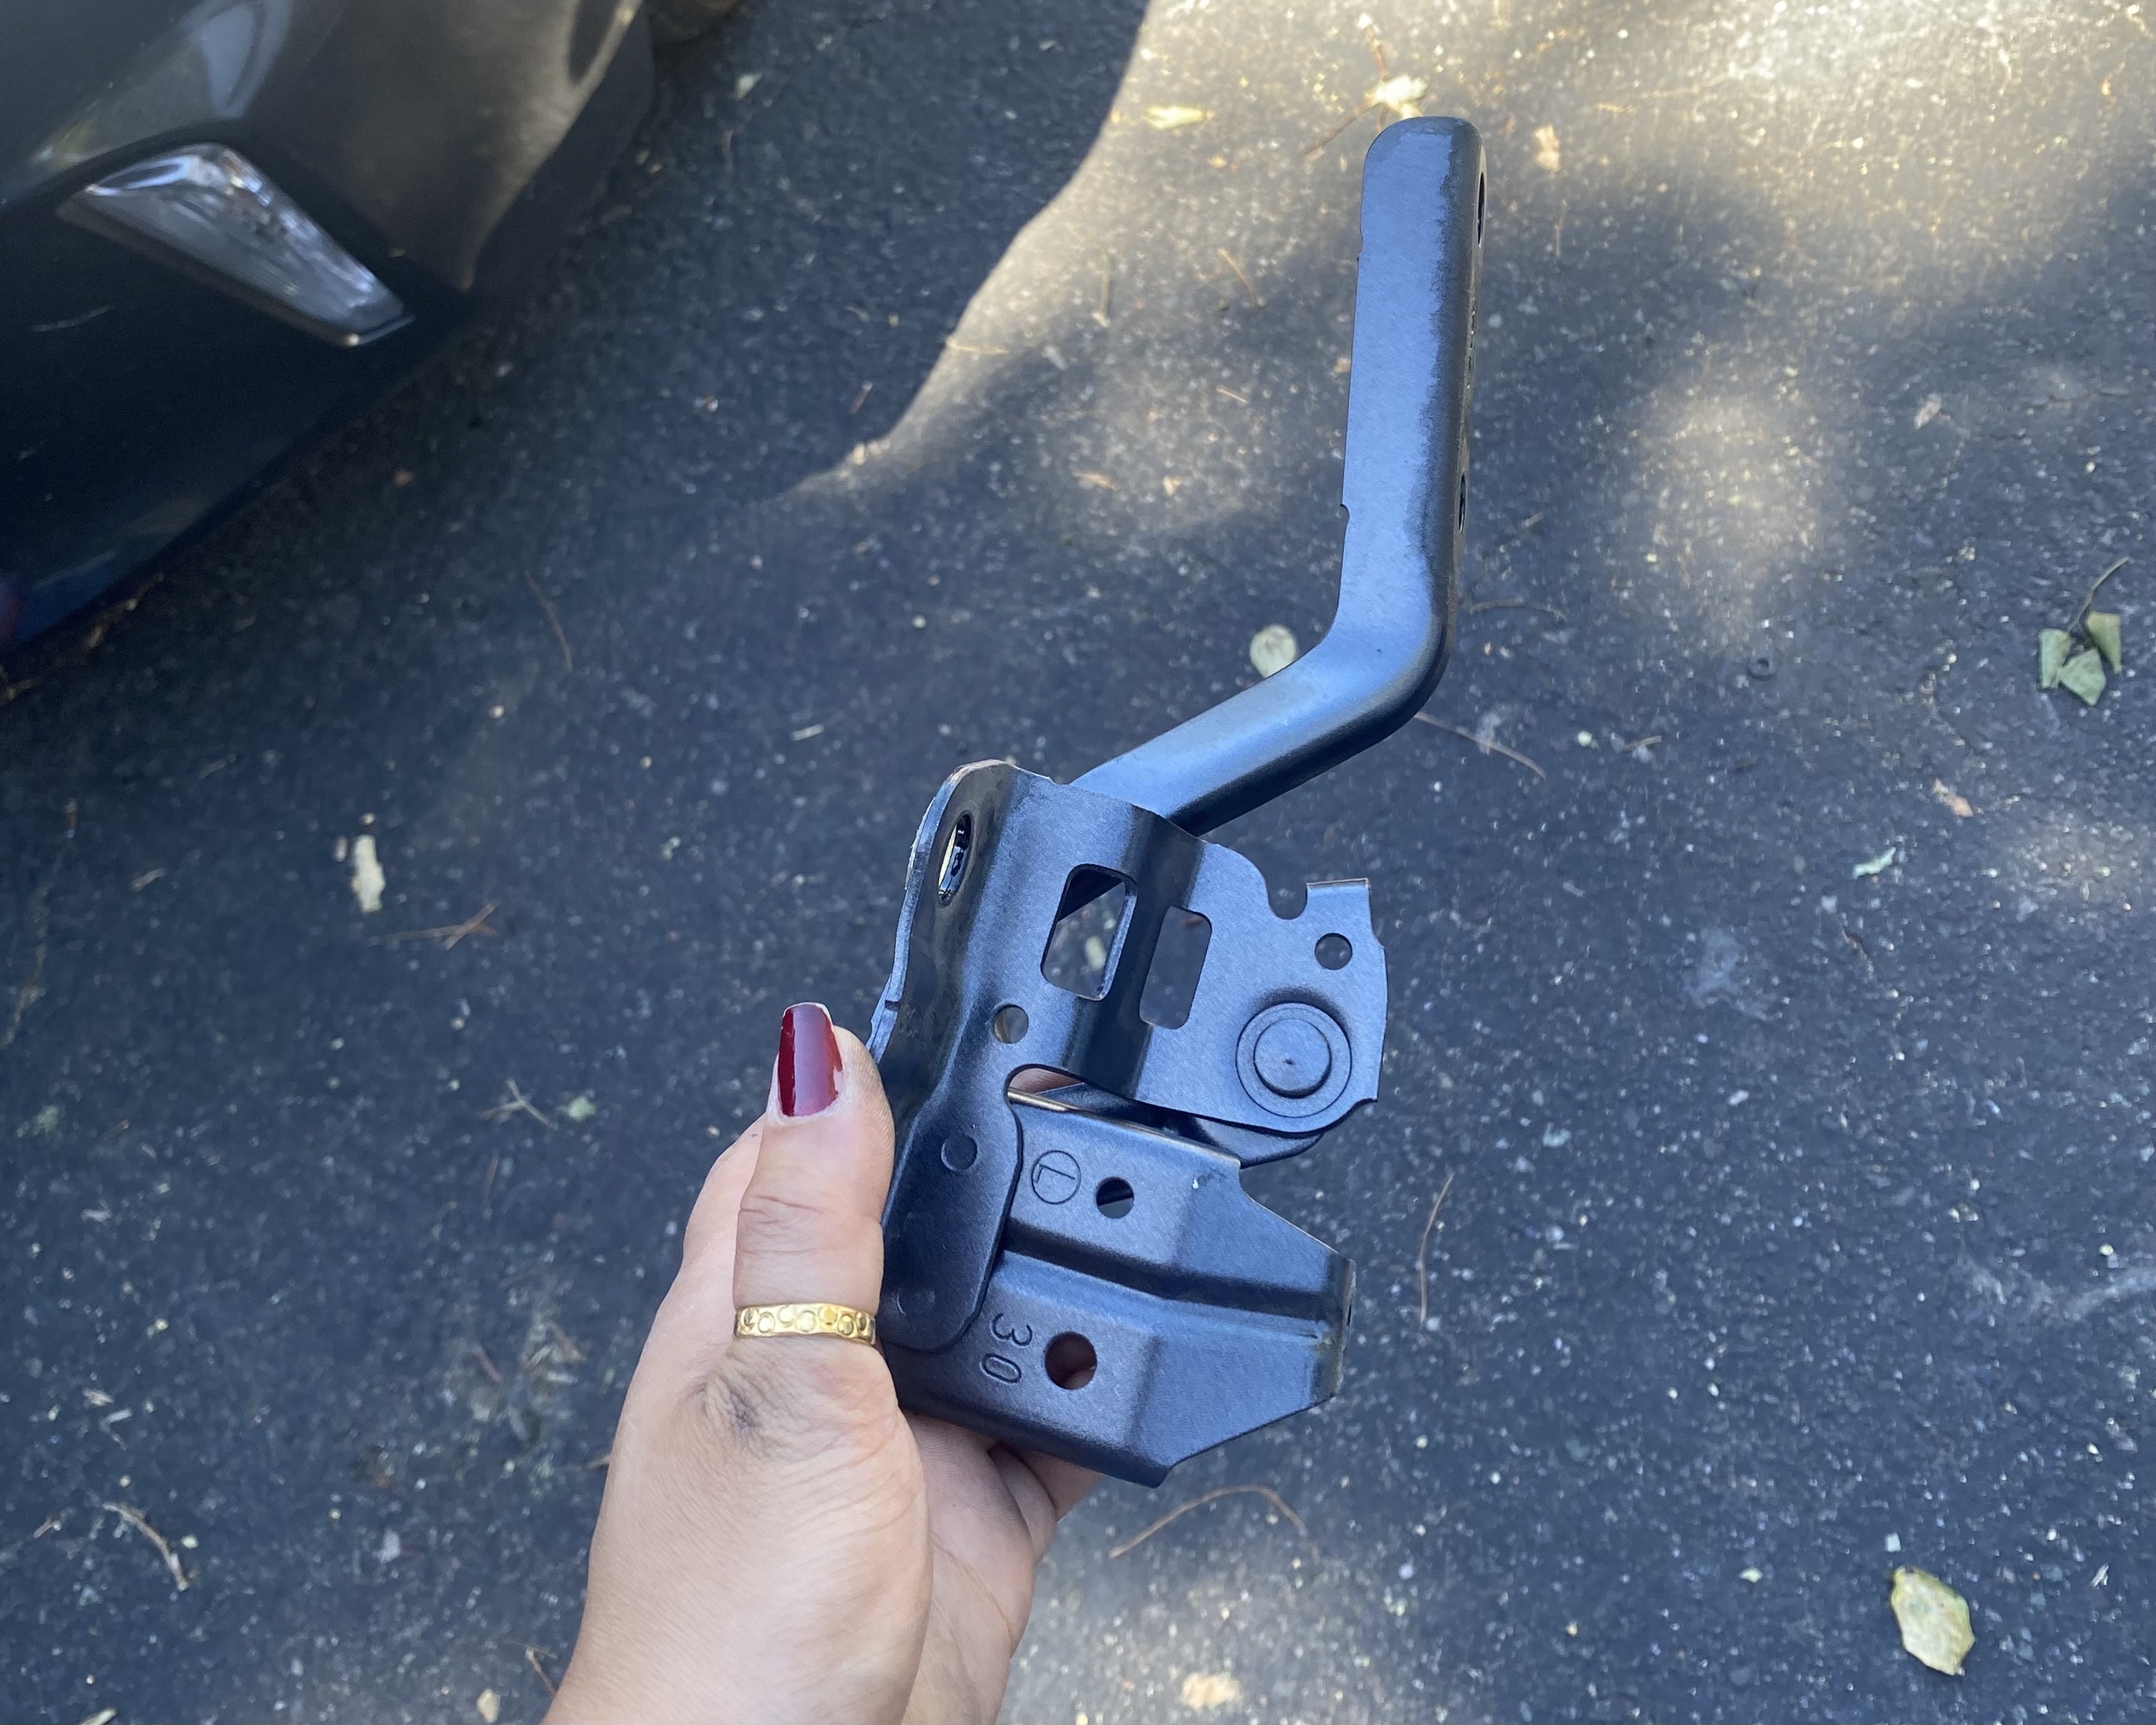
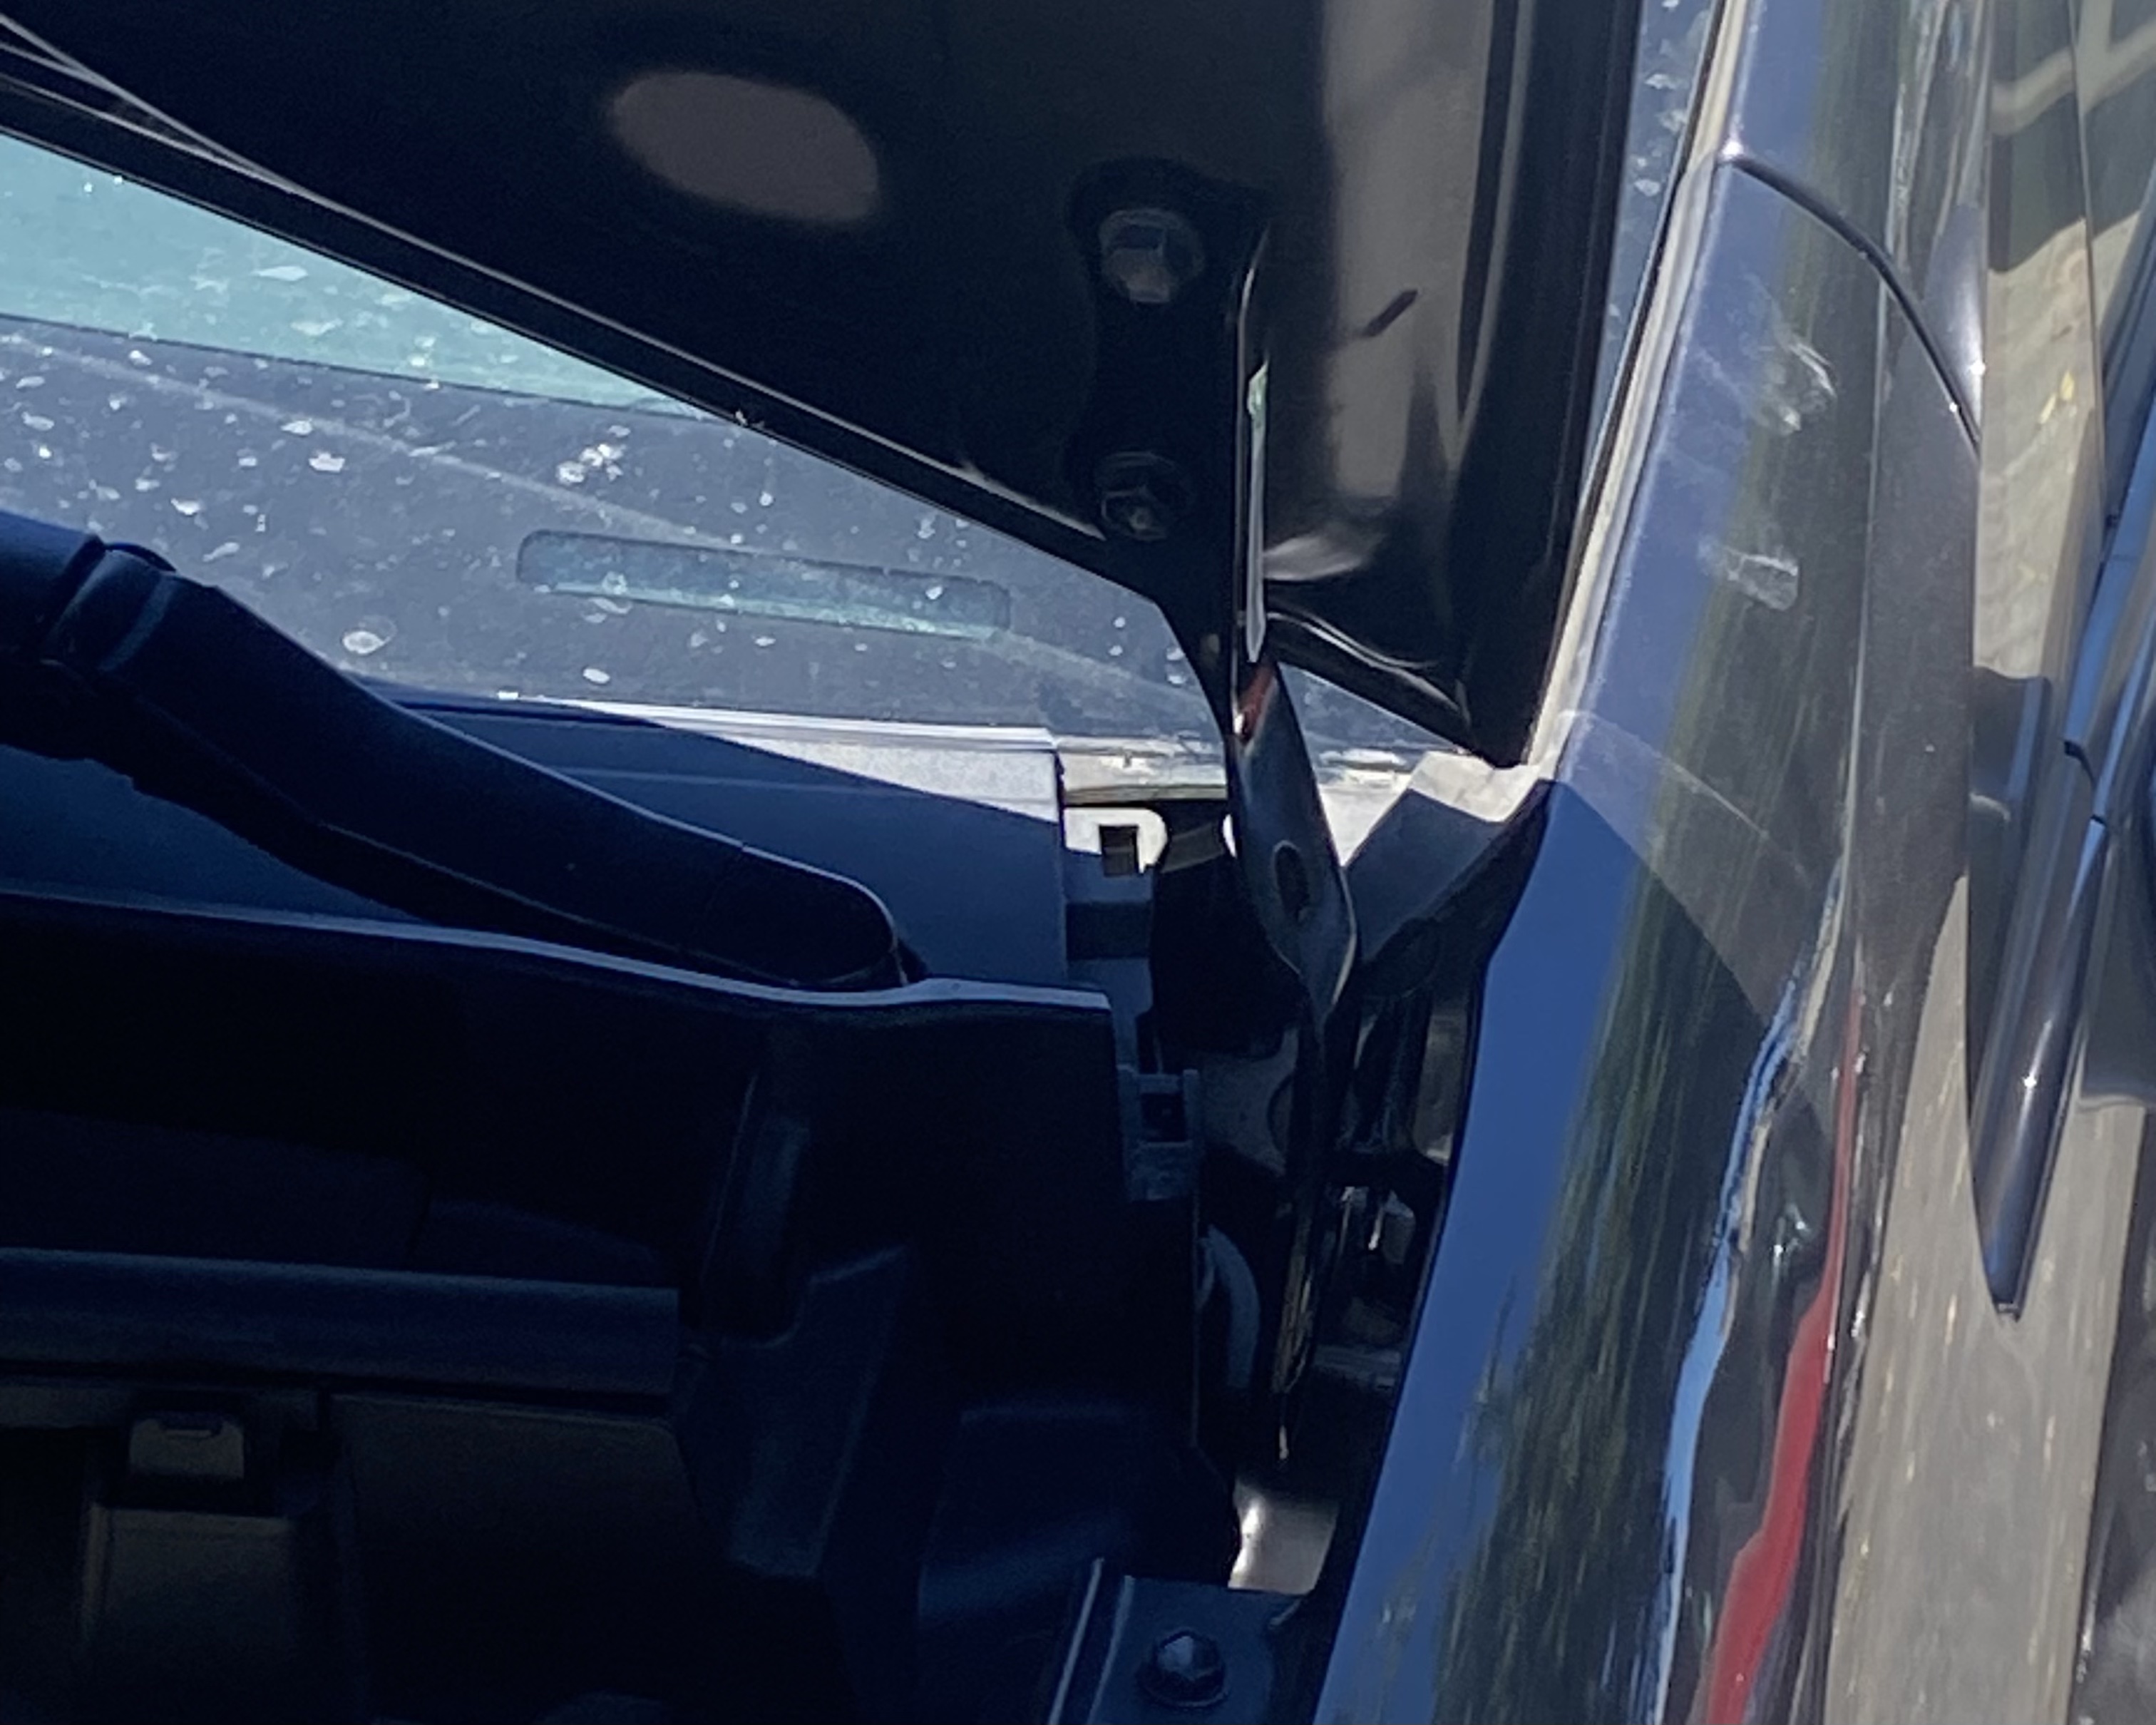
I accidentally rear ended someone lightly earlier this year, and it caused the hood of my prius to shift back, leaving a big gap between the bumper and the hood and misalignment on the sides. So, after consulting Dublin Collision Repair by my house, we decided to replace the hood hinges to help the hood sit more flush. I went in and they did the left side, and I copied them on the right side. After he took the cover piece on top, he took off the 2 top 12 mm bolts, then the two bottom ones, then the one 10 mm bolt in the back. He pulled out the old one and then replaced it and reinserted the bolts. Then I did the same, using the power tool they had, and different head attachements to get into the nooks before I swapped out the right side one. It was pretty straightforward since the bolts were self adjusting and didn’t have to loosened and retightened so the hood sat straight. There was also no ground like in the video I had seen, just a wiper fluid cord that was easily reattached.
The pictures are: The gap between the hood and the bumper before, the misalignment in the hood before, the new hinge, the new hinge installed, the gap after, and the misalignment after.
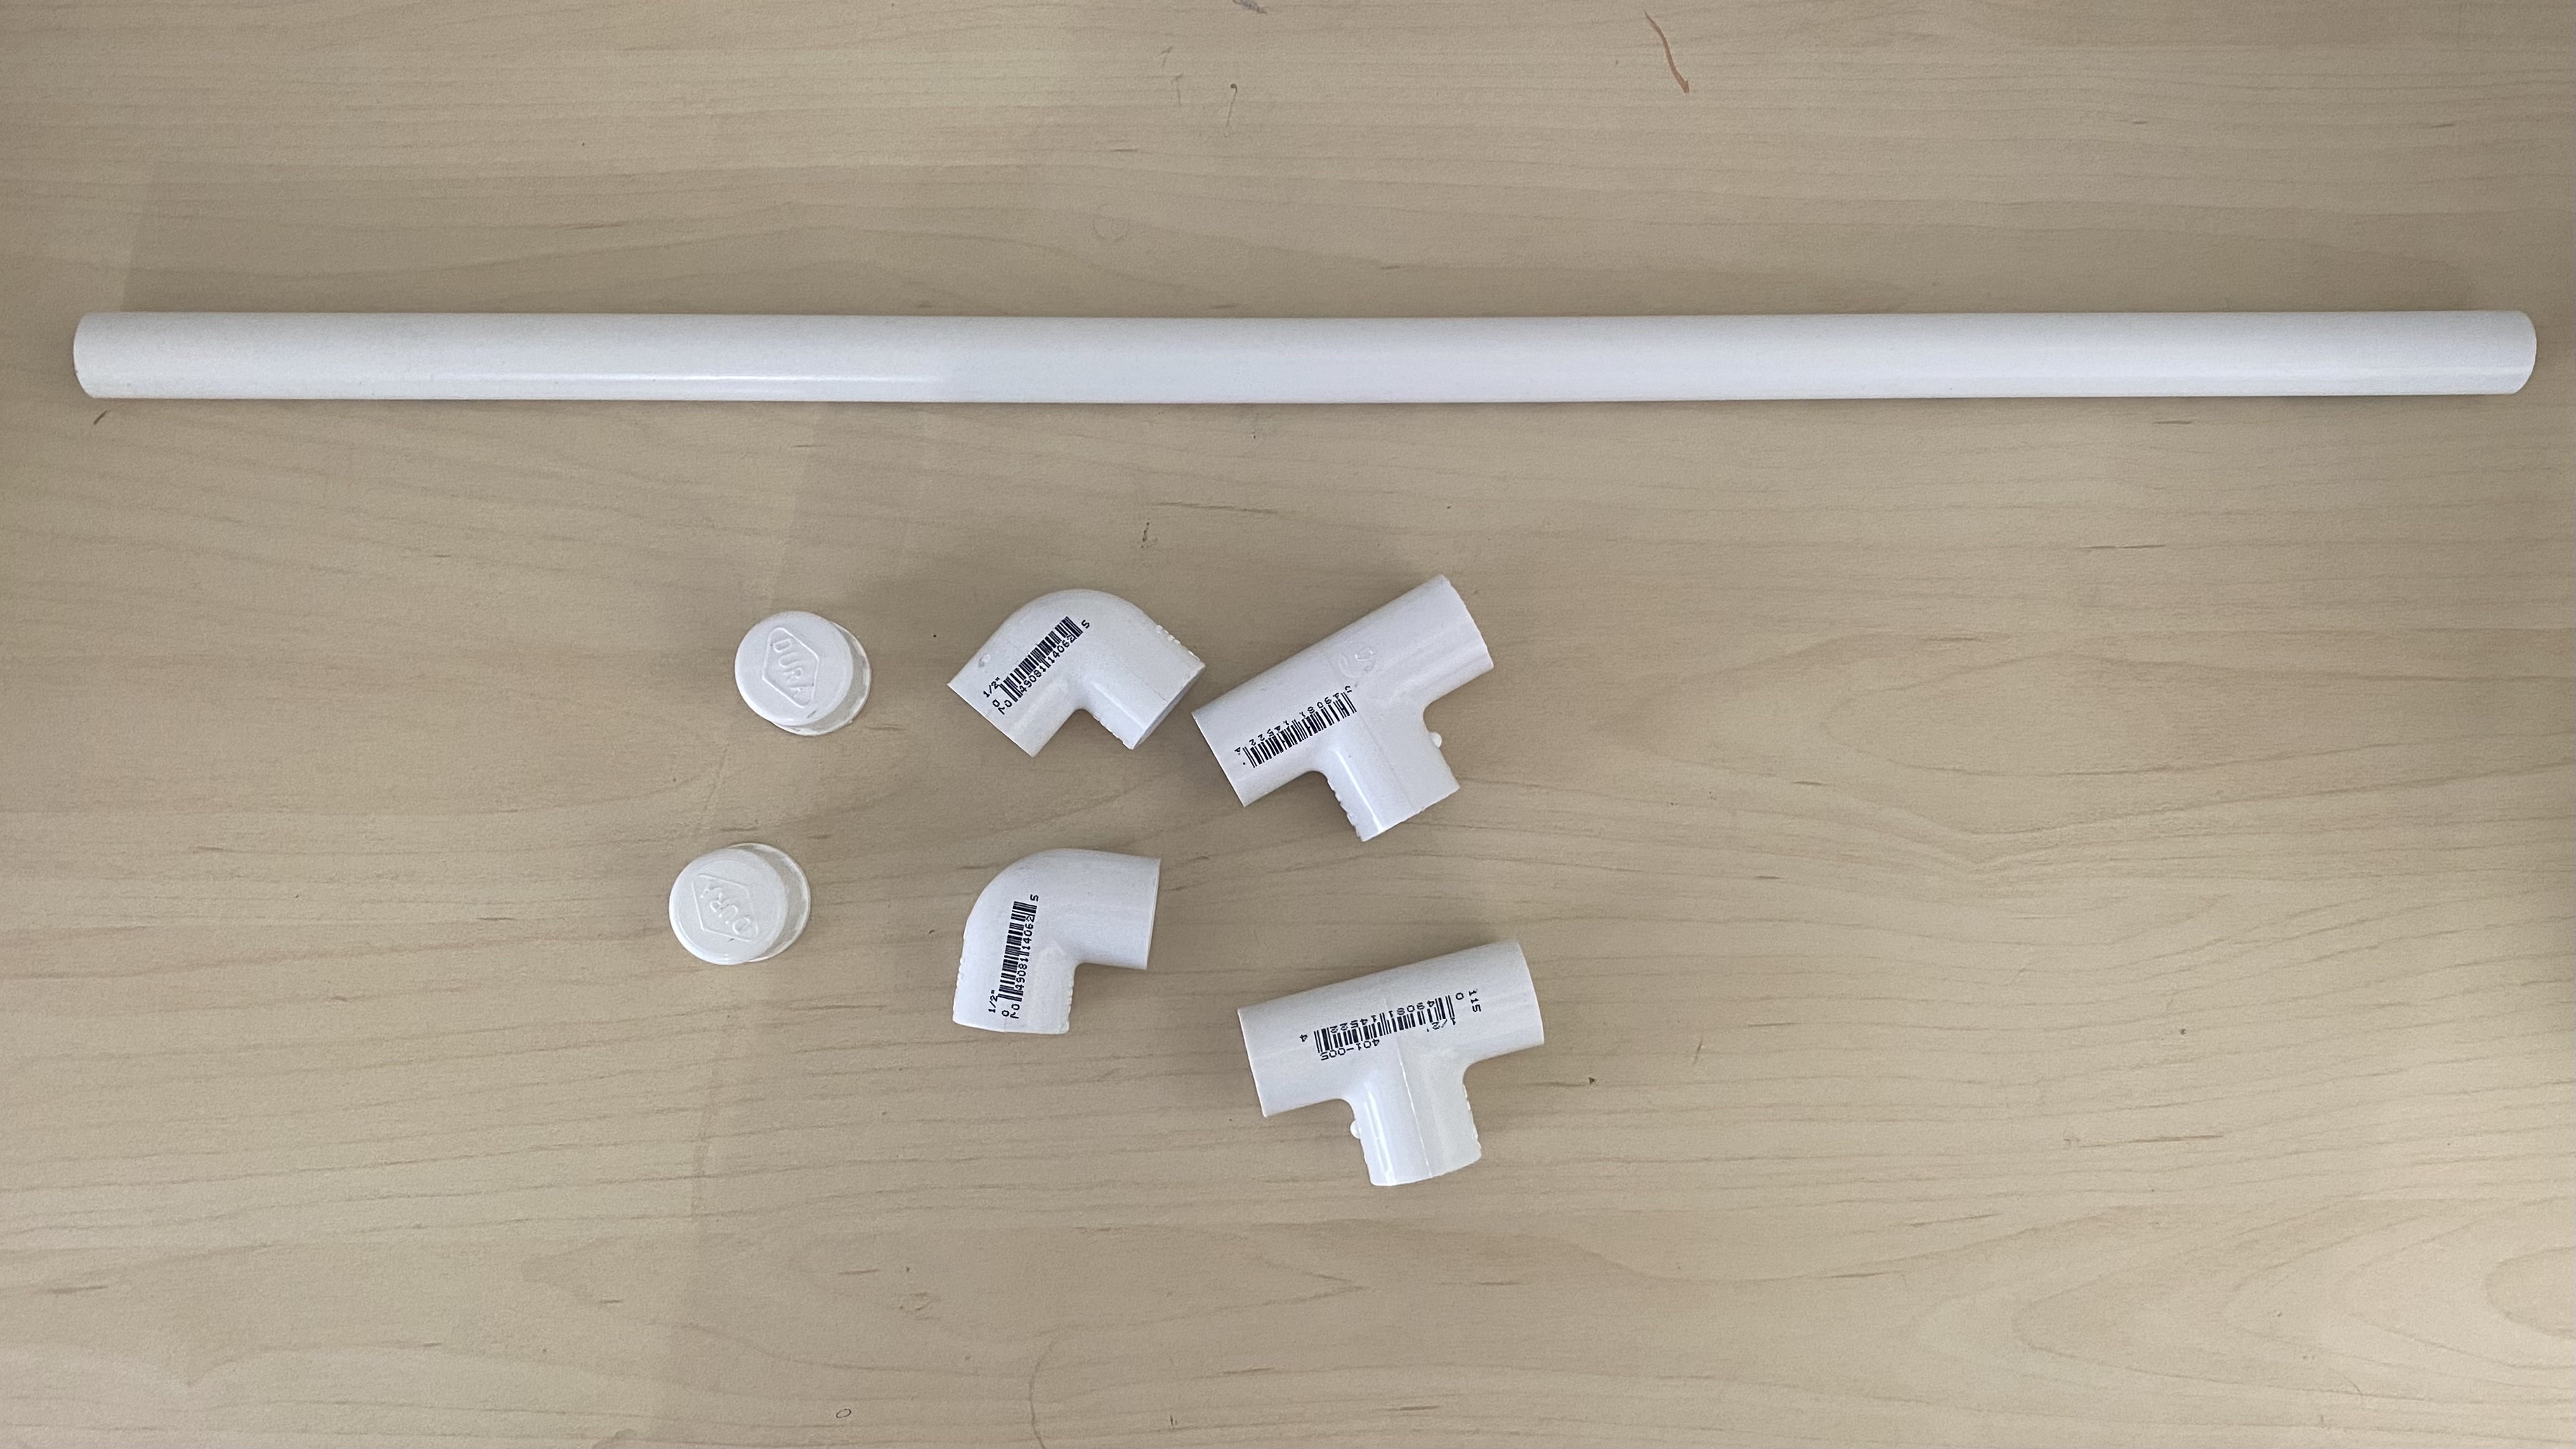
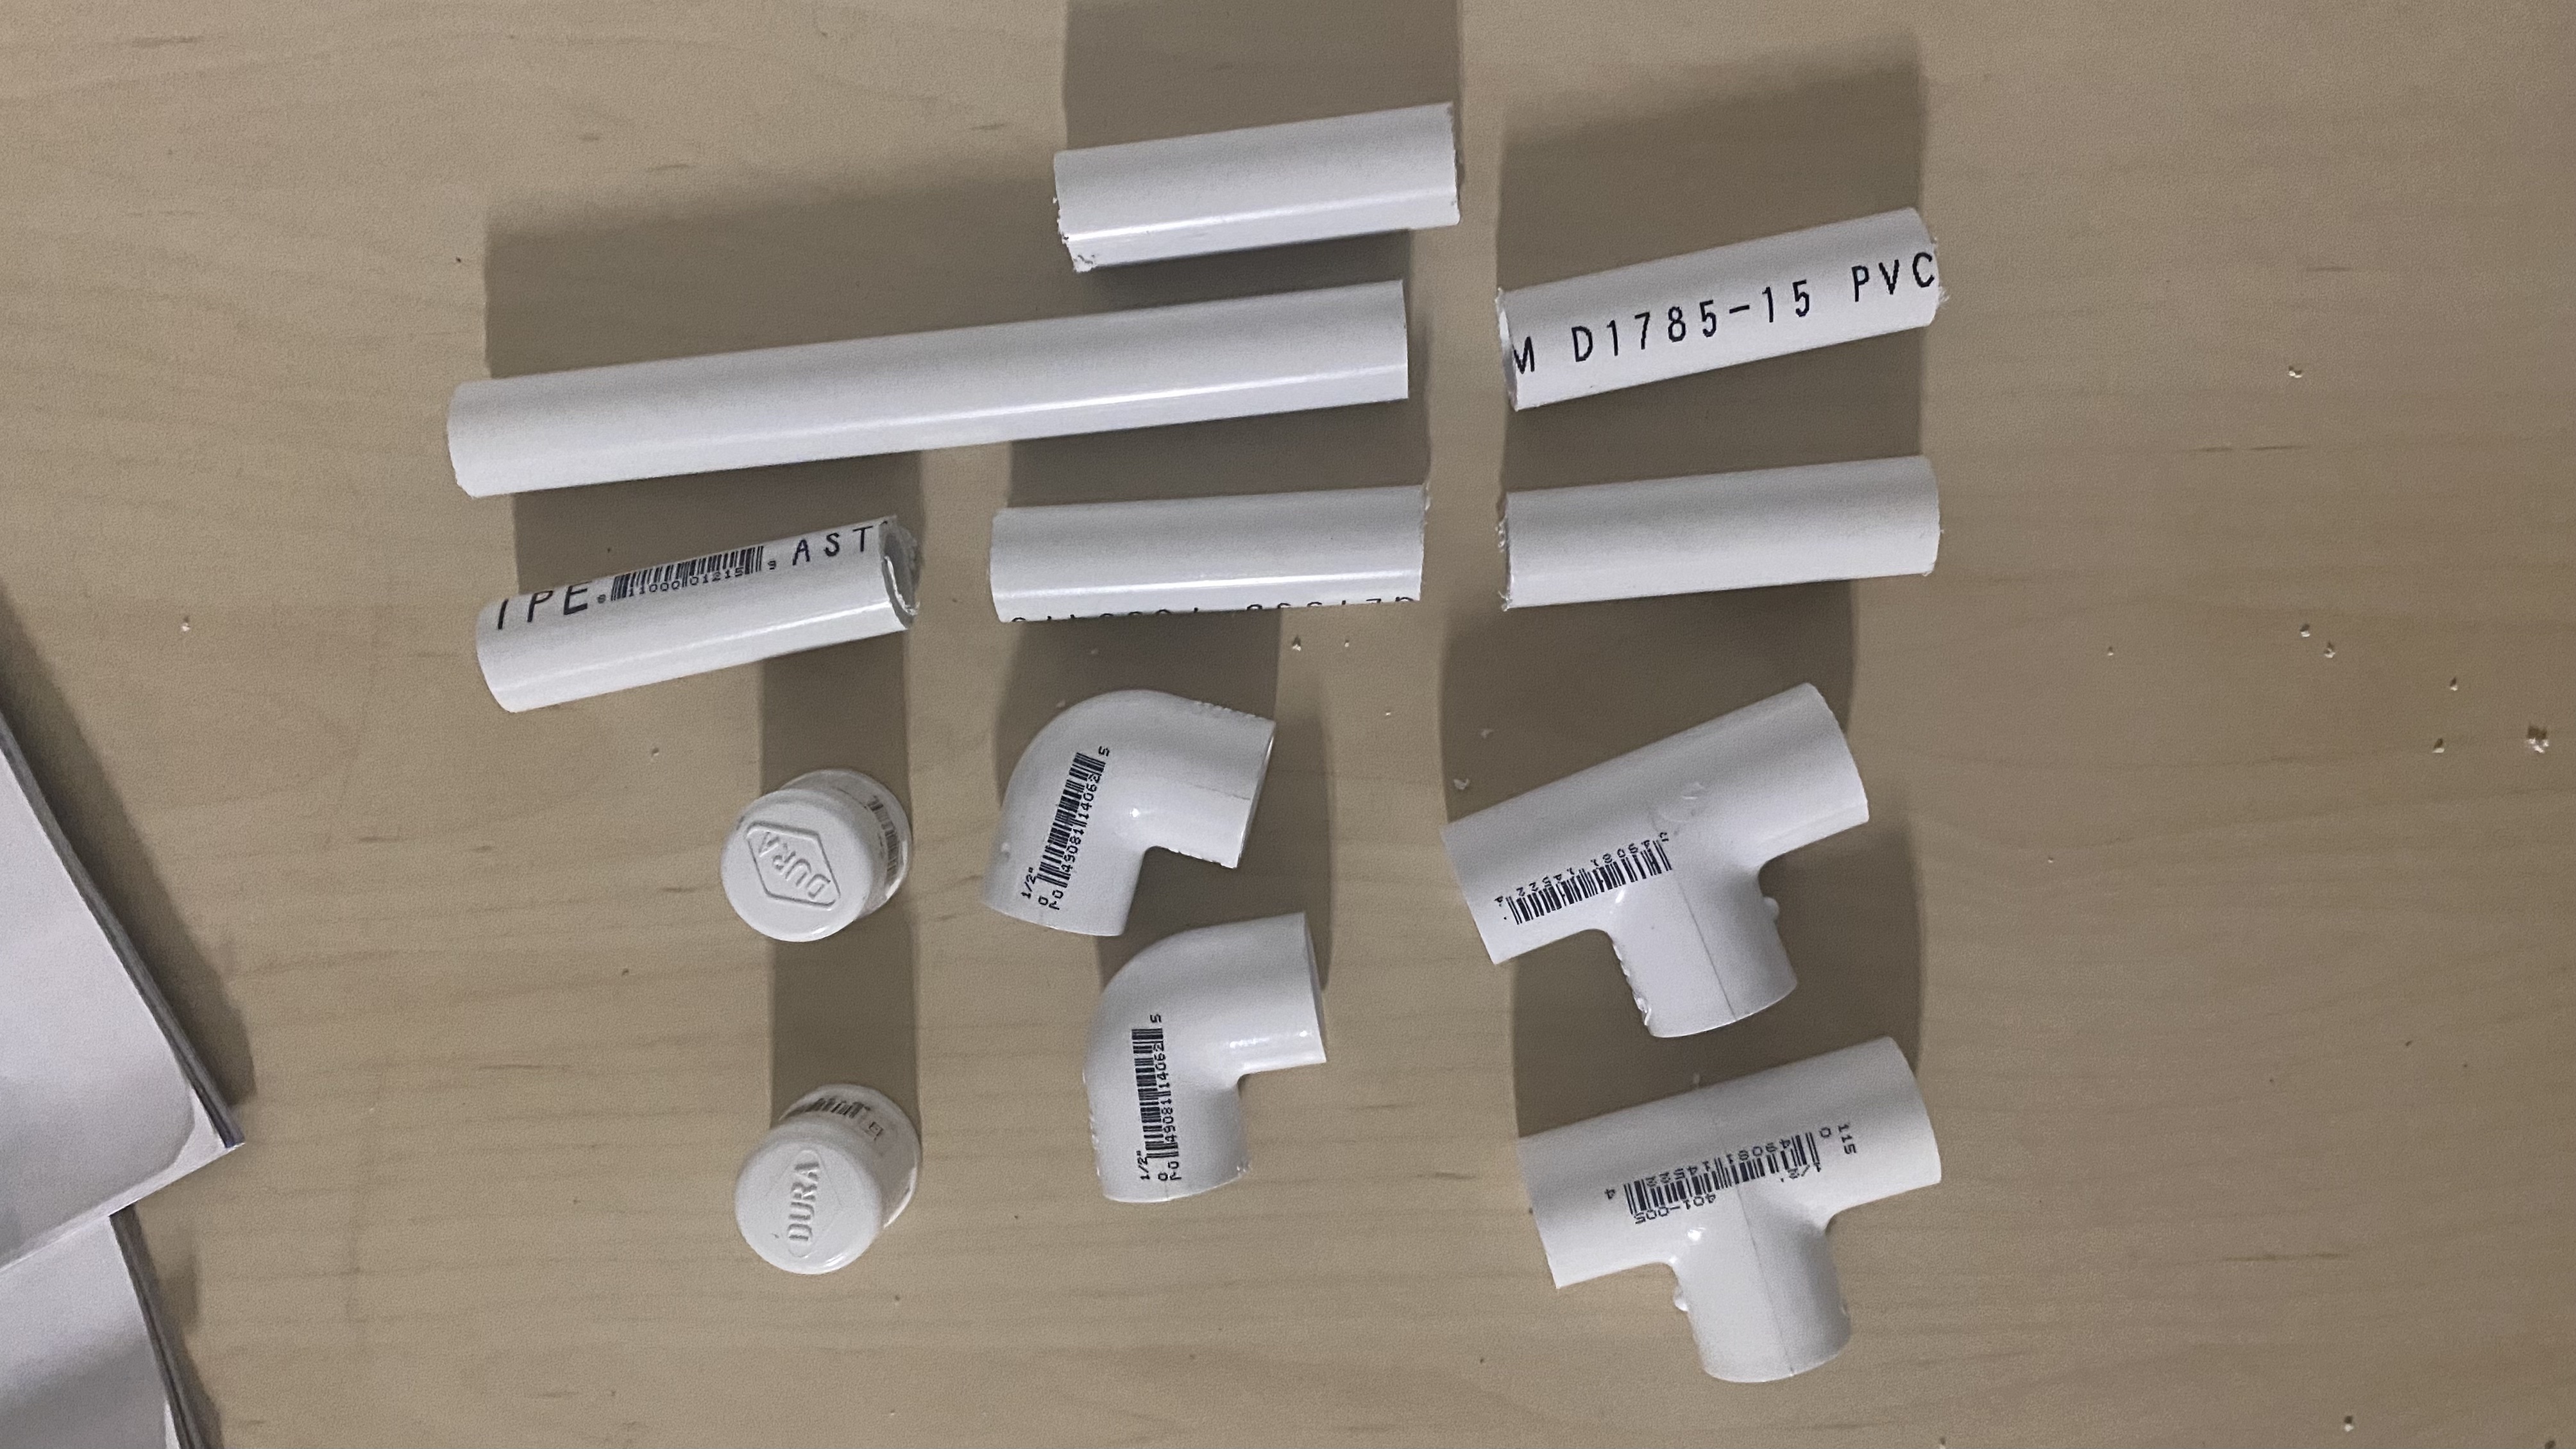
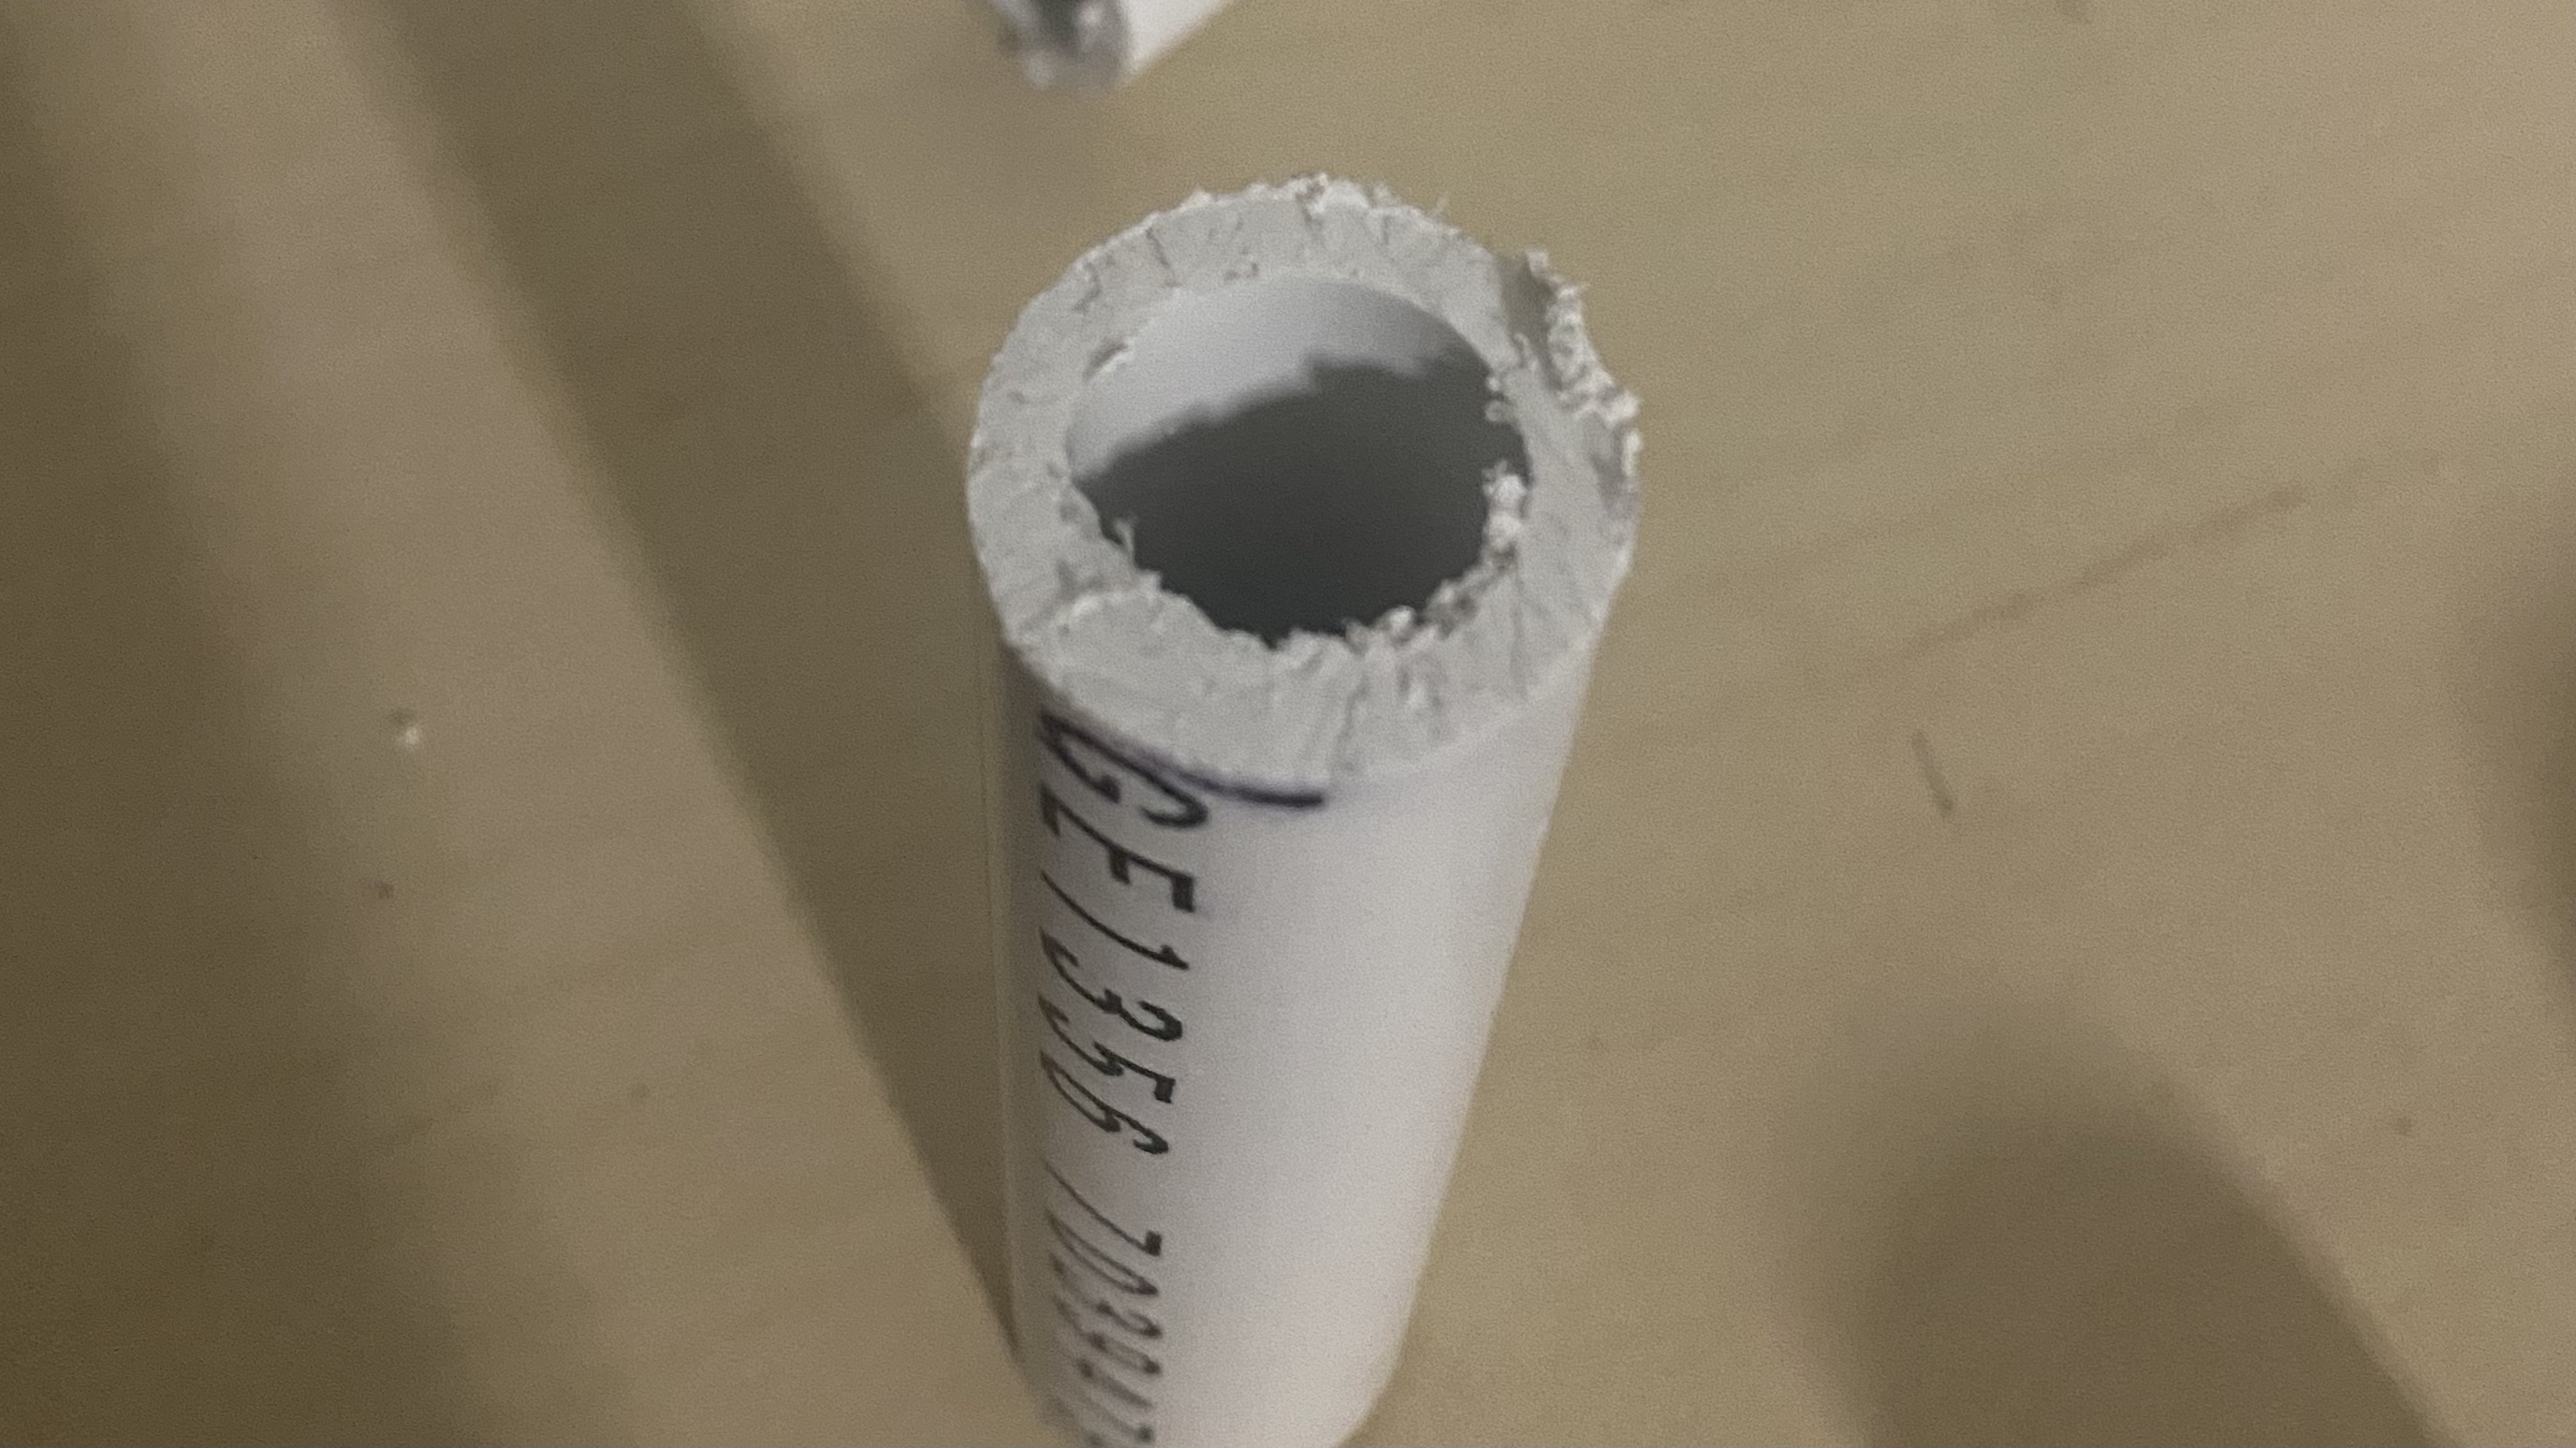
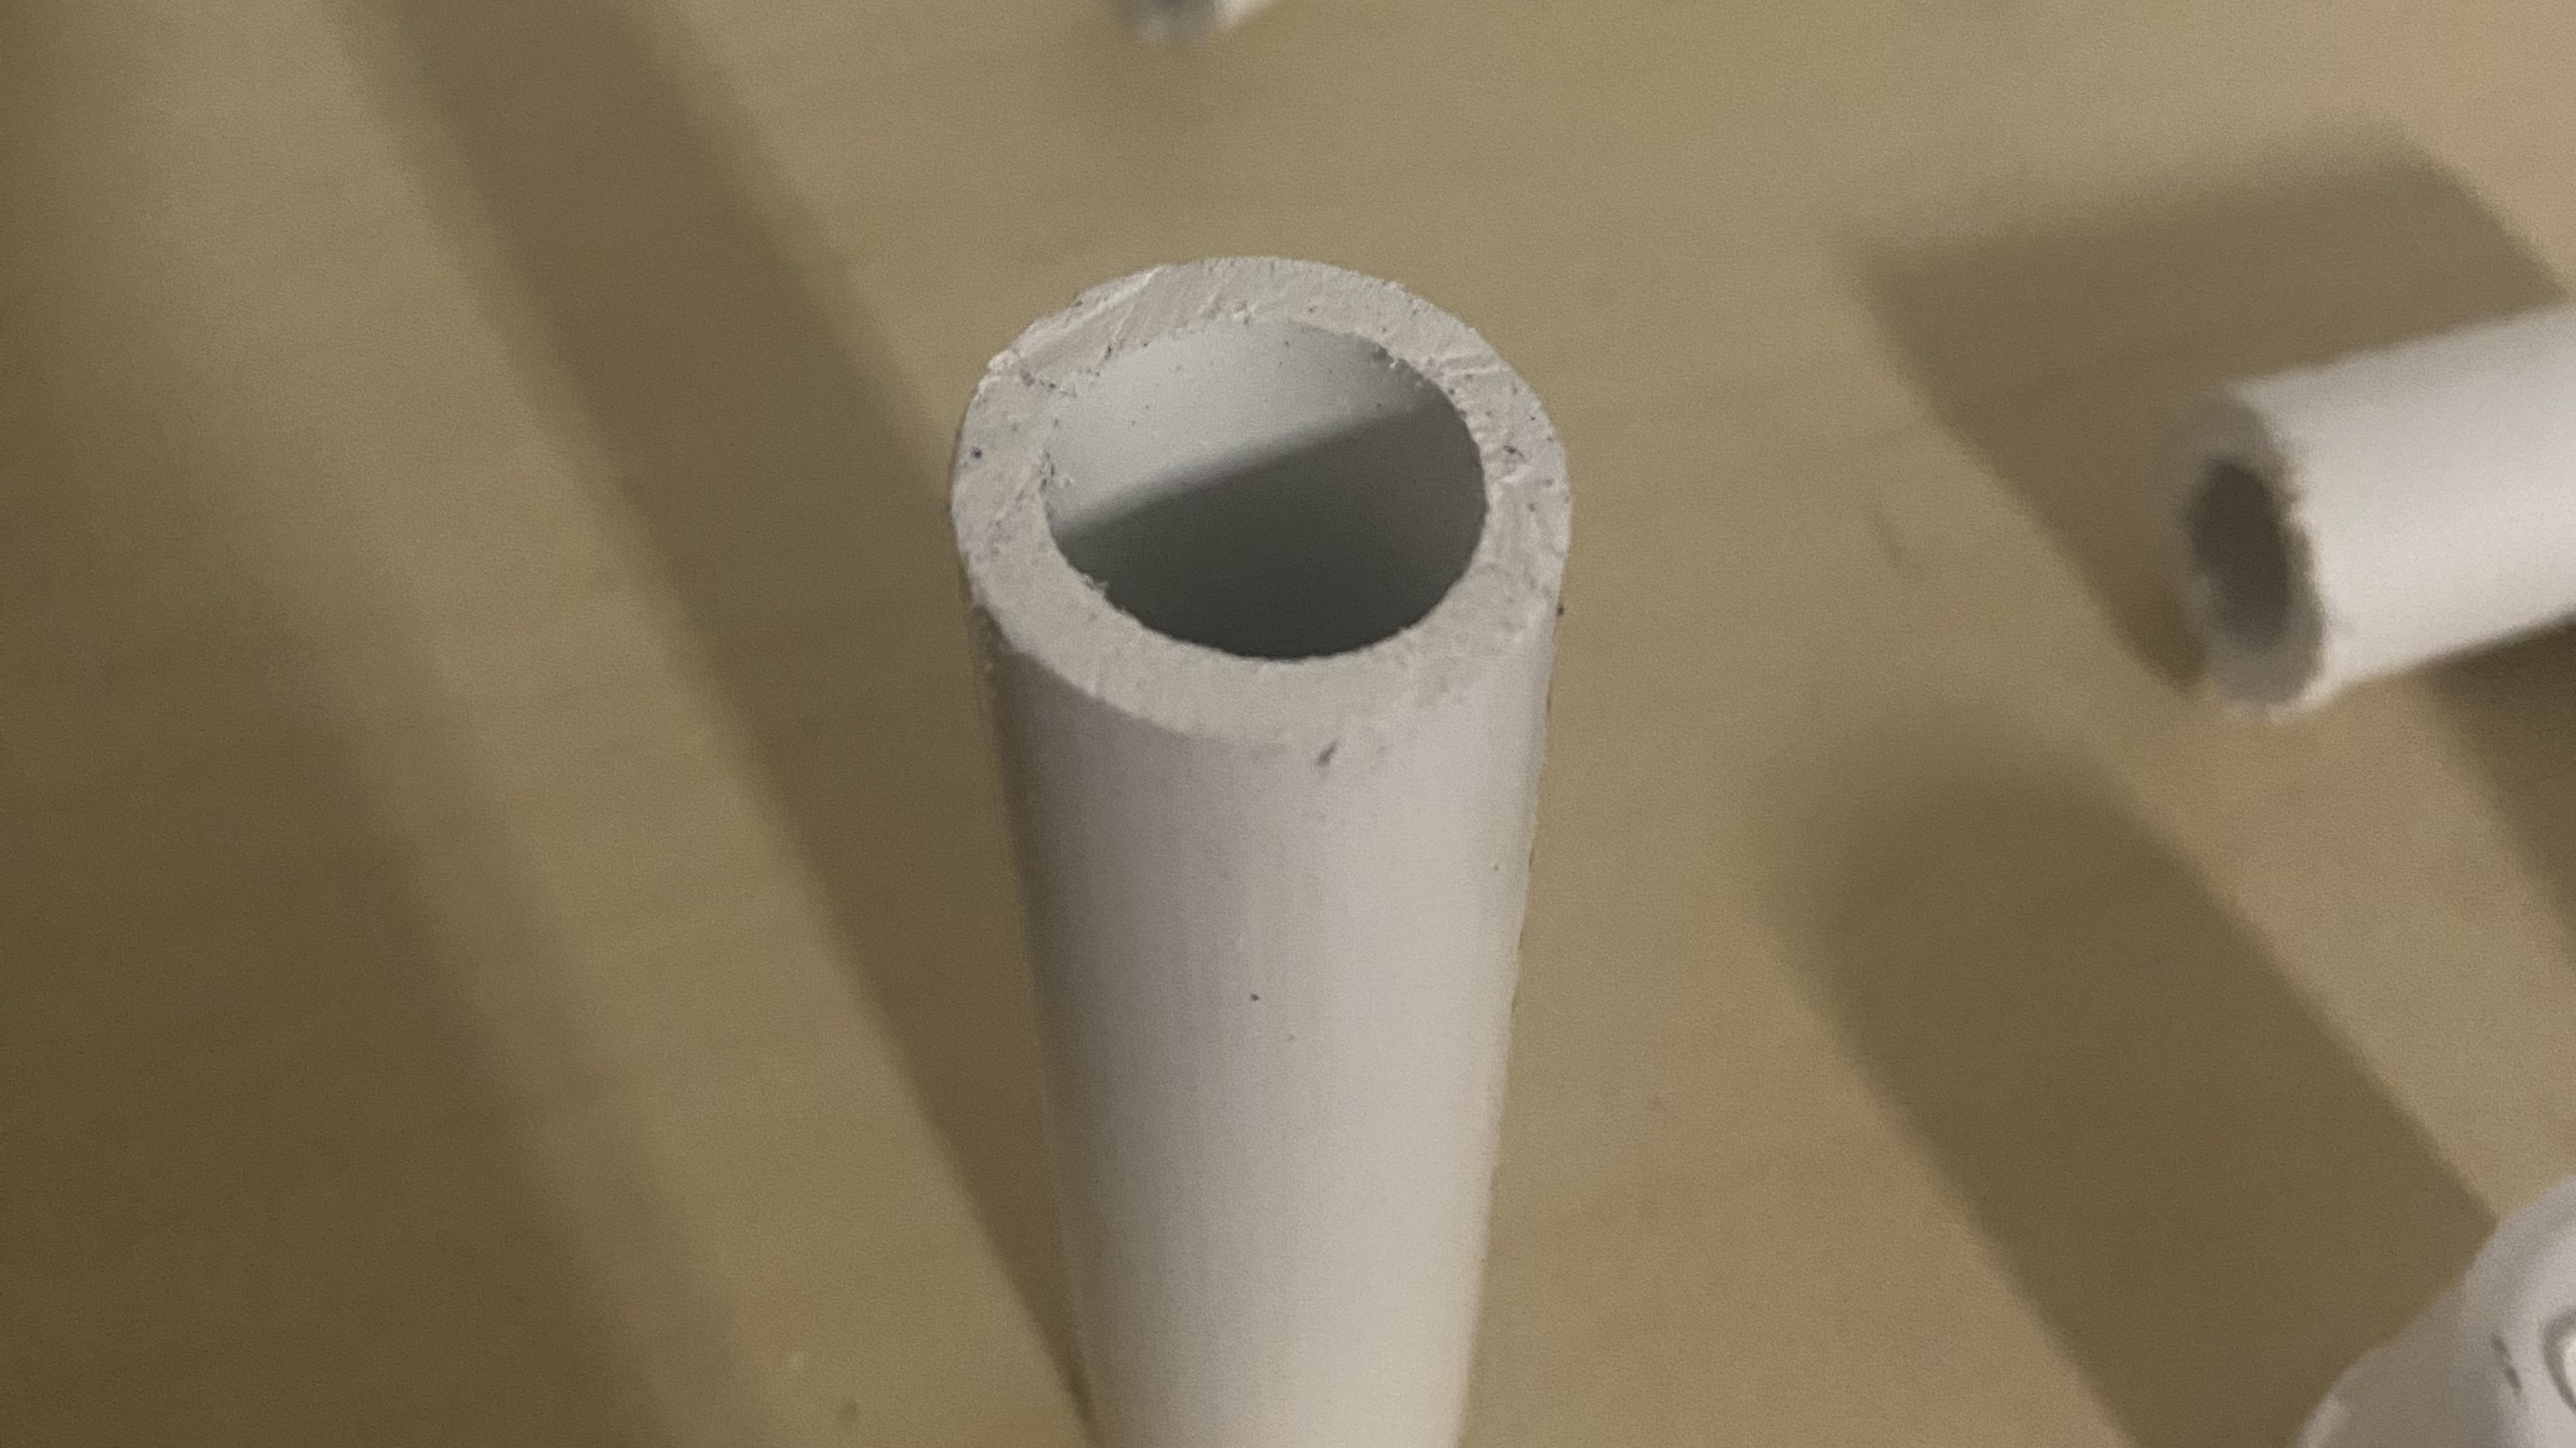
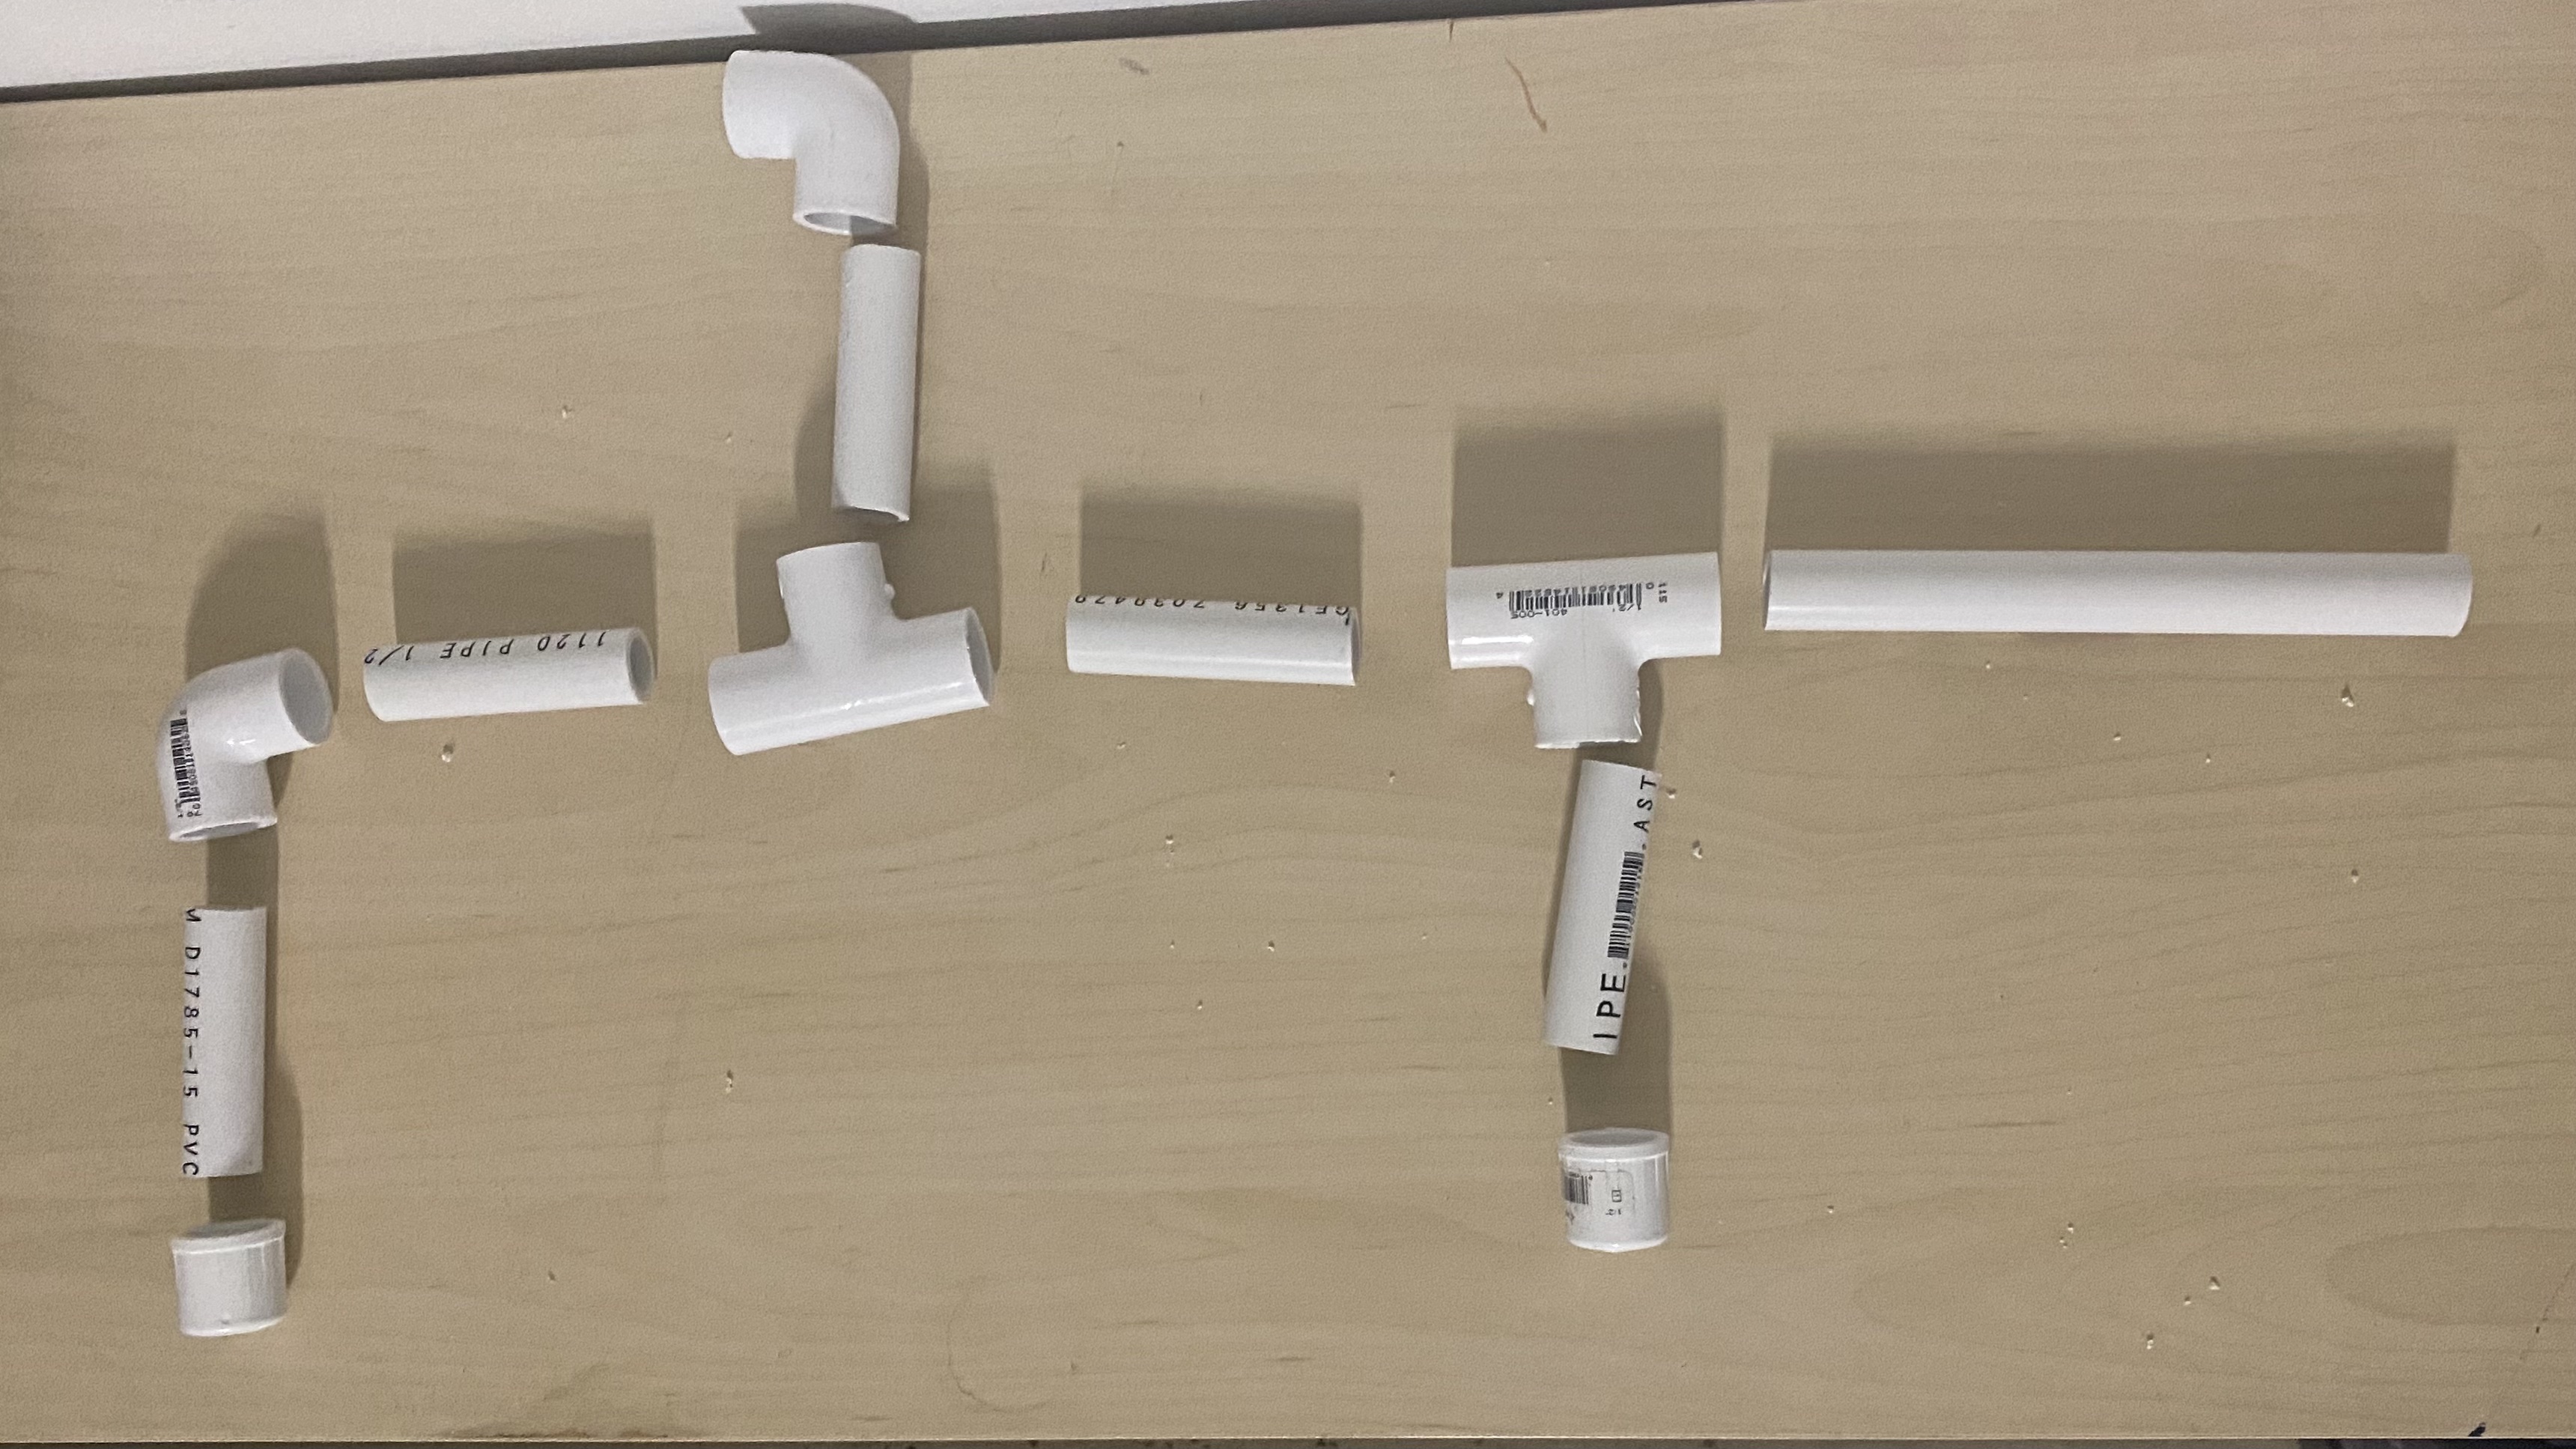
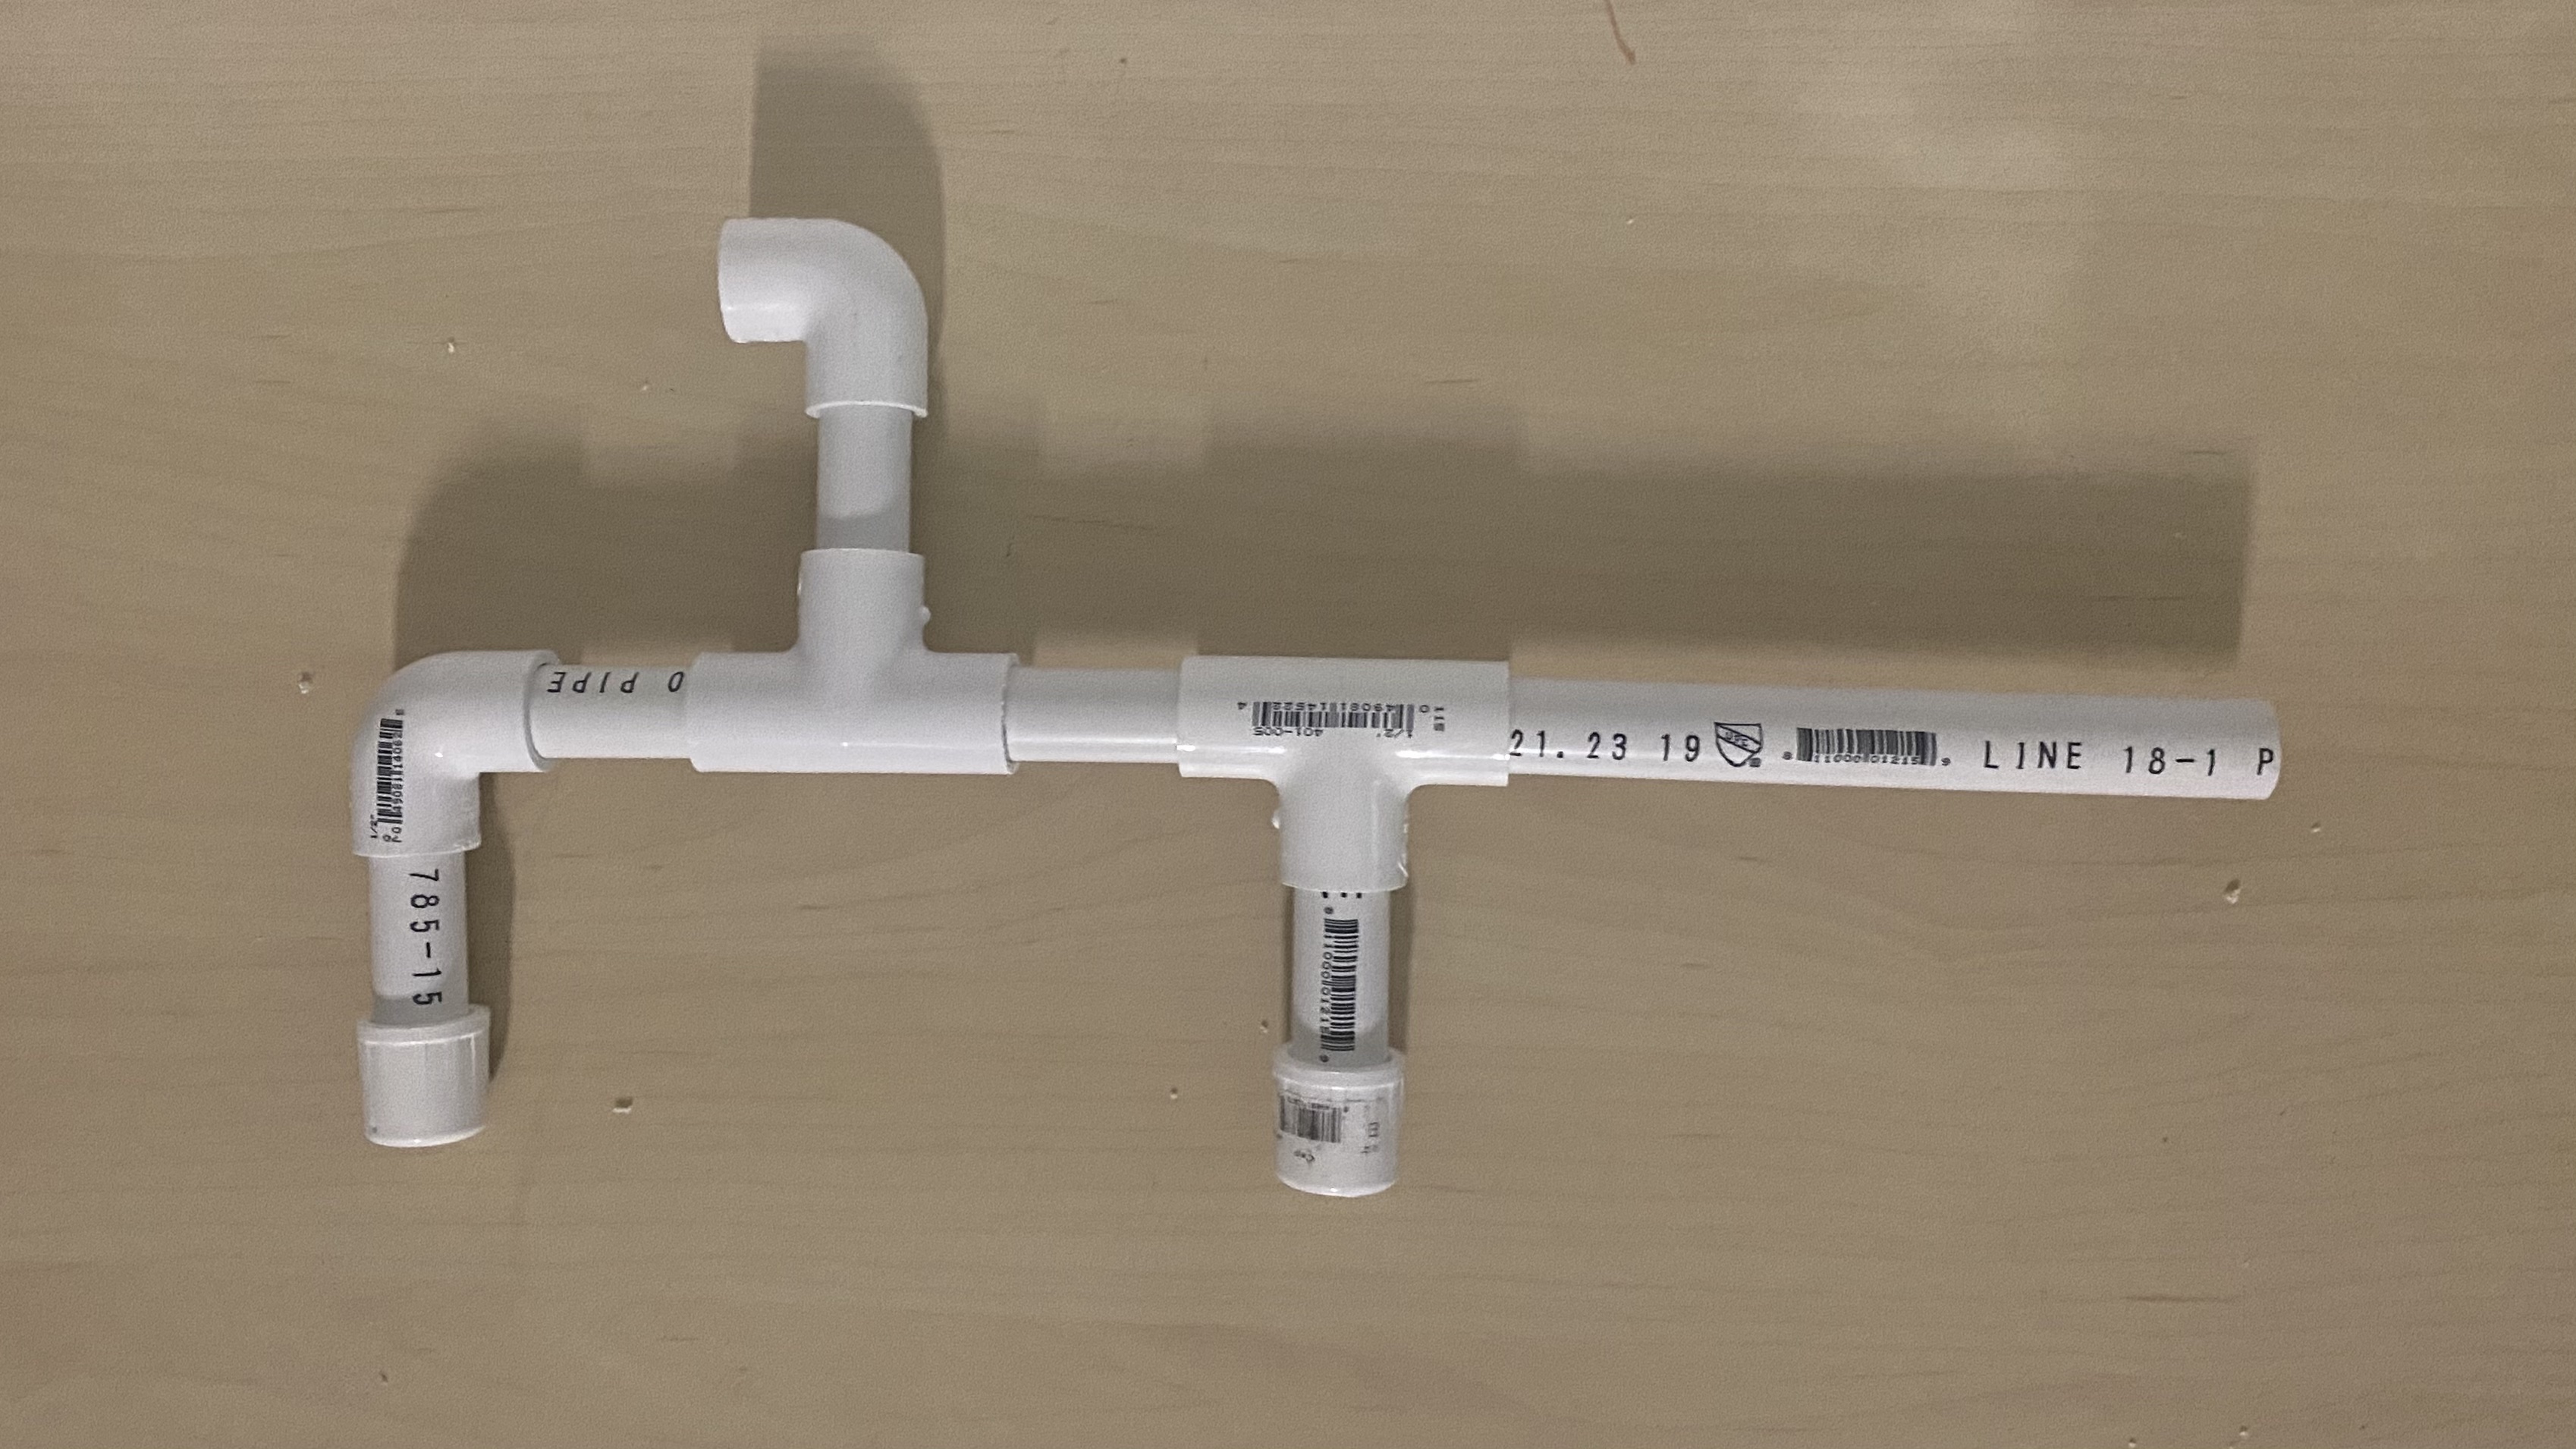
Marshmallow Shooter: Summer 2023
For my friend’s birthday, I made him a functional PVC marshmallow shooter, for about $10. I took a 2 ft pvc pipe, two end caps, 2 90 degree elbows, and 2 Tees, all with an inner diameter of half an inch for consistency. Then with a Stanley Hacksaw I cut the 24 inch pipe, into one 7 inch piece, and 5 3 inch pieces, with 2 inches of extra (This certainly would have been easier with a pvc pipe cutter, but a hacksaw was effective too). Since the edges were rough with plastic burrs, I sanded them down with some 100 grit sandpaper (whatever was laying around), and stuck them together. I decided not to use glue of any kind so it could be taken apart. It works perfectly with mini marshmallows, and you can create different end shooters.
The pictures are: the uncut pieces, the cut pieces, an unsanded cut, a sanded cut for comparison, the pieces laid out, and then put together!
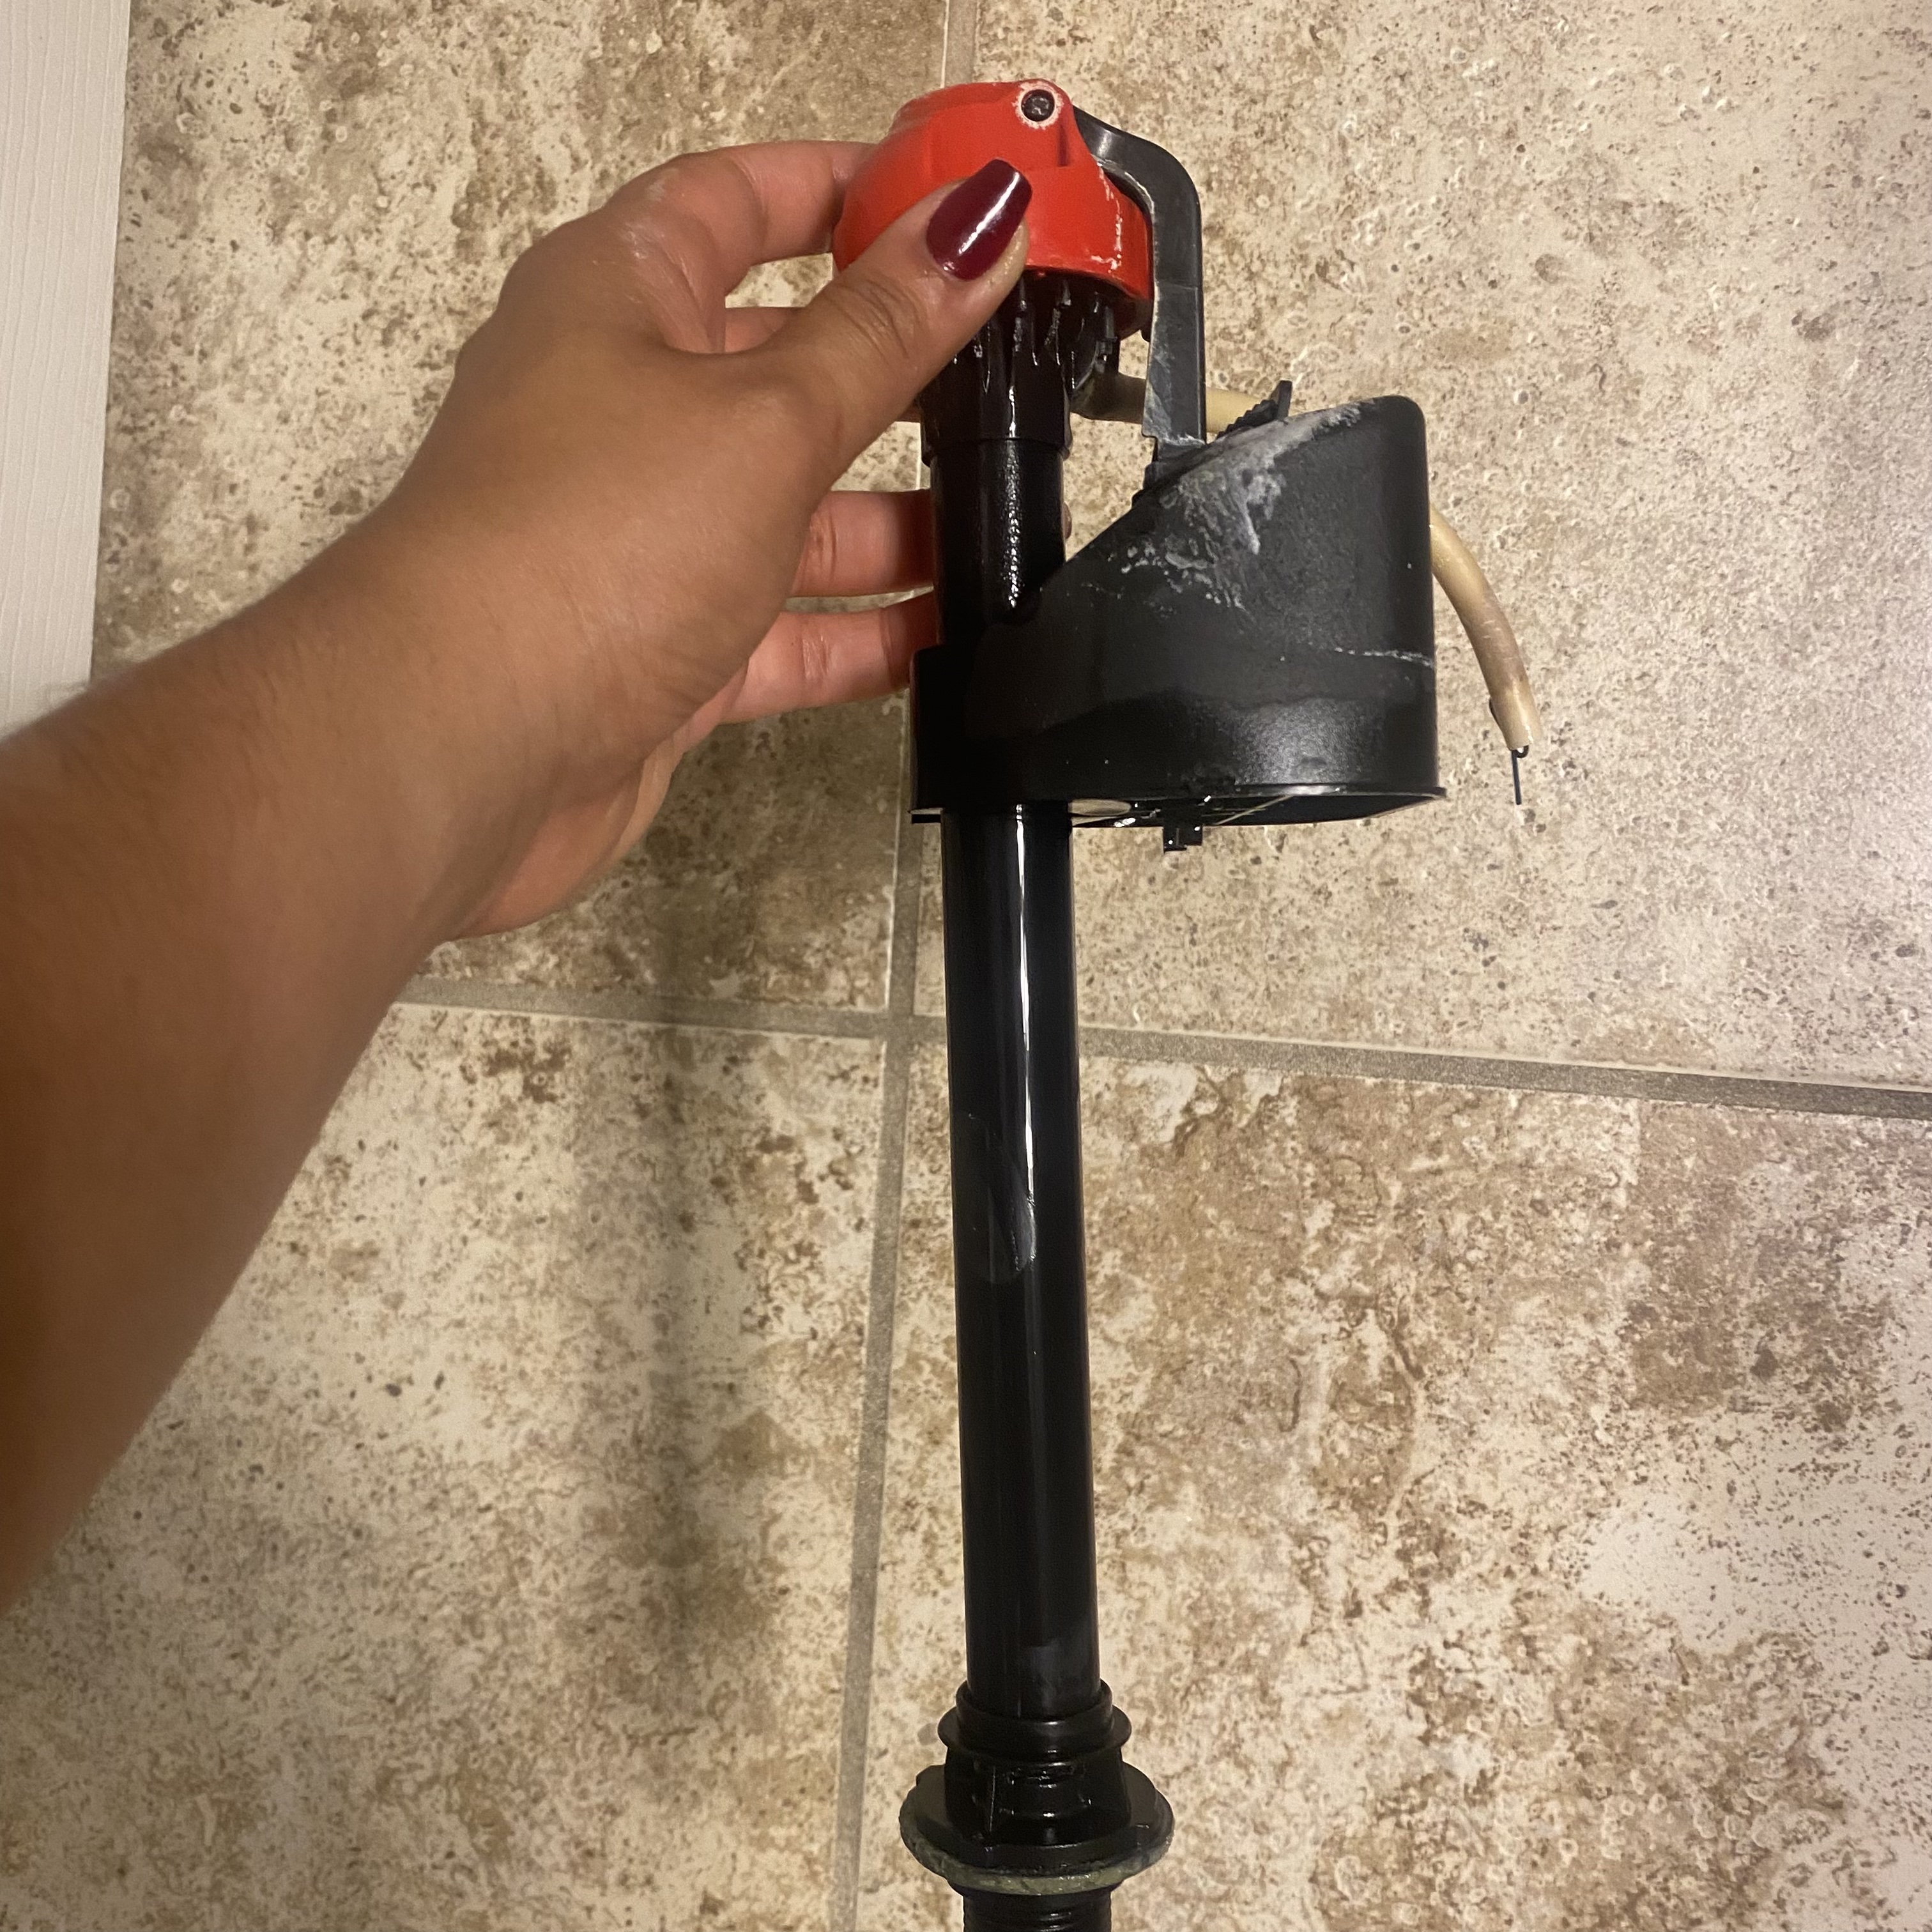
Fill Valve and Flapper Replacement: Summer 2023
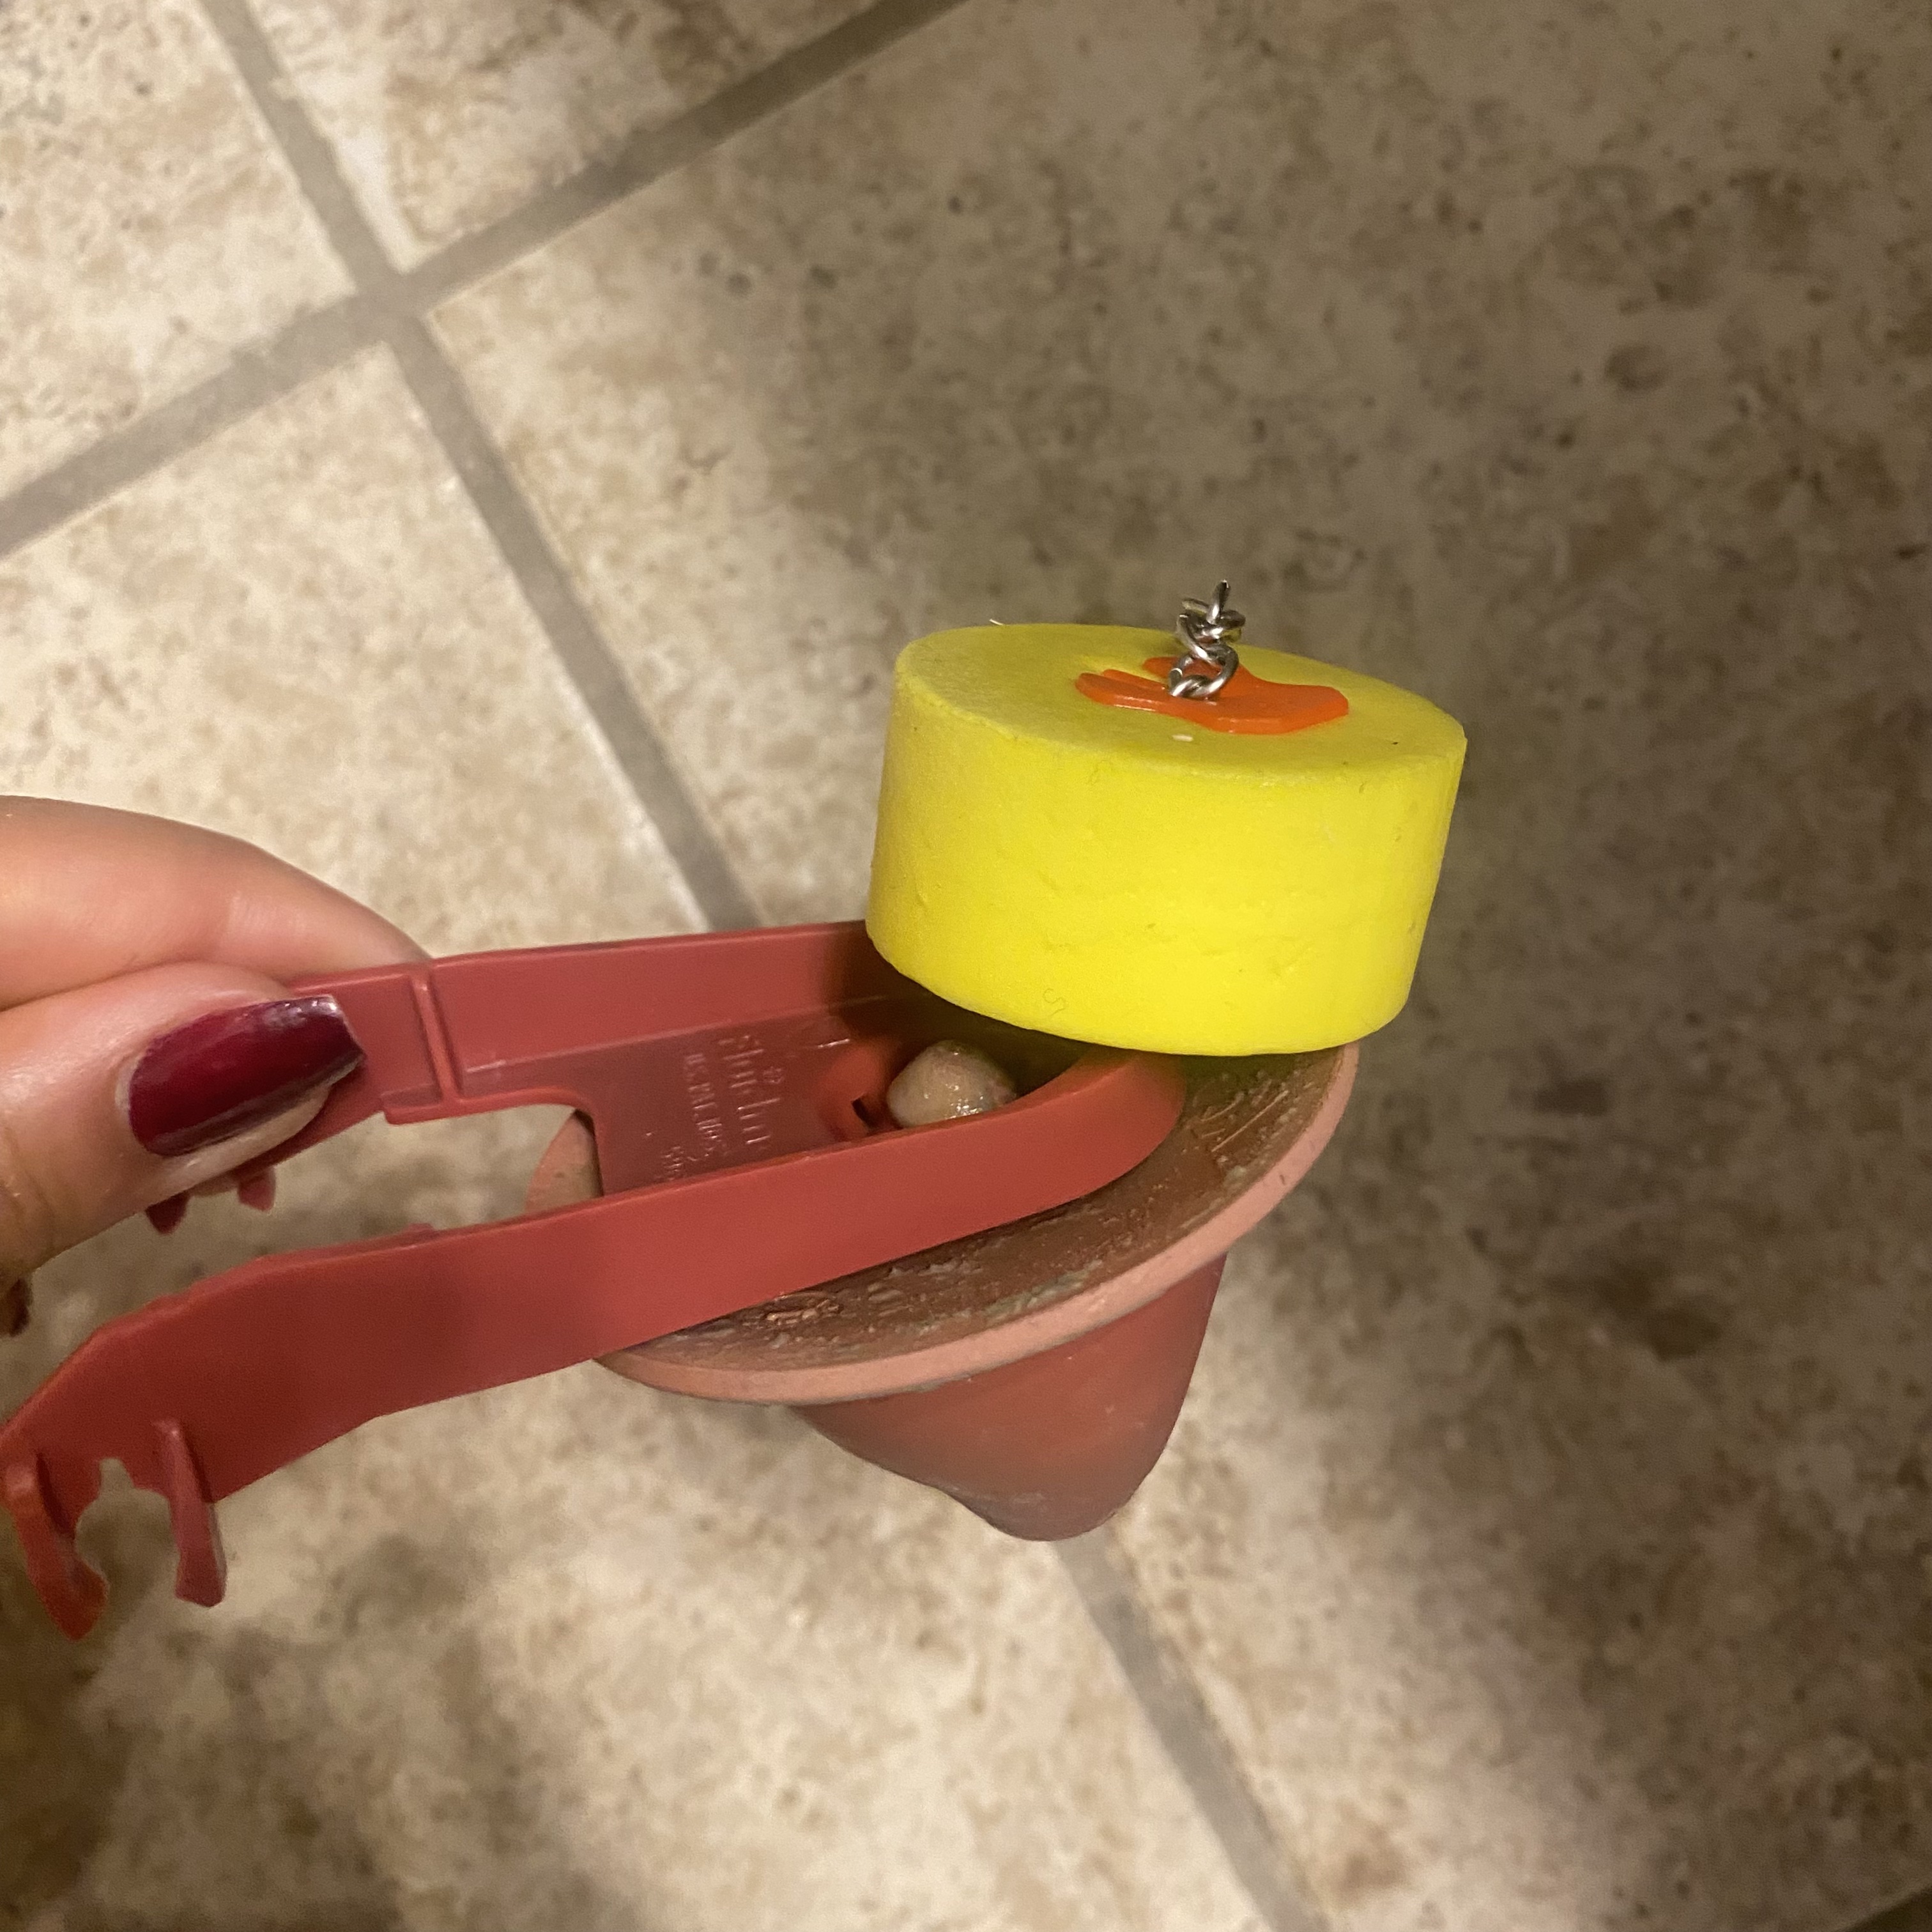
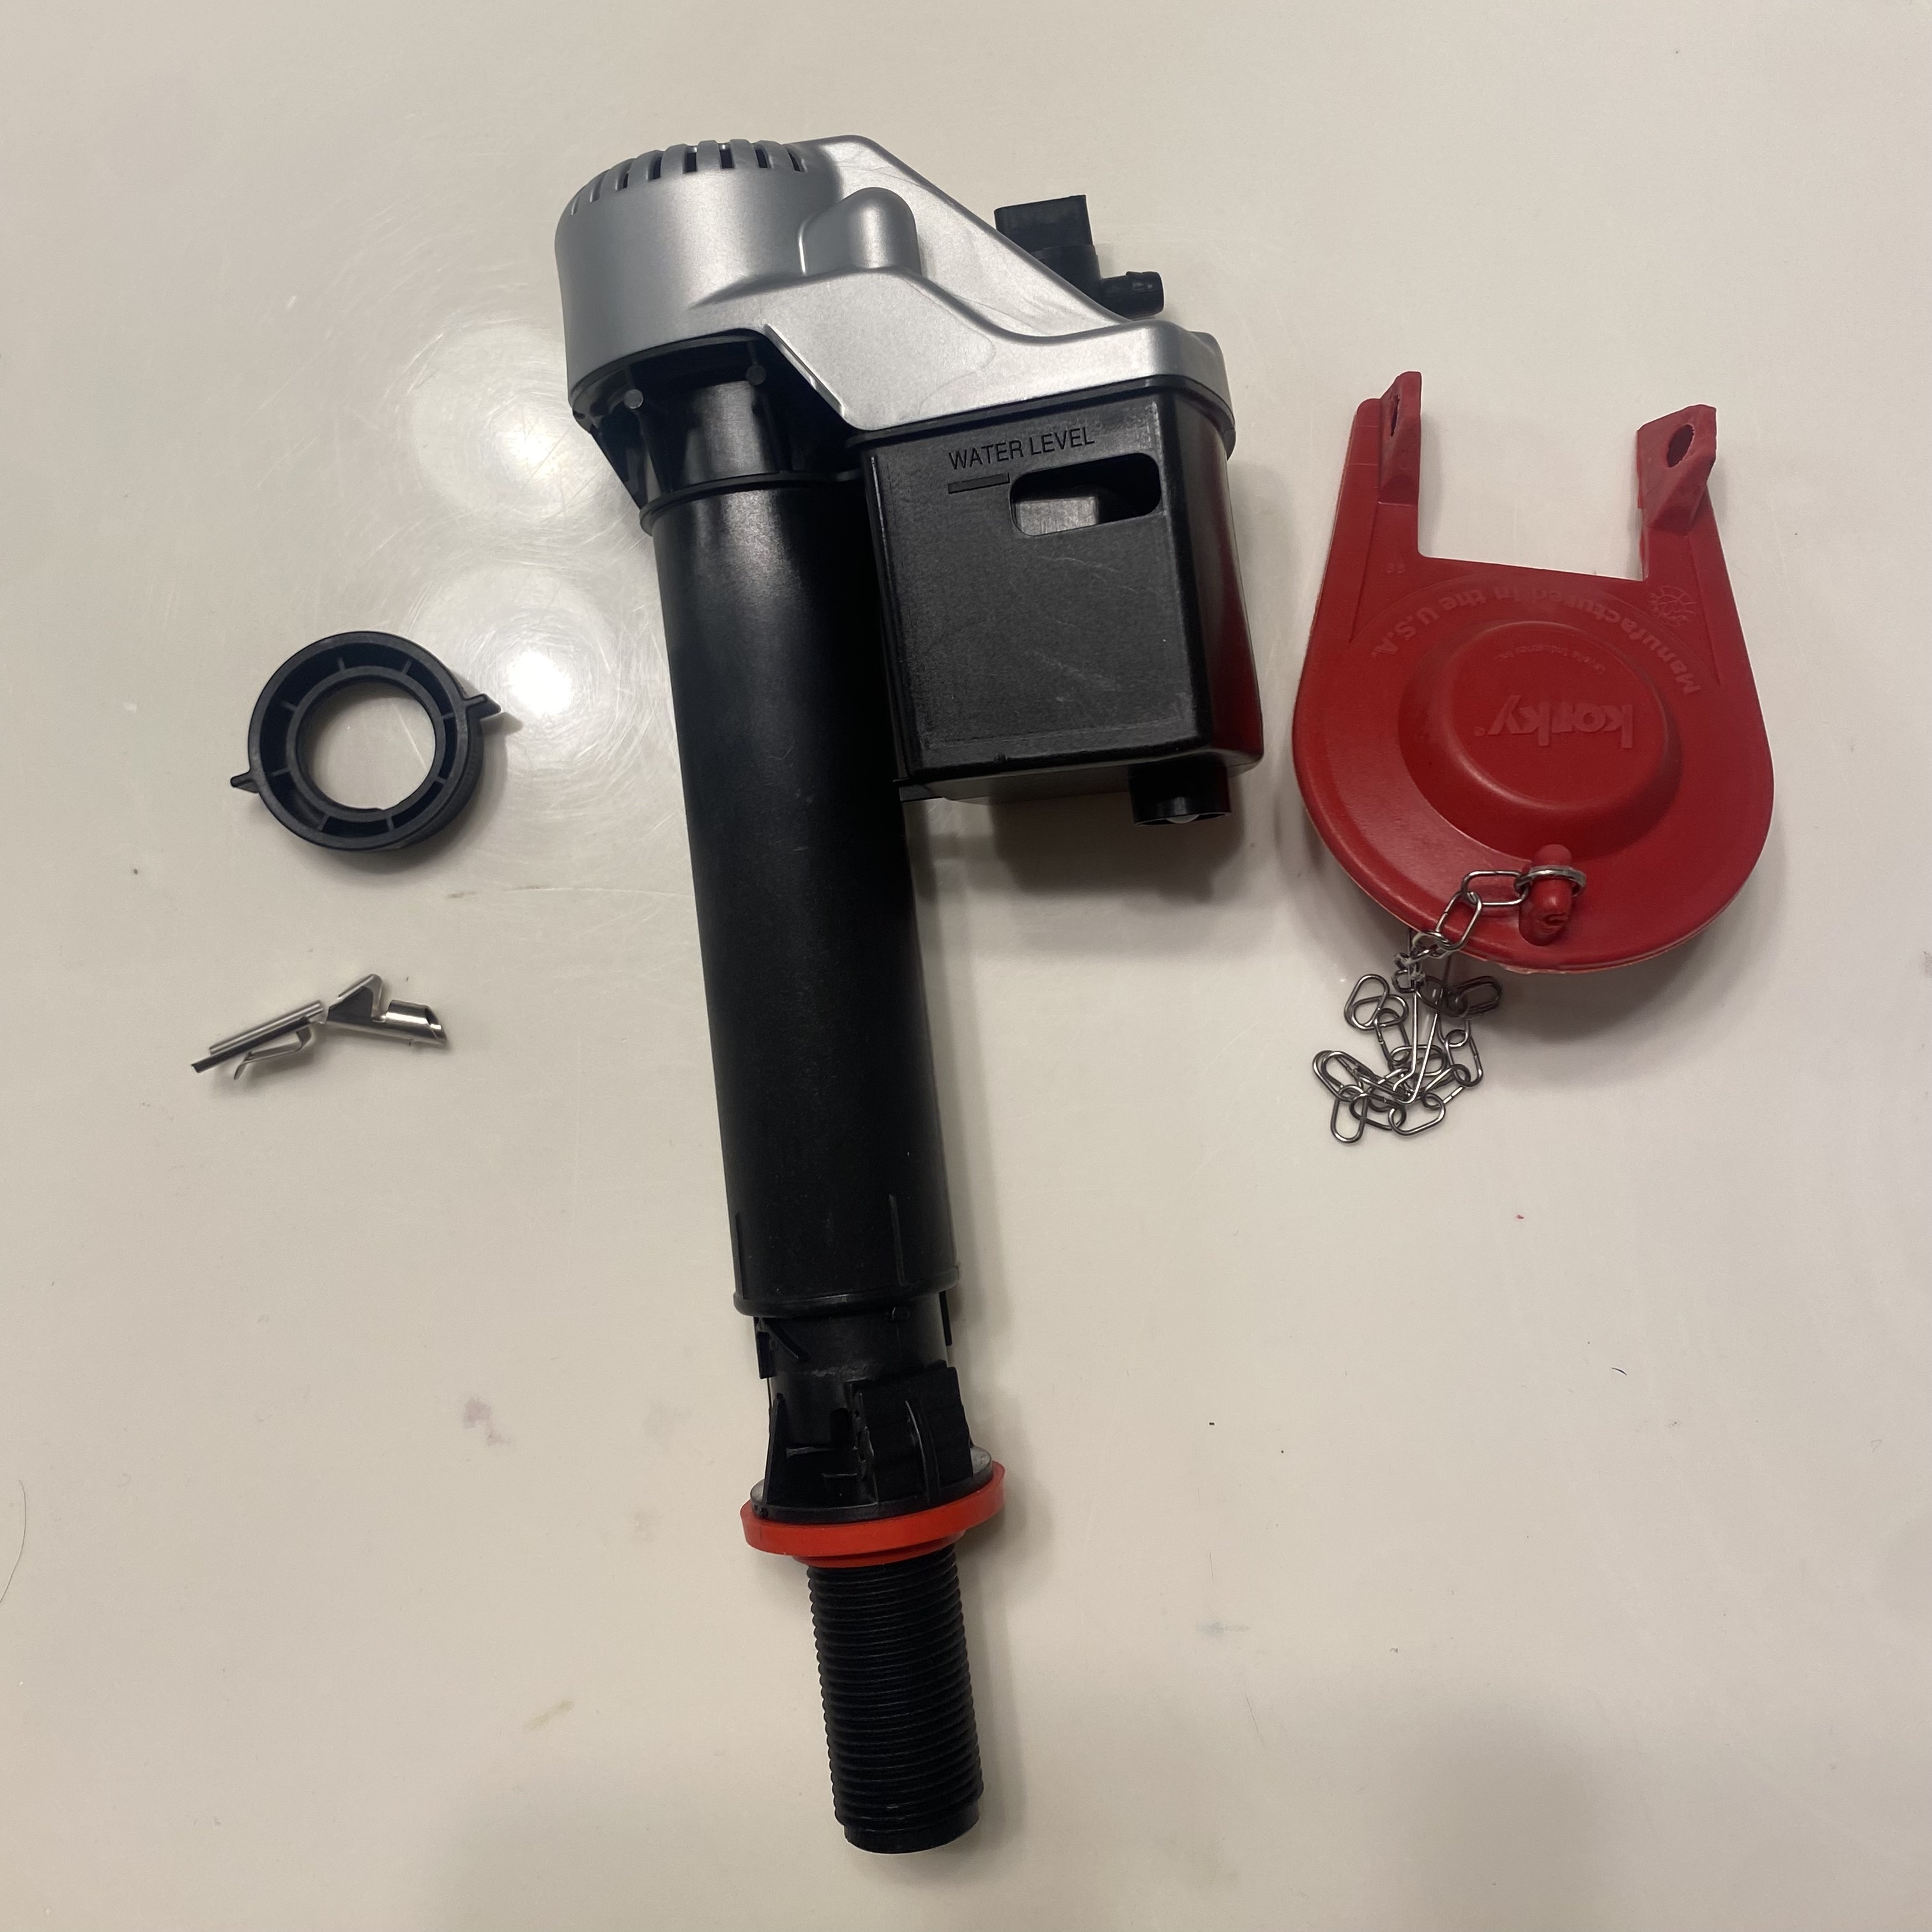
One of the toilets in our house was making a weird sound, a whining, so my mom asked me to replace the mechanism within the tank, the fill valve, to try to eliminate the sound. I agreed, and went to Home Depot and grabbed two Korky Fill valve and Flapper replacing kits (one for the other toilet as well), for about $20 each. I started with the problem toilet, and turned off the water below the bowl. I emptied out the tank, measured where the water level sat, and began by replacing the flapper. It took some adjustments to how my water it was letting in before I got the water level to what I thought was right. I set the chain accordingly and moved on to the Fill valve. I removed the water line from below the tank, removed the old fill valve, and then put the new one in. I placed it about half an inch above the water line specified by the tank manufacturer before turning the water on again. When I saw the water kept filling, I turned the water off again to figure out what I had done wrong. I saw that I was supposed to place the Fill valve’s water line half an inch BELOW the manufacturer’s line instead of above. I quickly unlocked it, shifted it down and relocked it, which stopped the water from coming in. I saw that the toilet was not flushing right though, and that the main issue was too much slack in the chain that connected the flapper and the handle. I adjusted it down and the toilet flushed easier, but still not perfectly. The flapper would slam down quickly instead of staying open long enough to let the bowl empty like it used to. To fix this I adjusted the water level down, tighten the flapper so it was ‘just’ closed, and also allowed more water to flow through the flapper per flush. I’m not sure which fixed the problem but it flushes properly so I’m happy. I then went to repeat it with the other toilet, but didn’t because I couldn’t physically twist the water supply knob off, and didn’t want to break it. So one is good for right now. Looking back, I think the problem was an old flapper that was letting water leak out, causing the water to refill a bit constantly hence the whining.
The pictures are the old fill valve, the older flapper, and the new Korky parts I put in. I couldn't take pictures of the tank because it was hidden by the bathroom counter above.
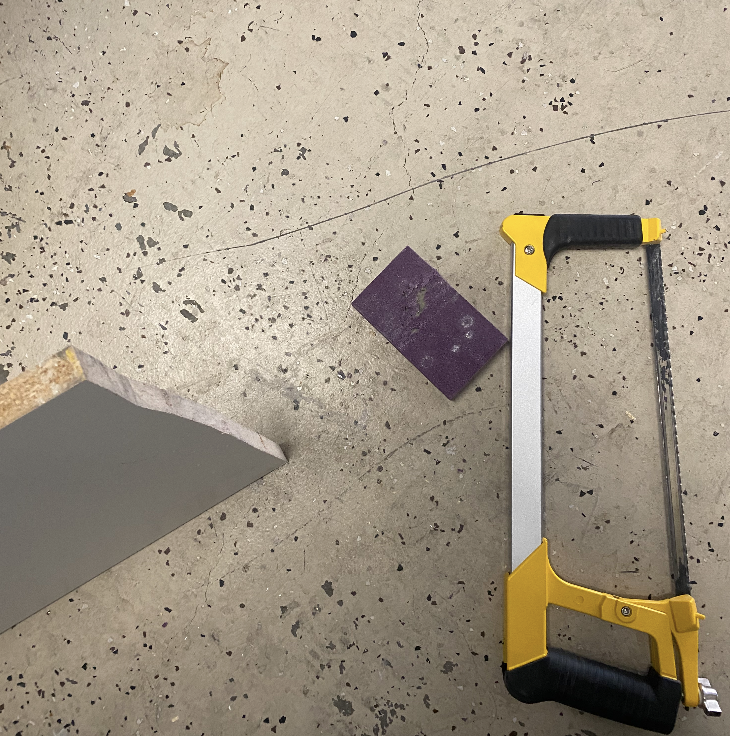
Small Shelves: Winter 2023
My mom wanted some little shelves in the storage closet in the garage, and her wish is my command. I took some leftover MDF and cut it to the right length using a hacksaw, before sanding off any splinters. She thought of adding brackets to the sides since the baord wasn't the correct depth, but we decided that adding holes for pegs for it to sit on was a better idea. The holes for the pegs were about 3/16in, and after marking their locations, I used a drill bit to make some holes for them to sit in. Quick and easy, and my mom is very happy with her expanded storage space.
The pictures are of the hacksawed MDF, the marked holes, the inserted peg, and the shelf!
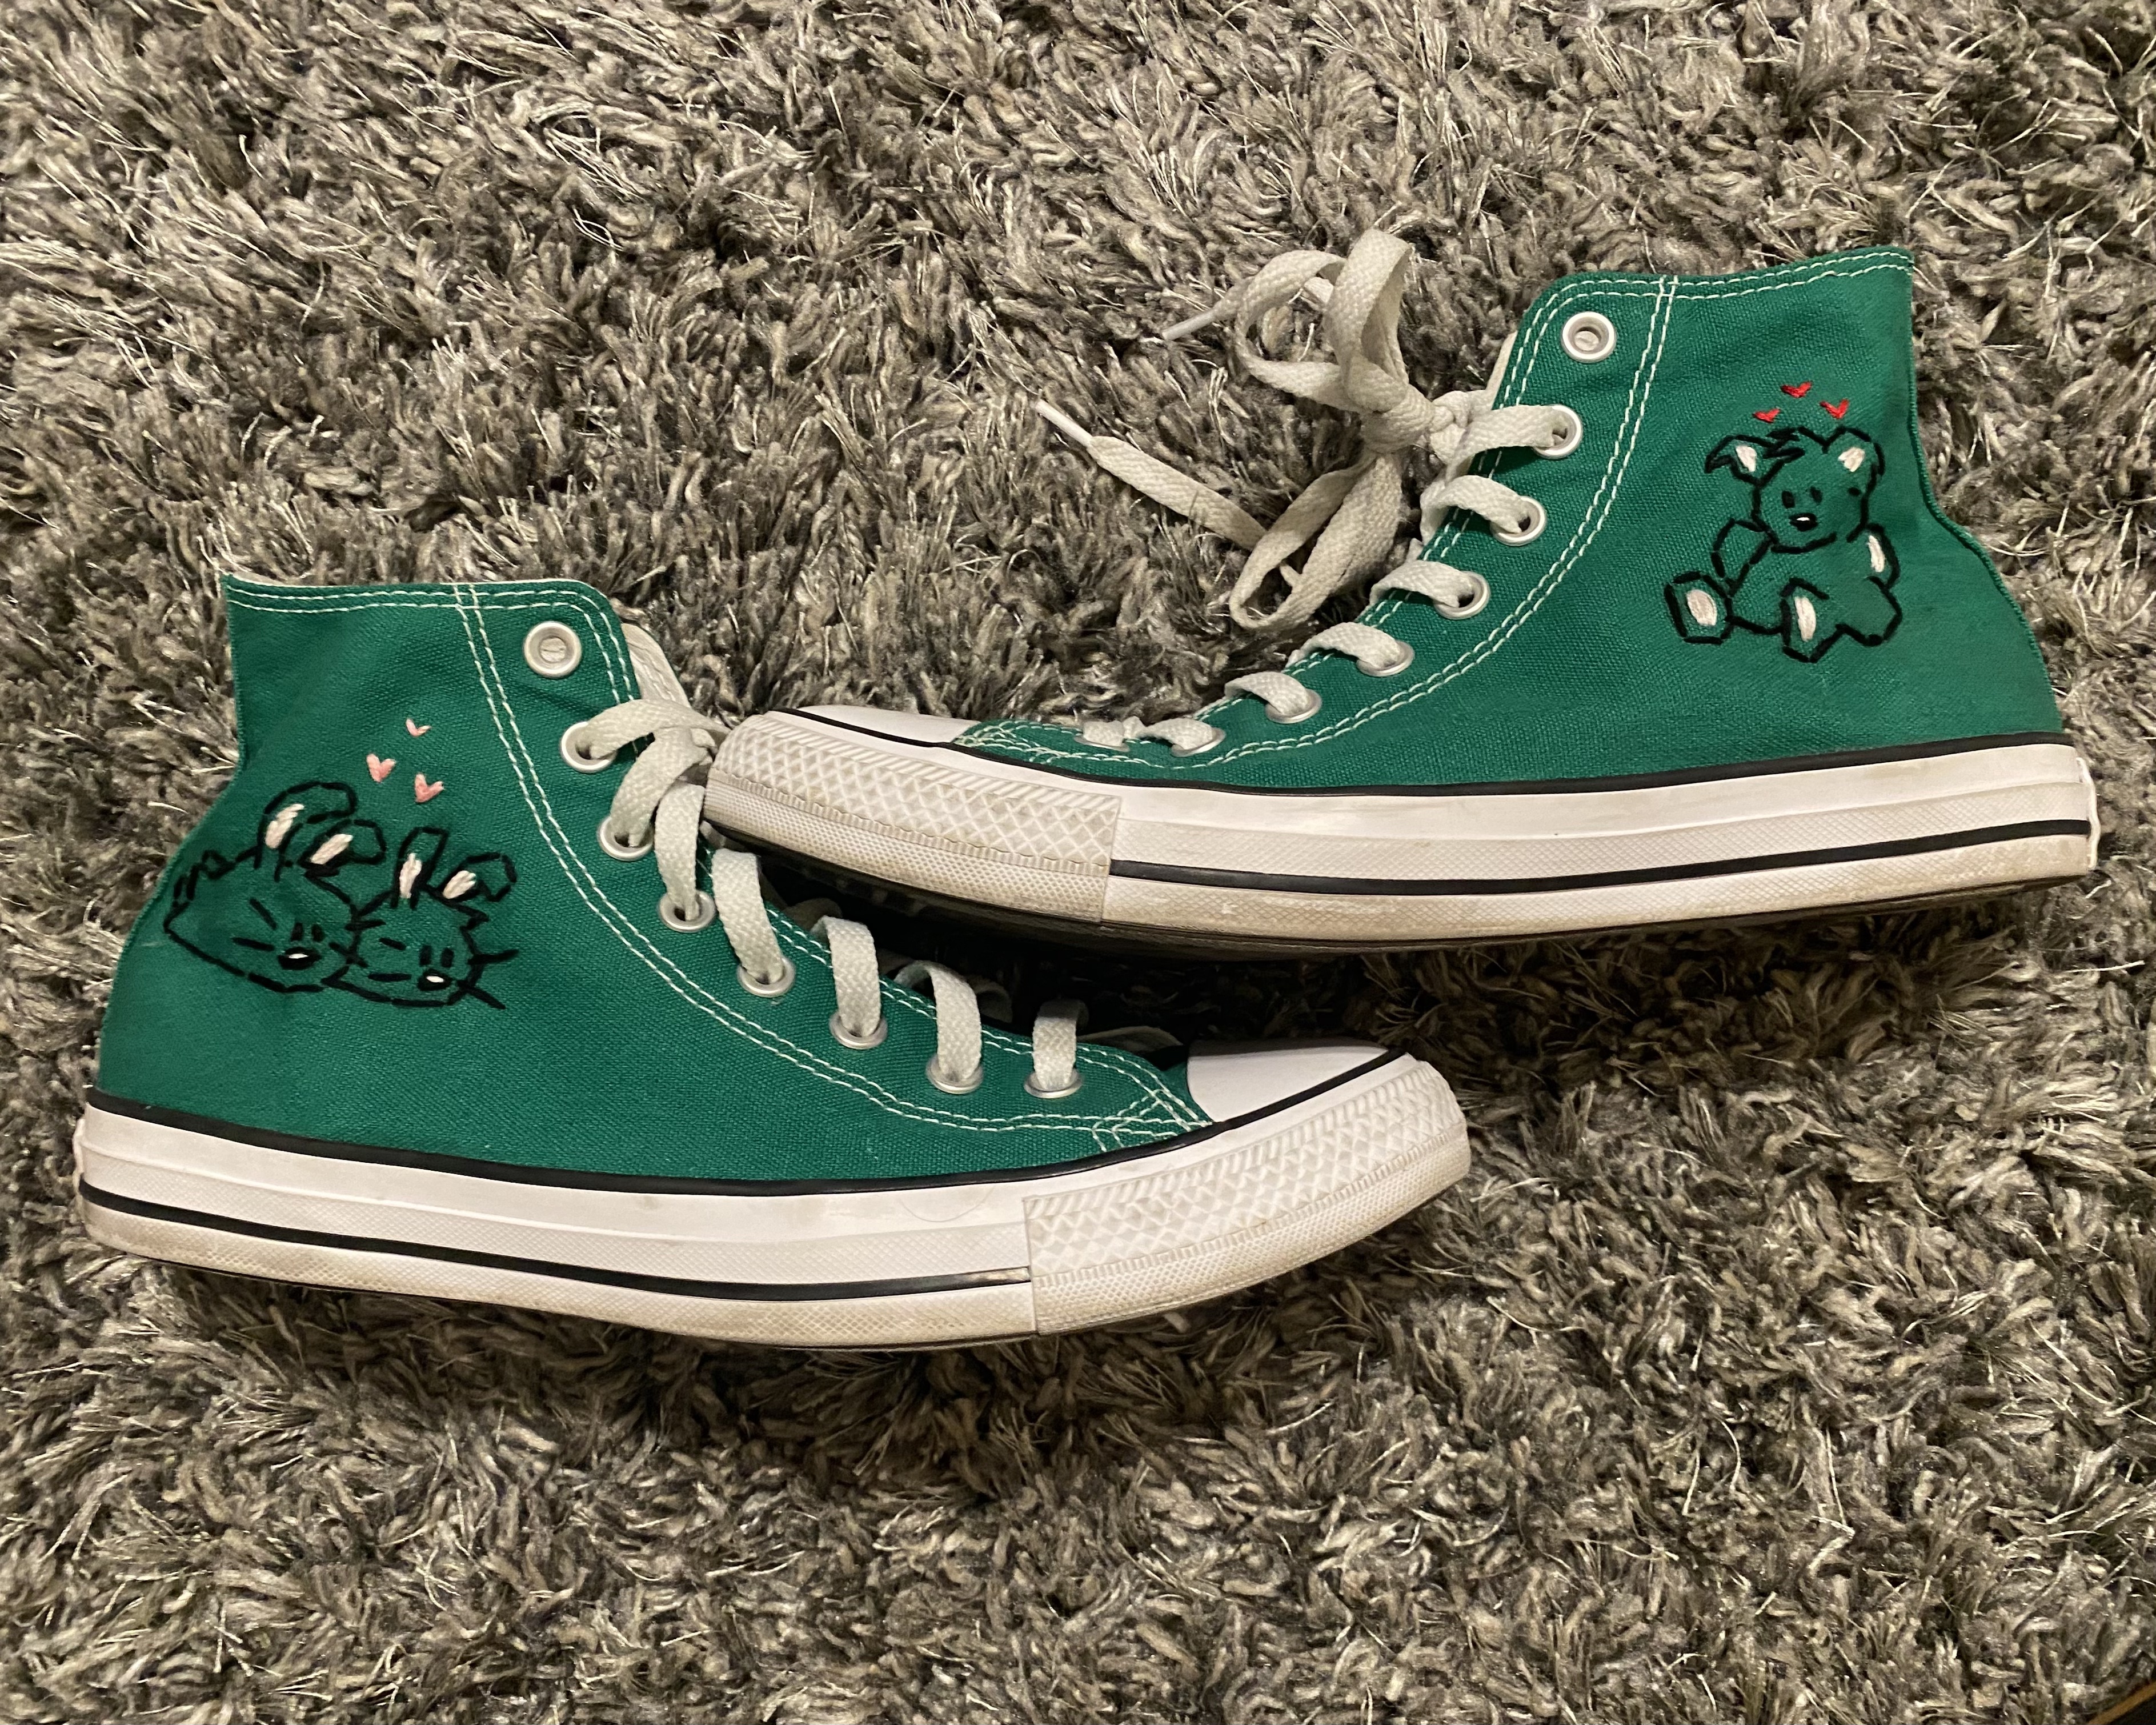
Embroidered Converse: Summer 2023
I found some green Converse in my best friend's size in great condition, so I bought them and put some drawings from Garfield on the sides, specifically Pooky and his bunny slippers. I love to embroider but it does hurt my thumb. From embroidering, I've learned the importance of planning well, and just relying on the plans, because I thought I would perfect my drawing as I was putting down thread but just followed what I had already drawn. Perfecting the plan would've meant perfecting the final product.
For the pictures, I have shown the plain shoes, the drawing I did, and the final product!

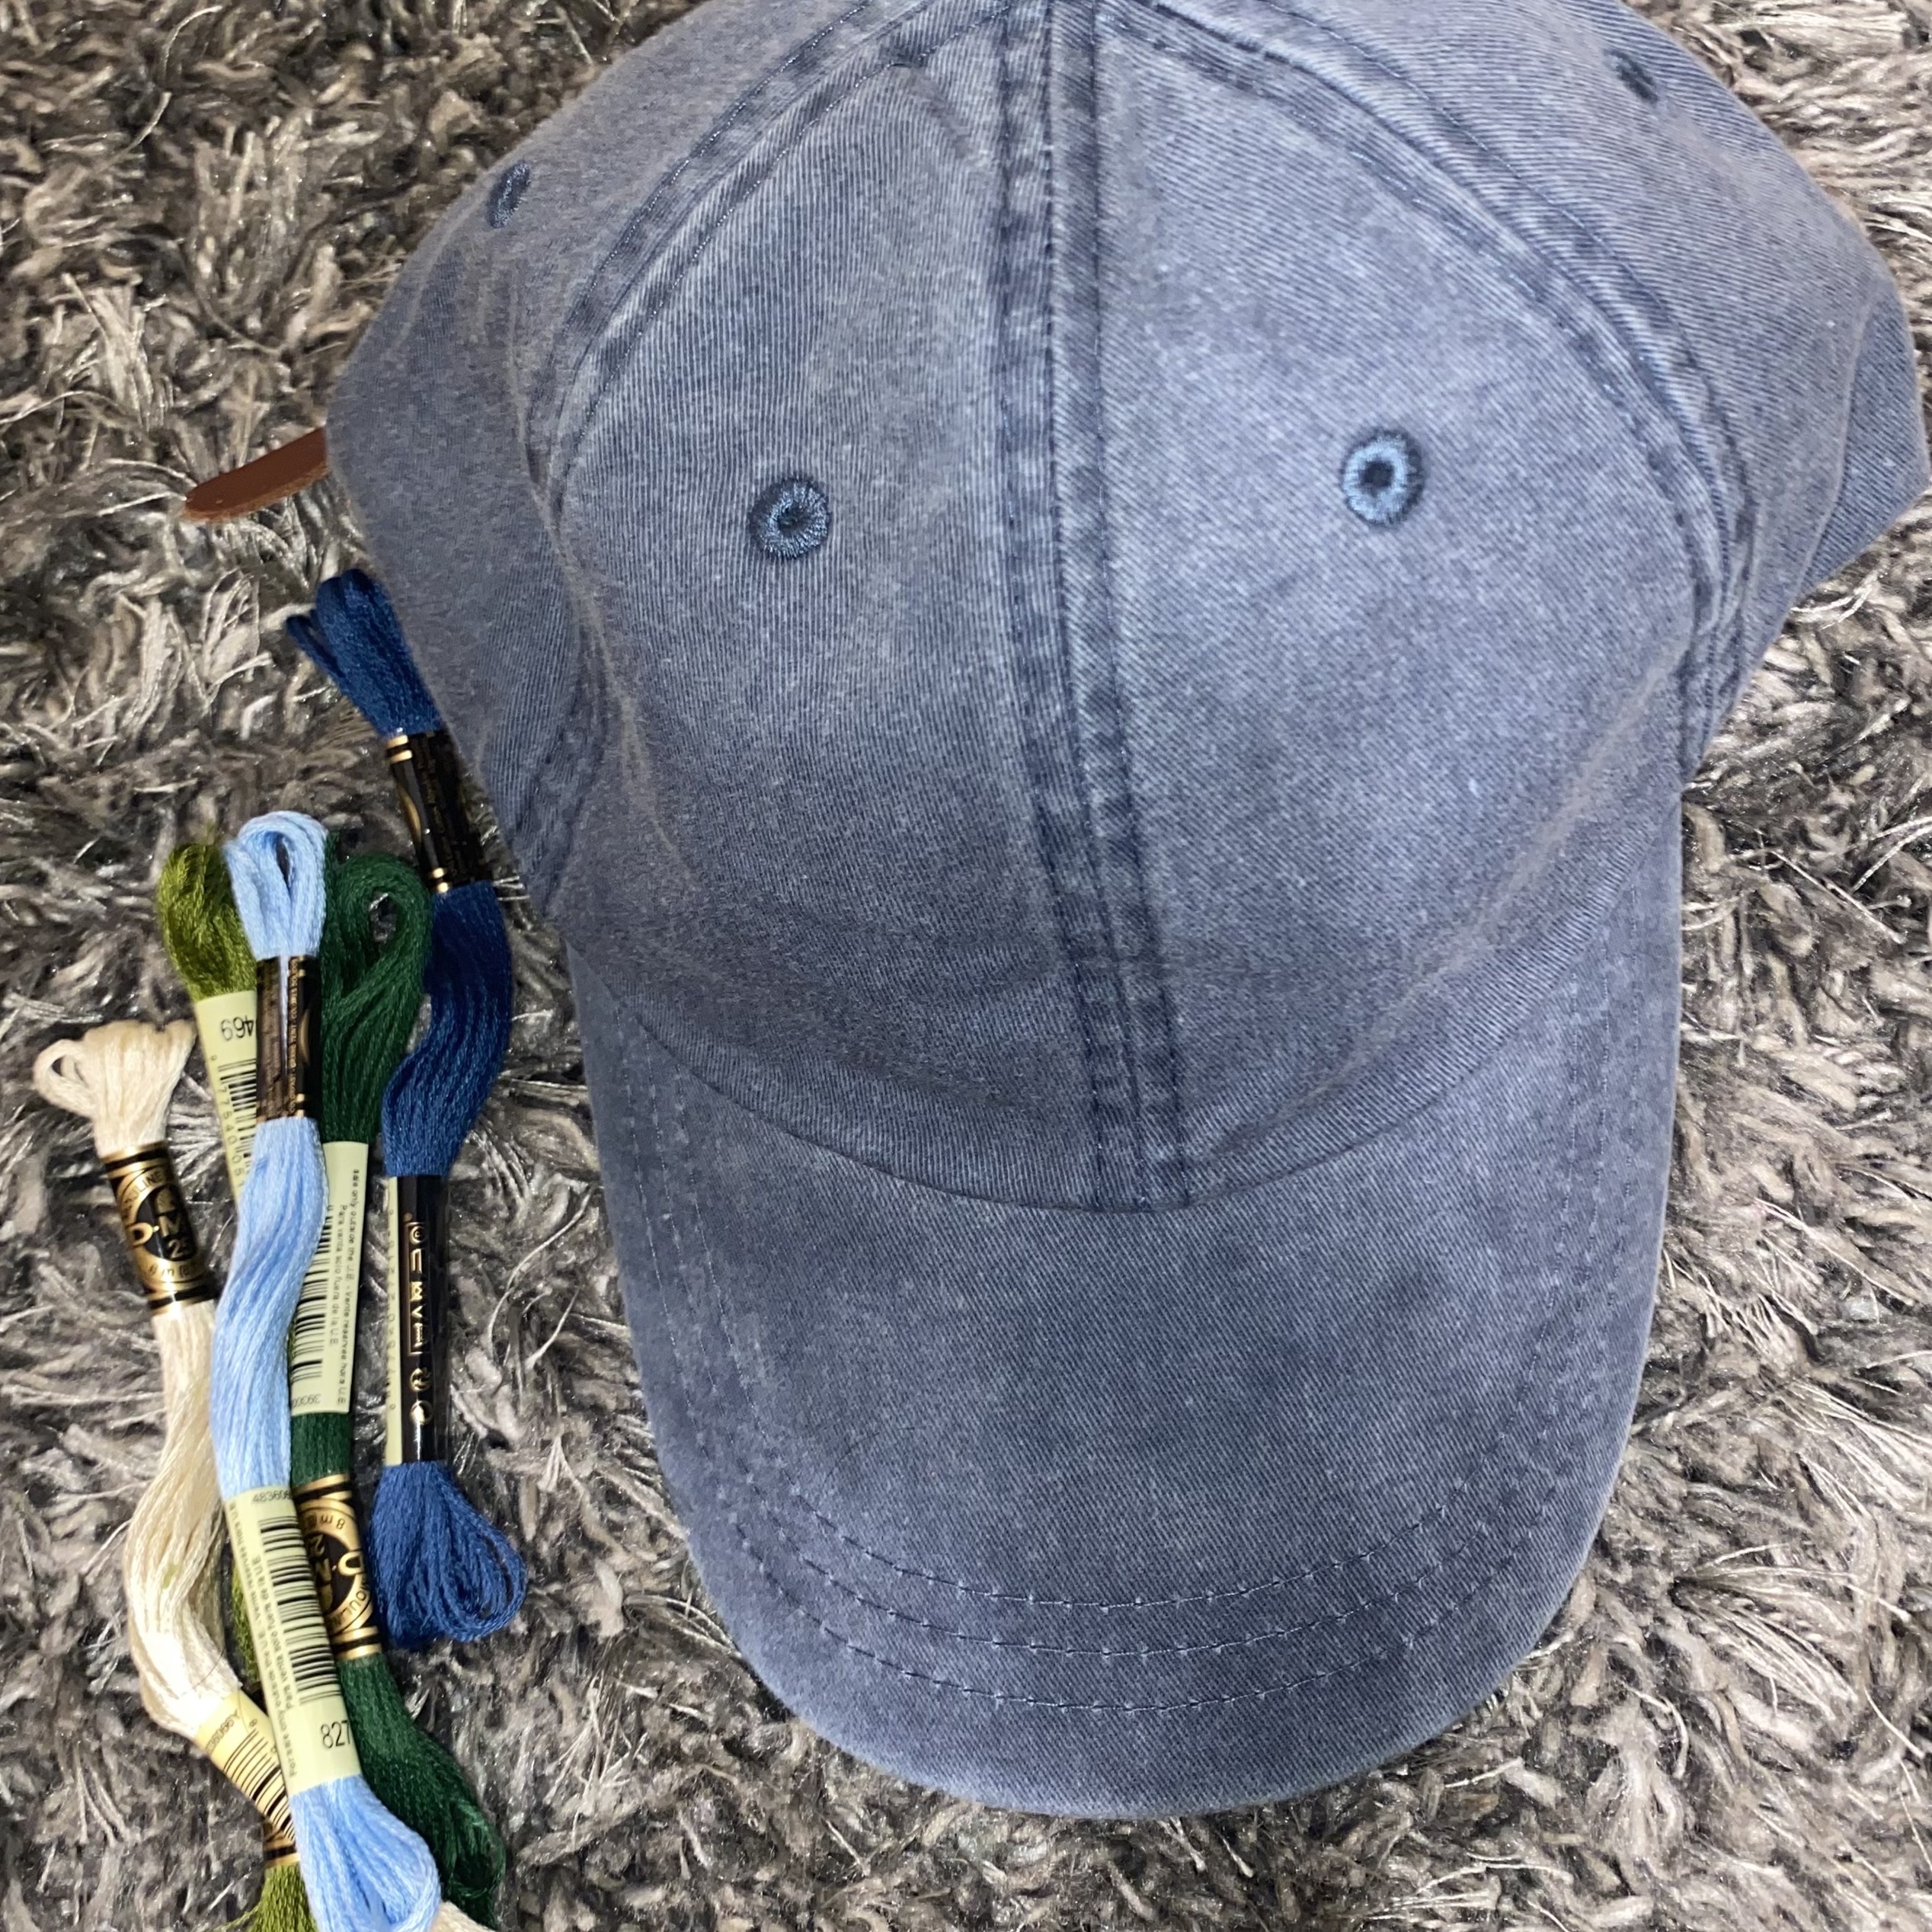
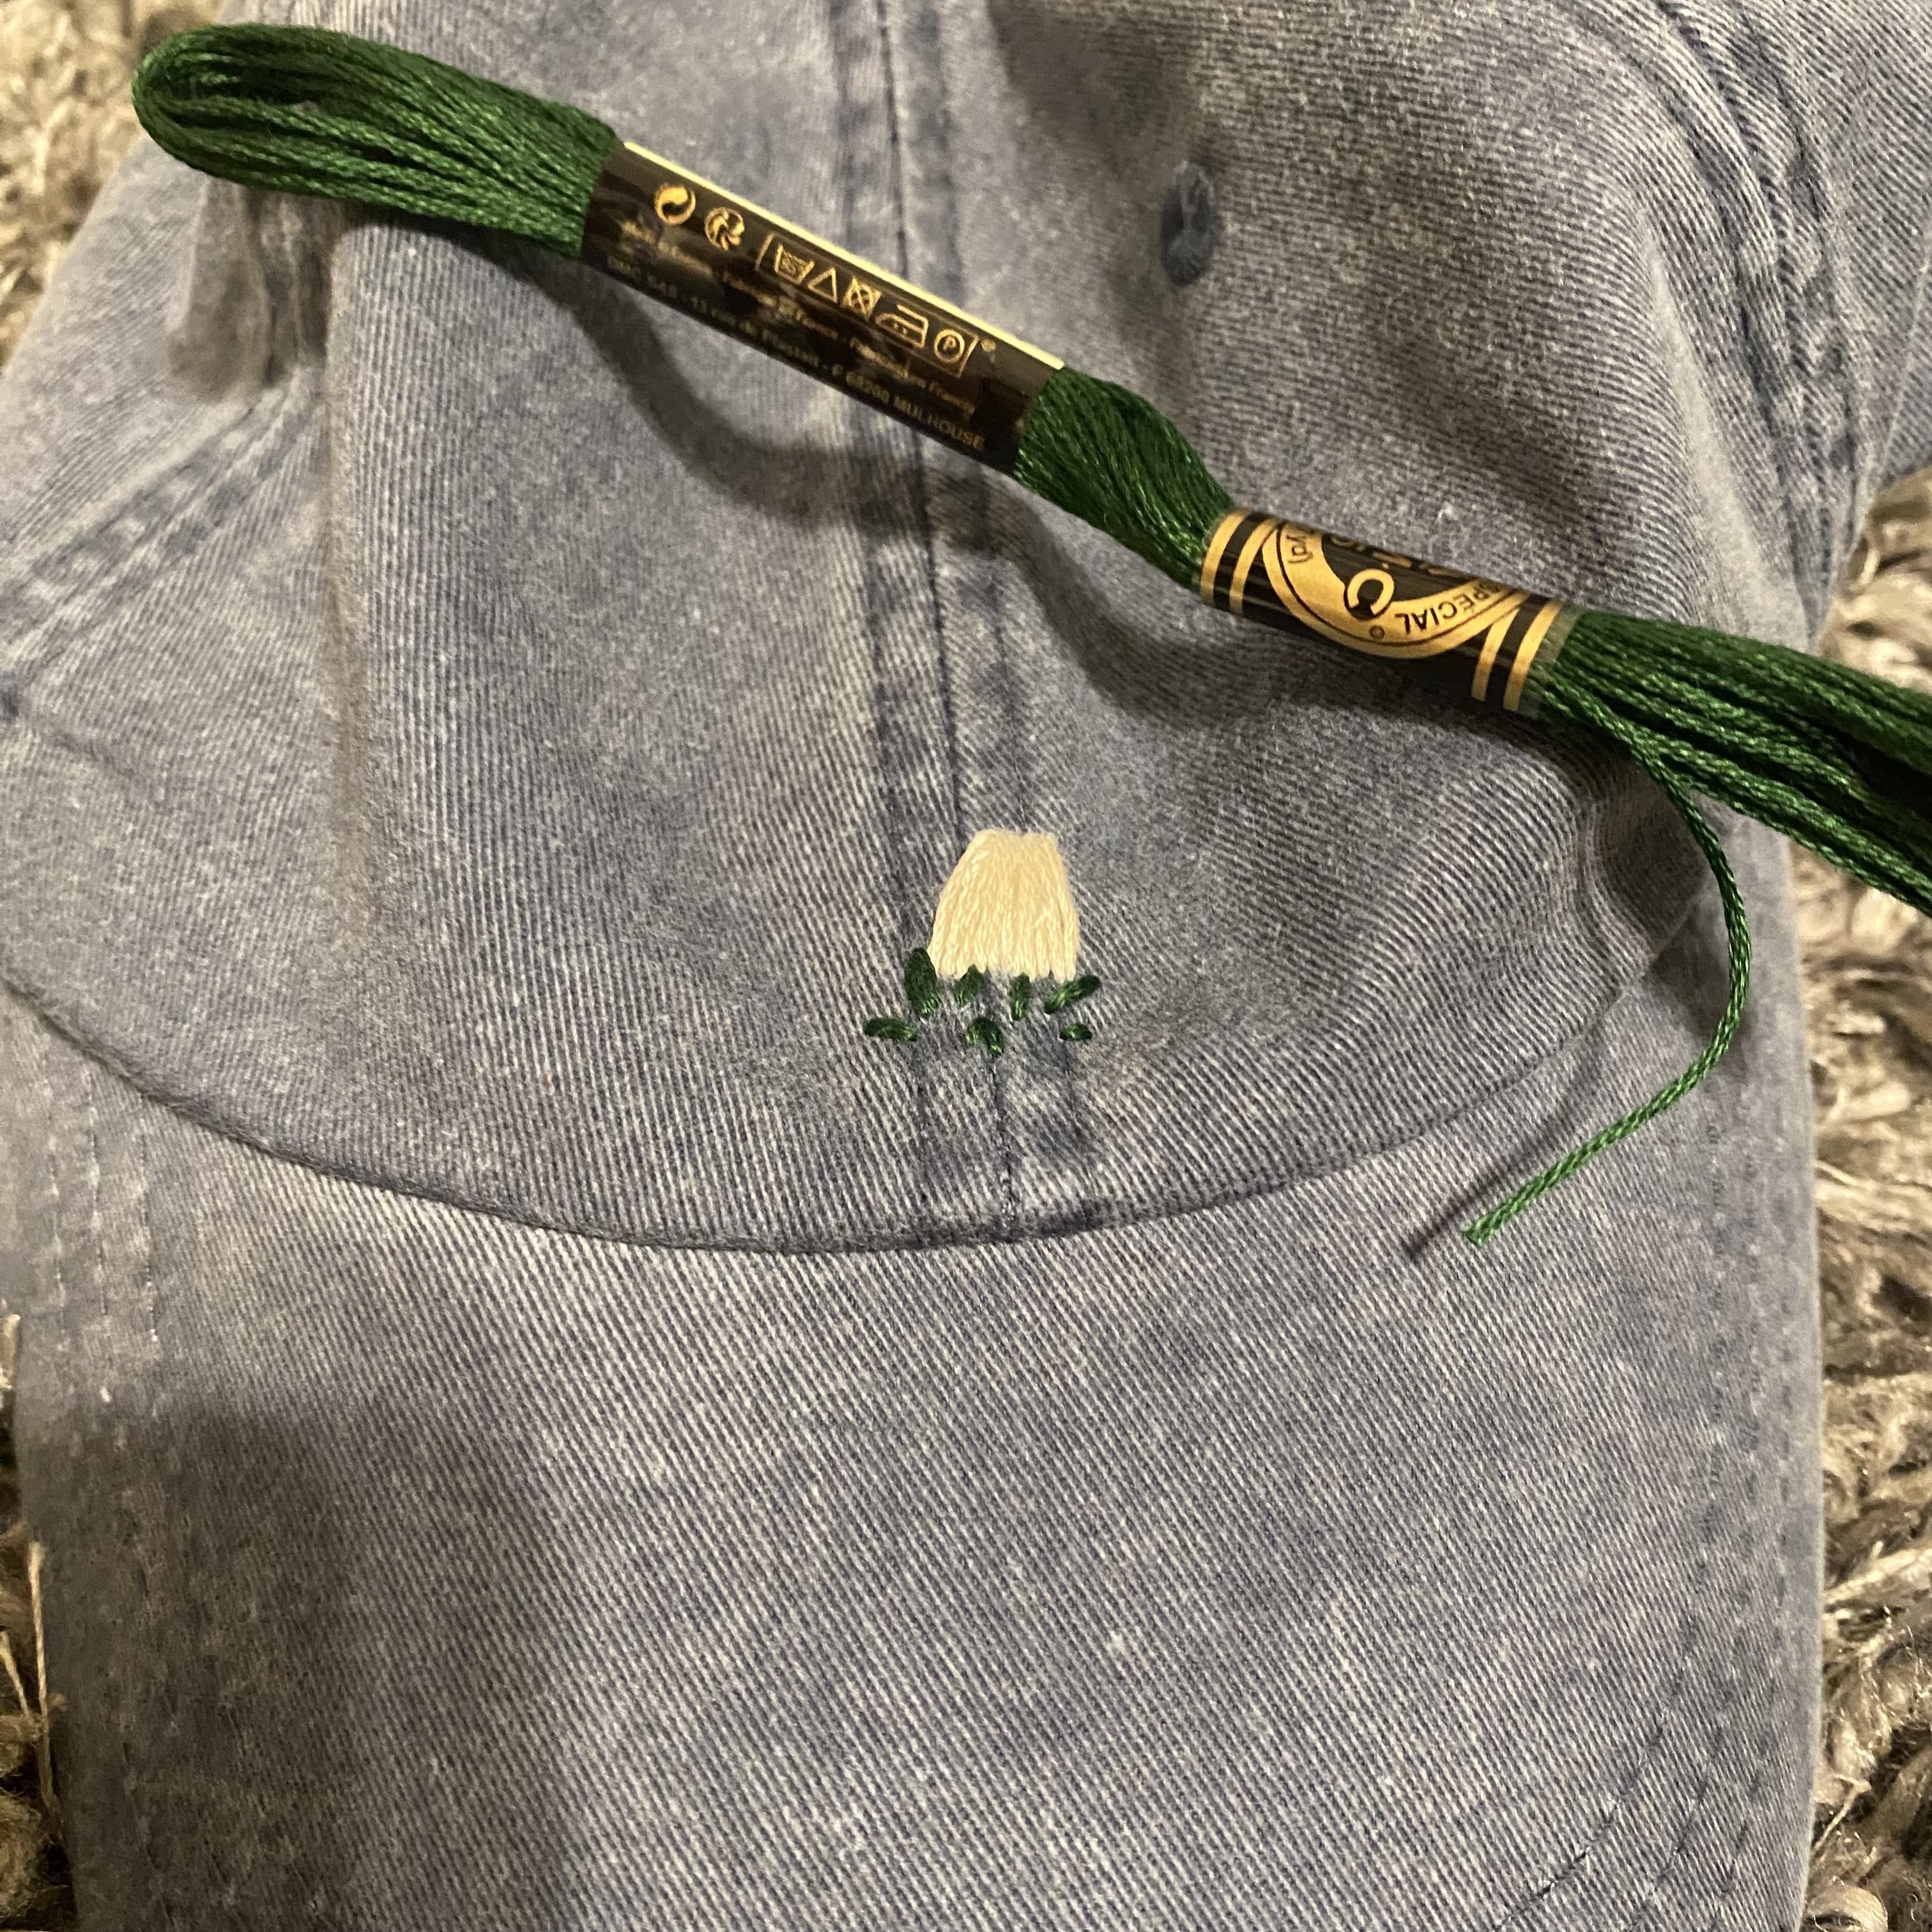
Embroidered Hat: Summer 2023
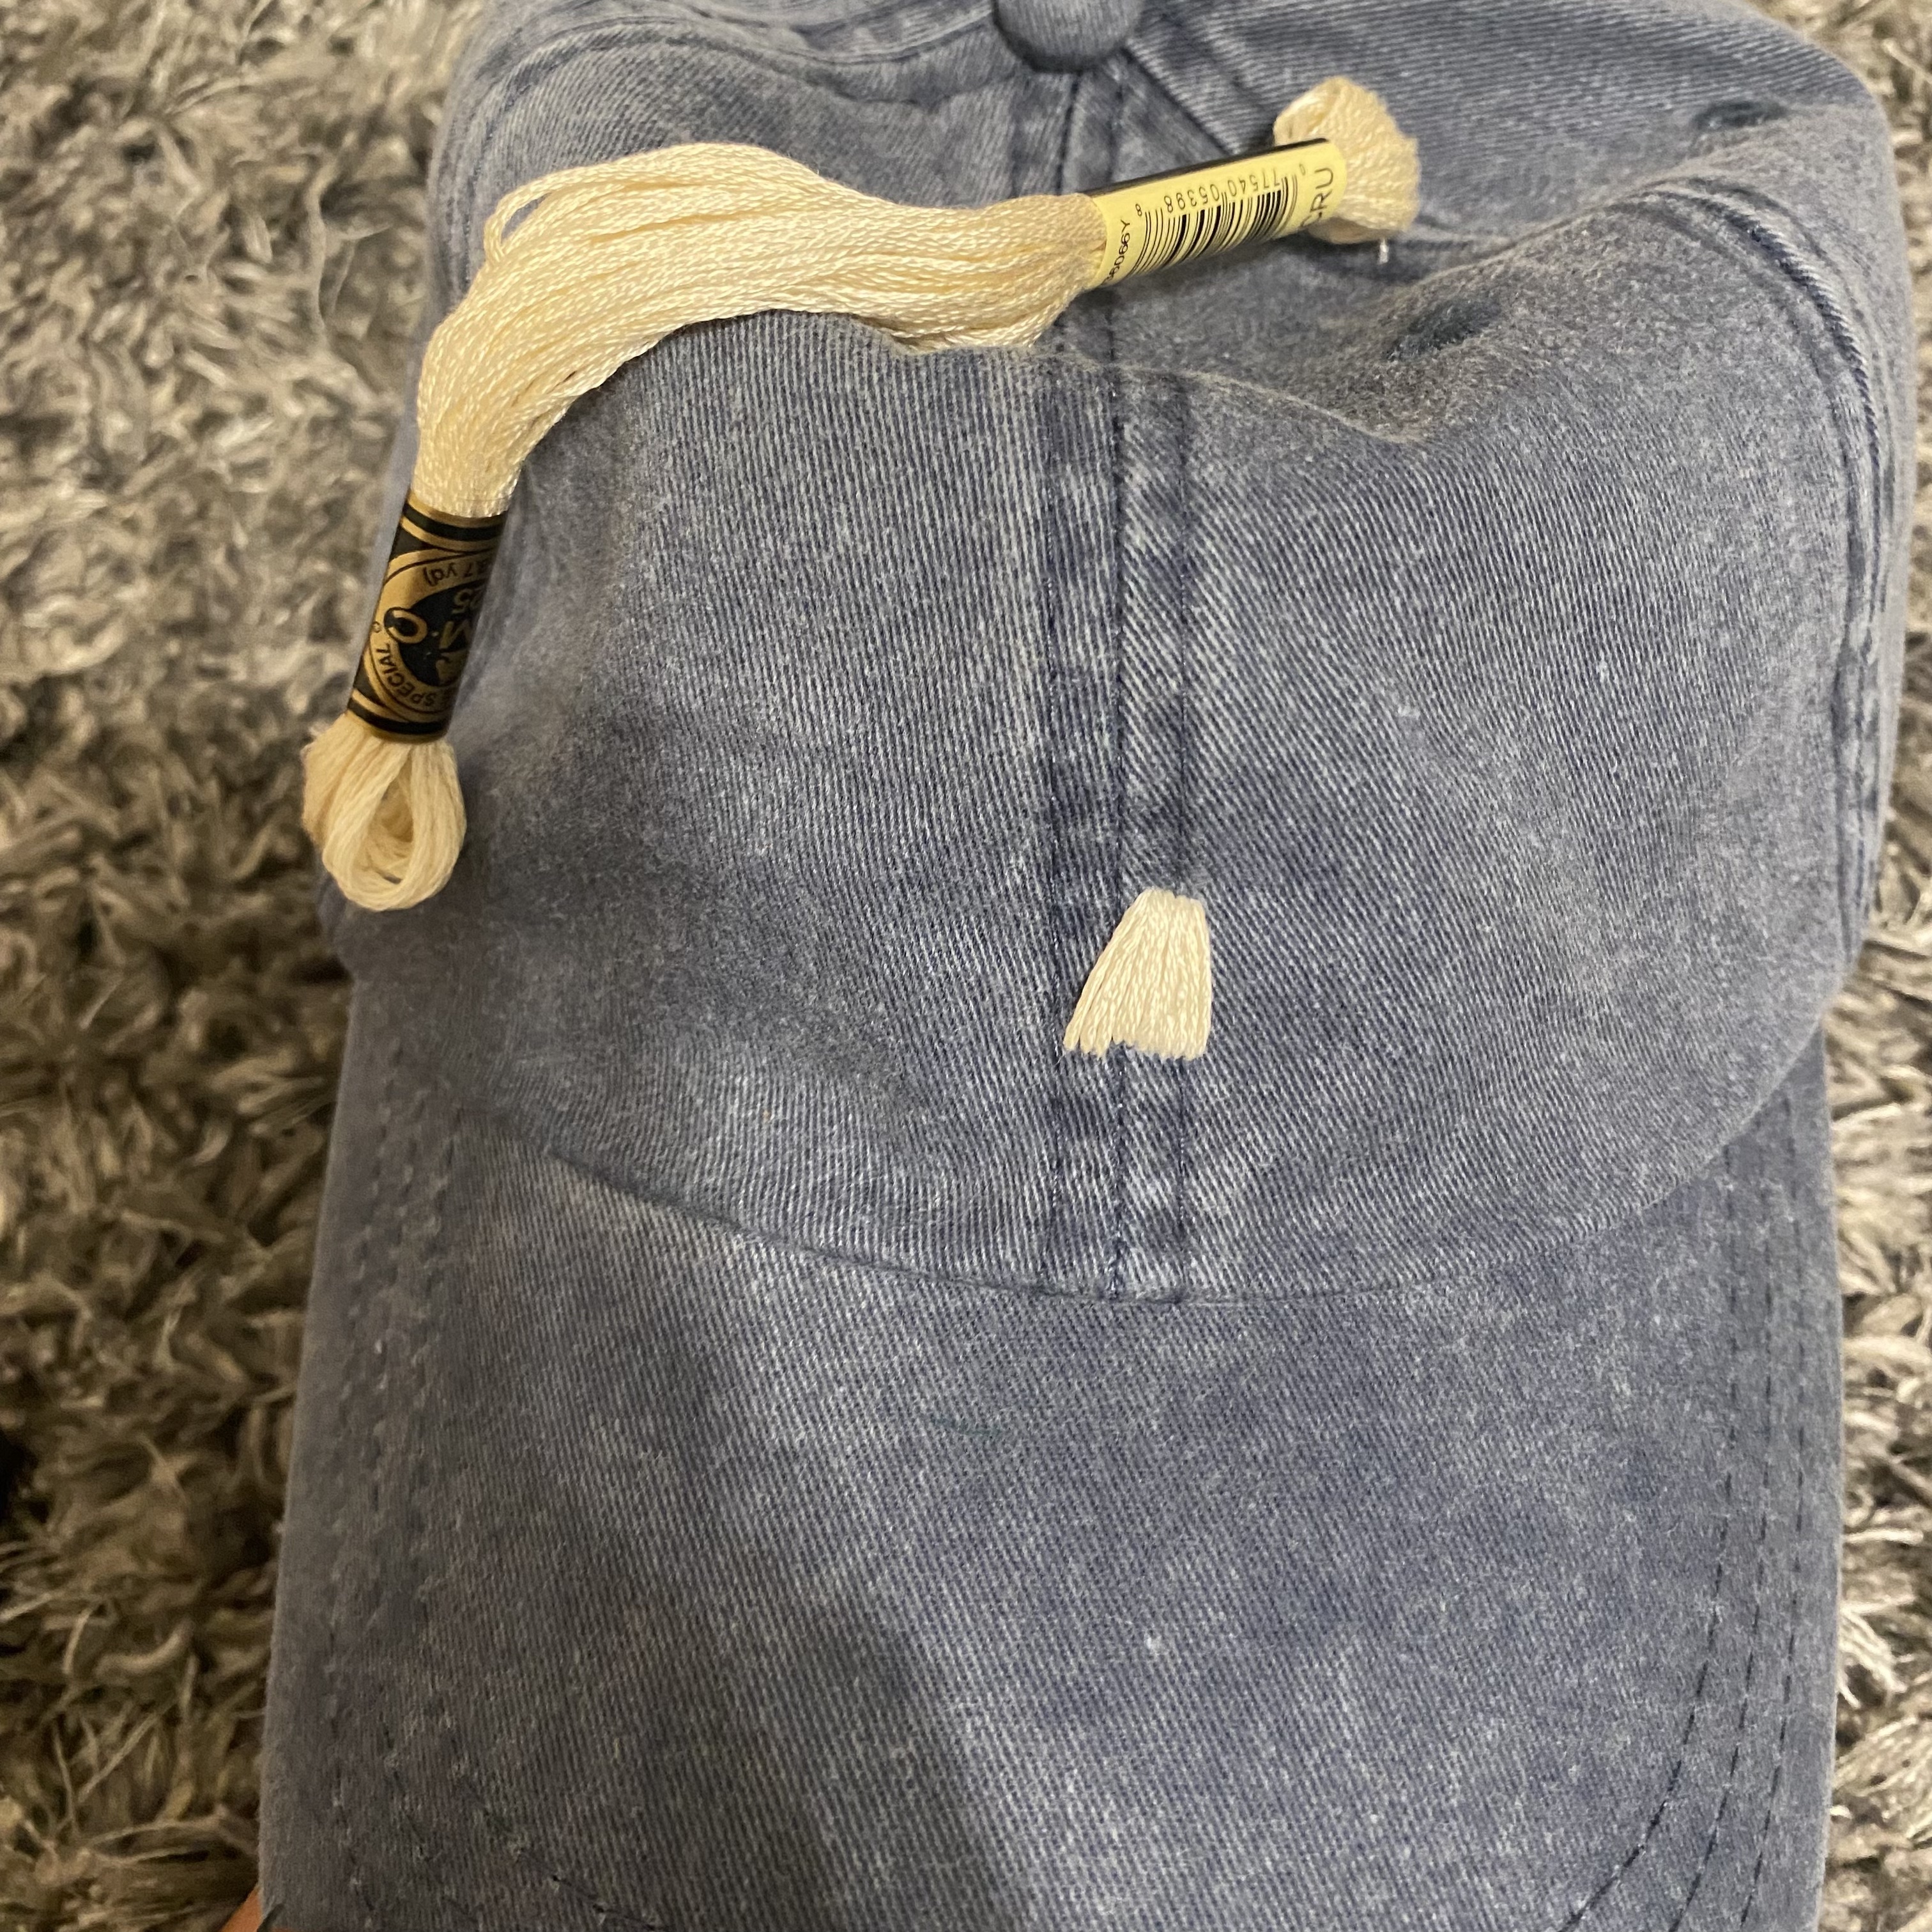
I thrifted this hat from Savers for a couple of bucks and wanted to embroider something on it to make it a bit more interesting. Here’s how I did it!
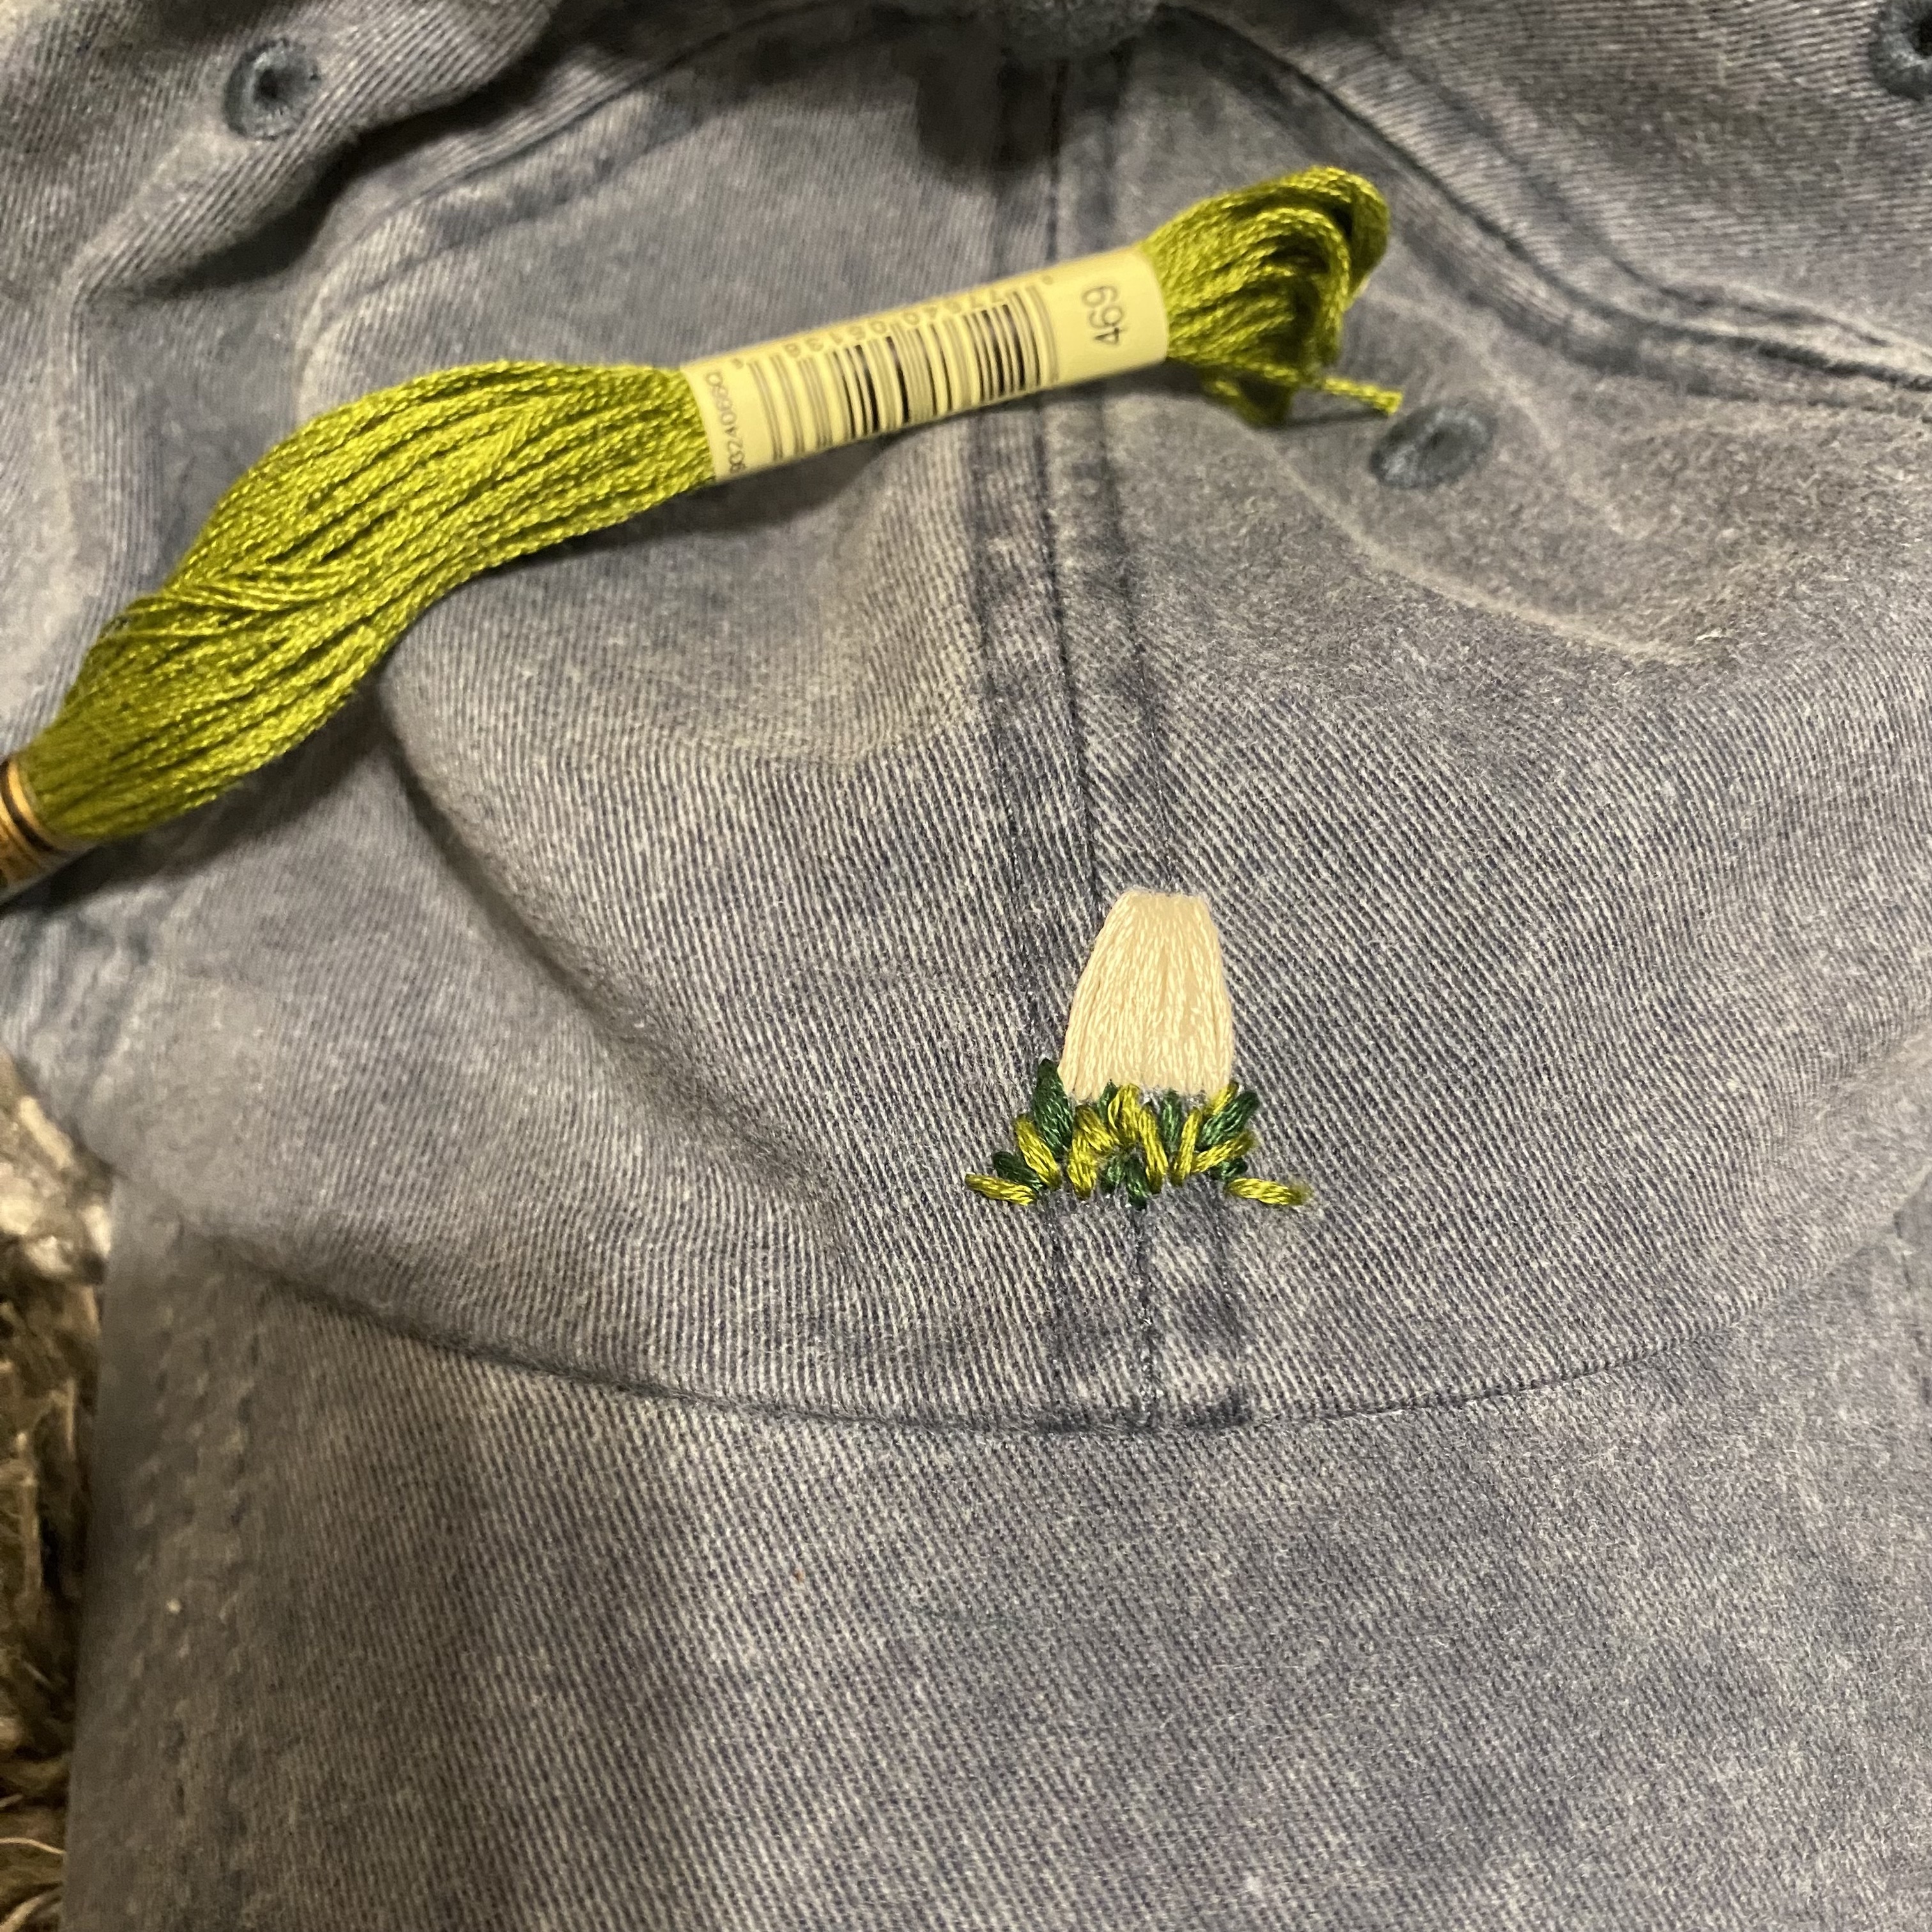
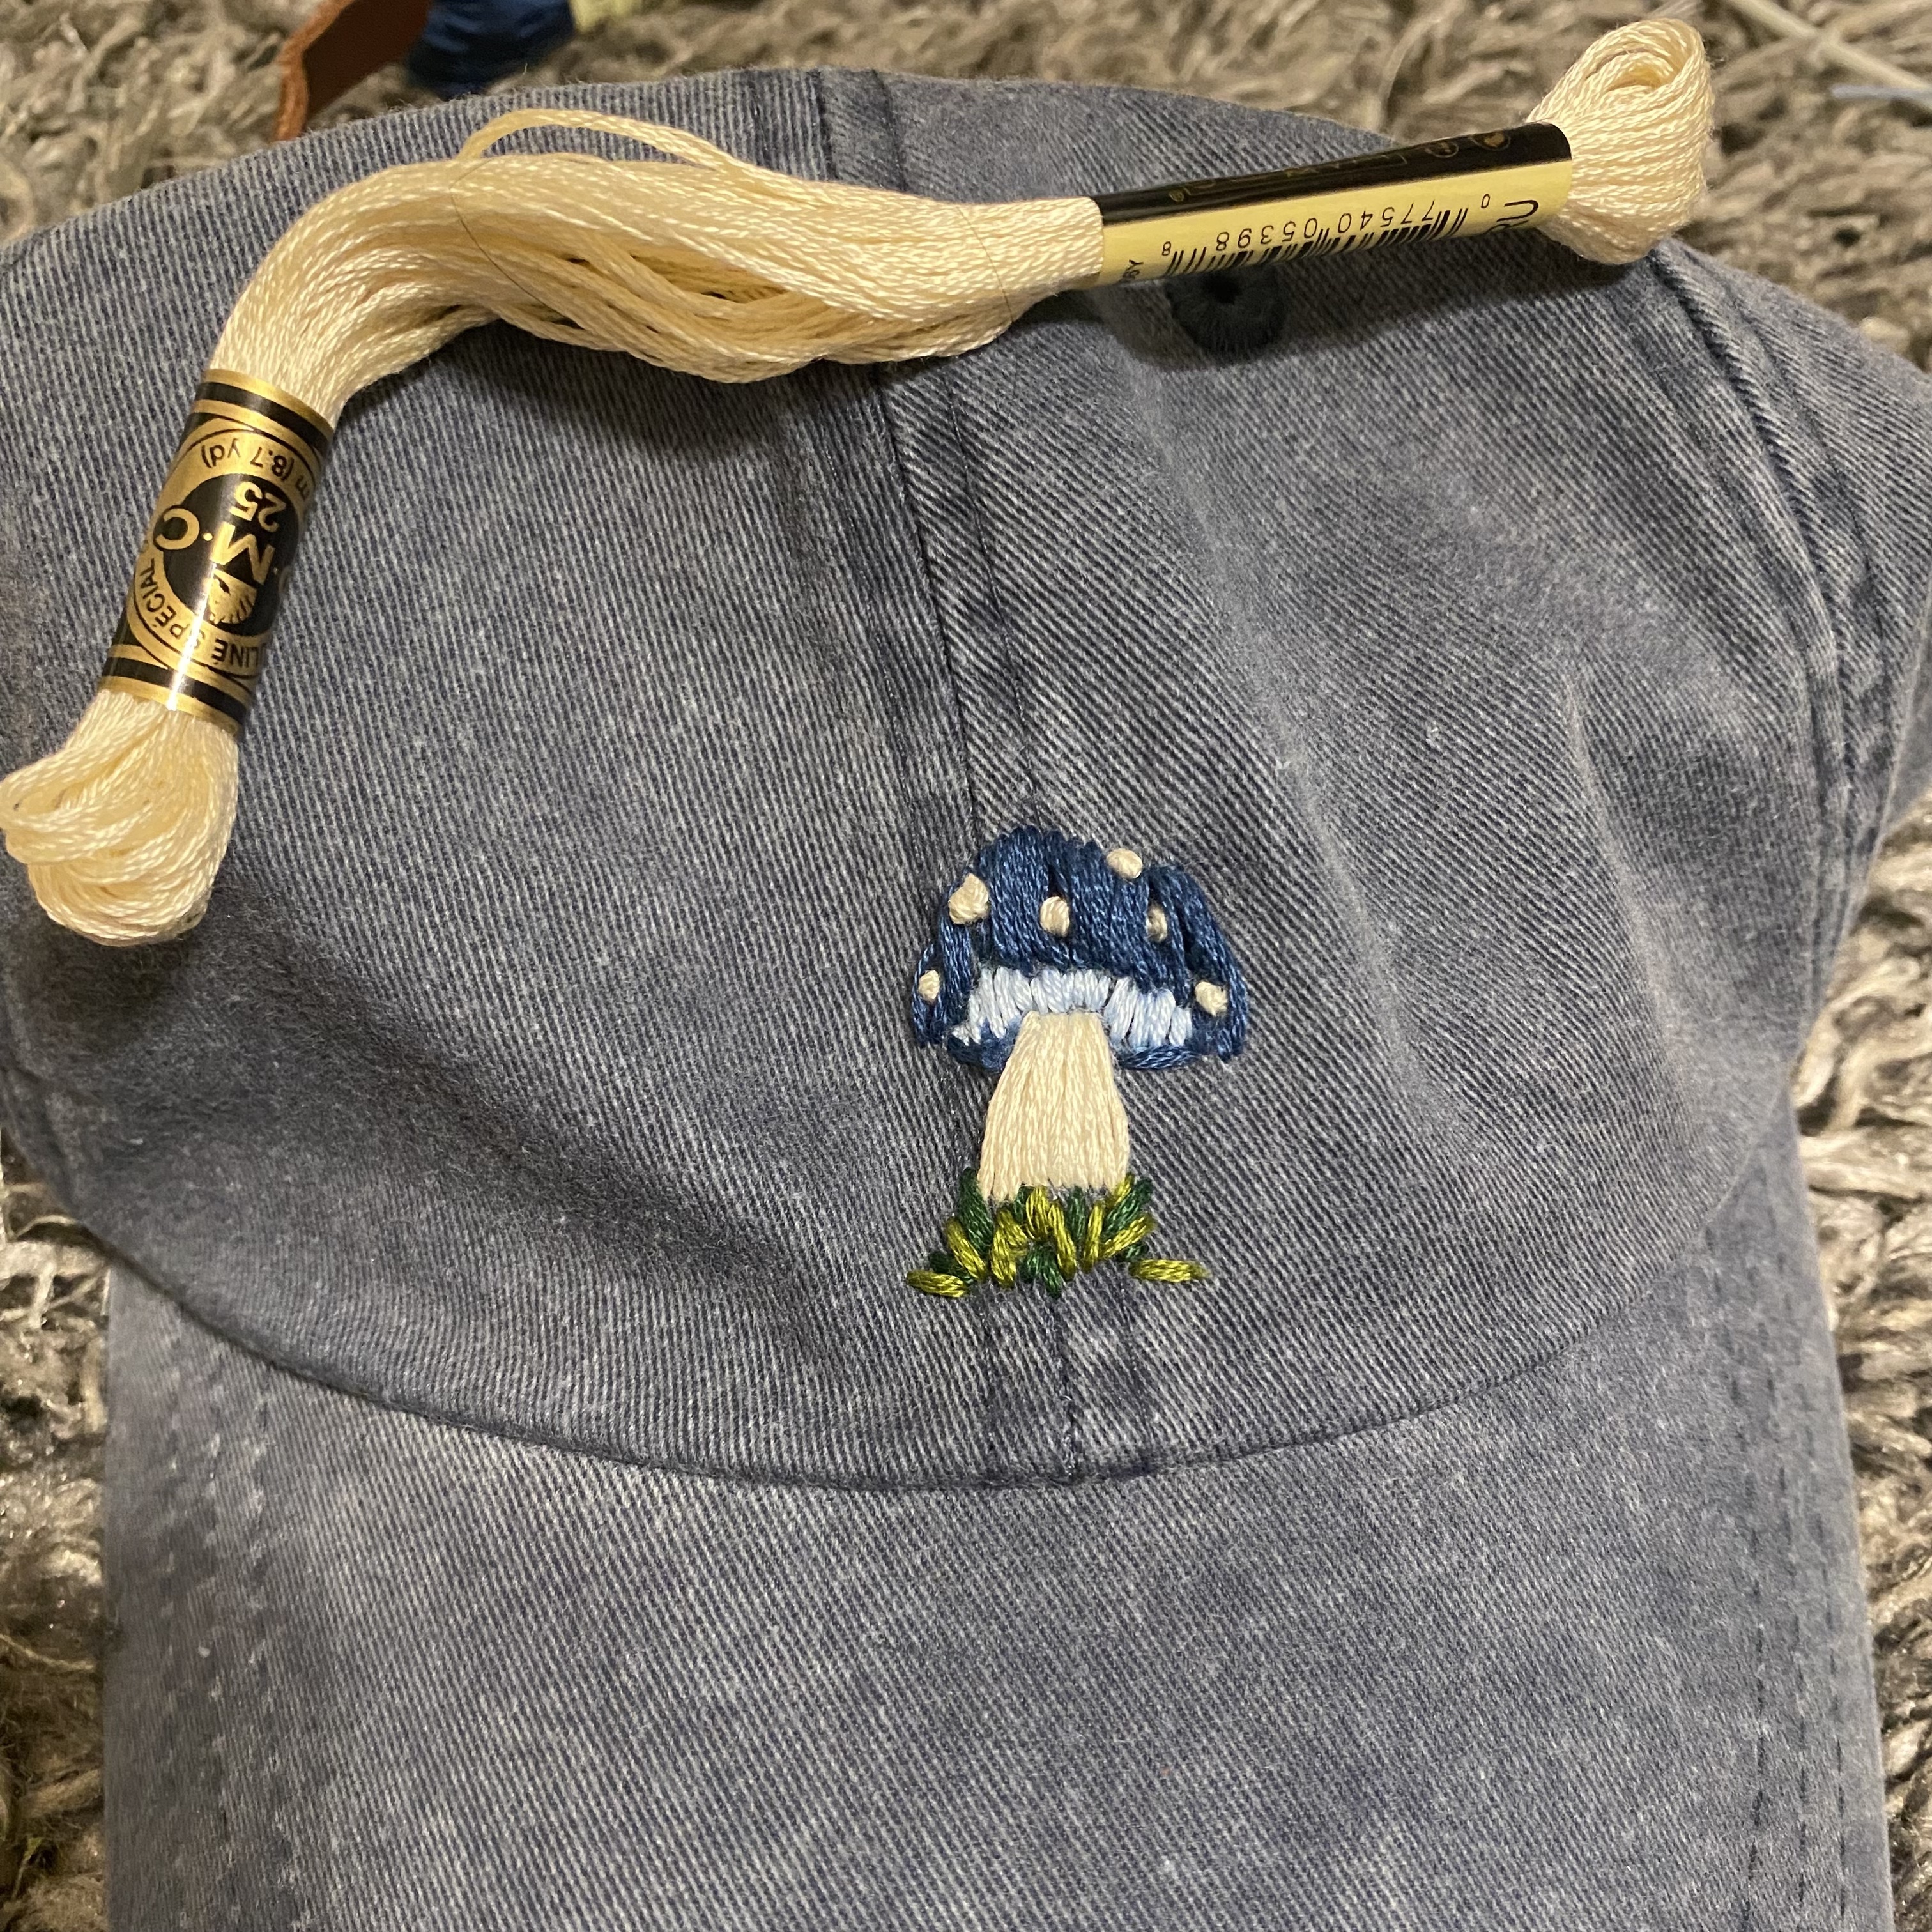
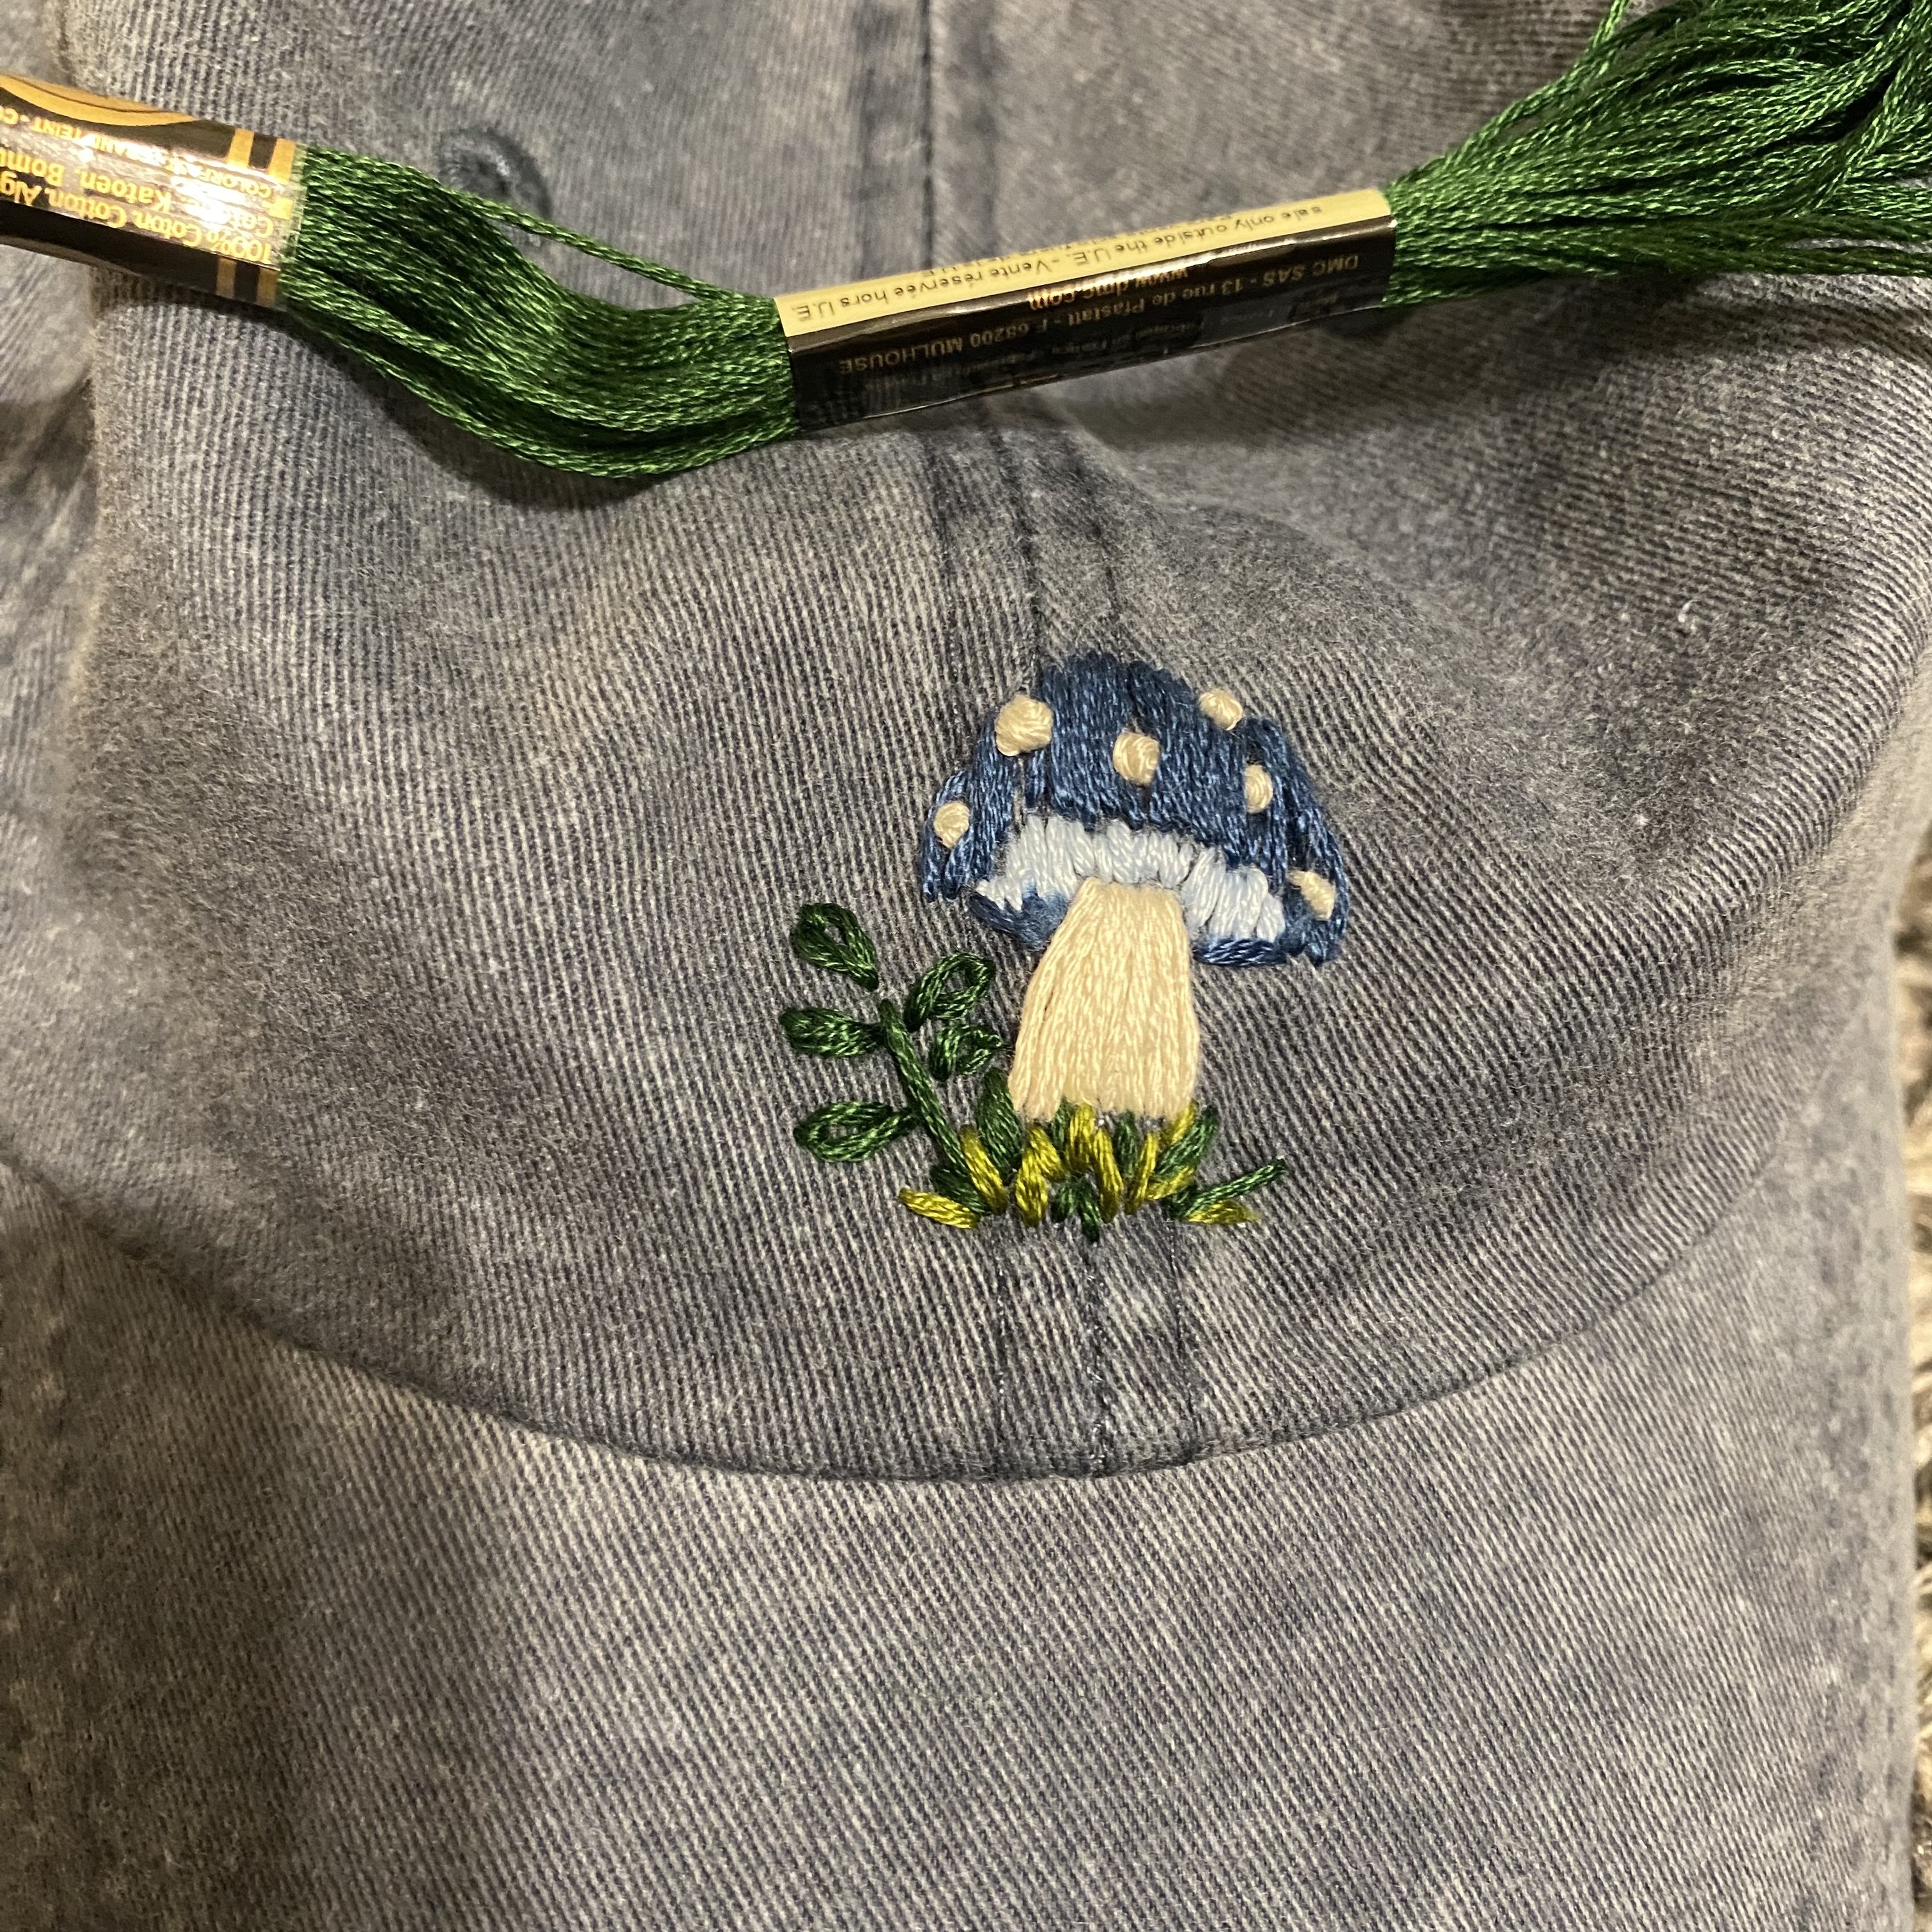
I found a reference photo that I wanted to copy. I thought of using a hoop to make sure the thread doesn’t stretch or shrink too much, but the area was too small, and I didn’t think that it would be a good idea. Funny enough I had the exact colors I needed to copy the reference photo, but I can tell that the one in the photo is machine made (or someone who is really good) because of the even-ness, so my exceptions weren’t quite as high. I used the colors: dark blue (3750), light blue(827), light green (469), dark green (890), and white (ECRU) from the brand DMC 25, which I got from Michaels for about $1 each. I didn’t have a white pencil on me to trace out the general shape onto the hat so I decided to eyeball it and try to create the best shapes I could in the beginning so I could just fill in the rest. I started with the white stump first, added grass with the dark and light green before outlining and filling in the top with the dark blue. For some reason I had a bunch of extra string on the right side making it look a bit unclean. I continued by filling in the middle space with the light blue, and then adding little balls in white to the top. I used one to secure the loose thread down and make it look neater. I noticed that the design was a bit right heavy and left it looking a bit lopsided. To counter this I added a little leafy plant to the left, centering the design more. Overall I’m super happy with how it came out, especially considering it only took me about an hour and half to embroider and less than $10 in supplies.
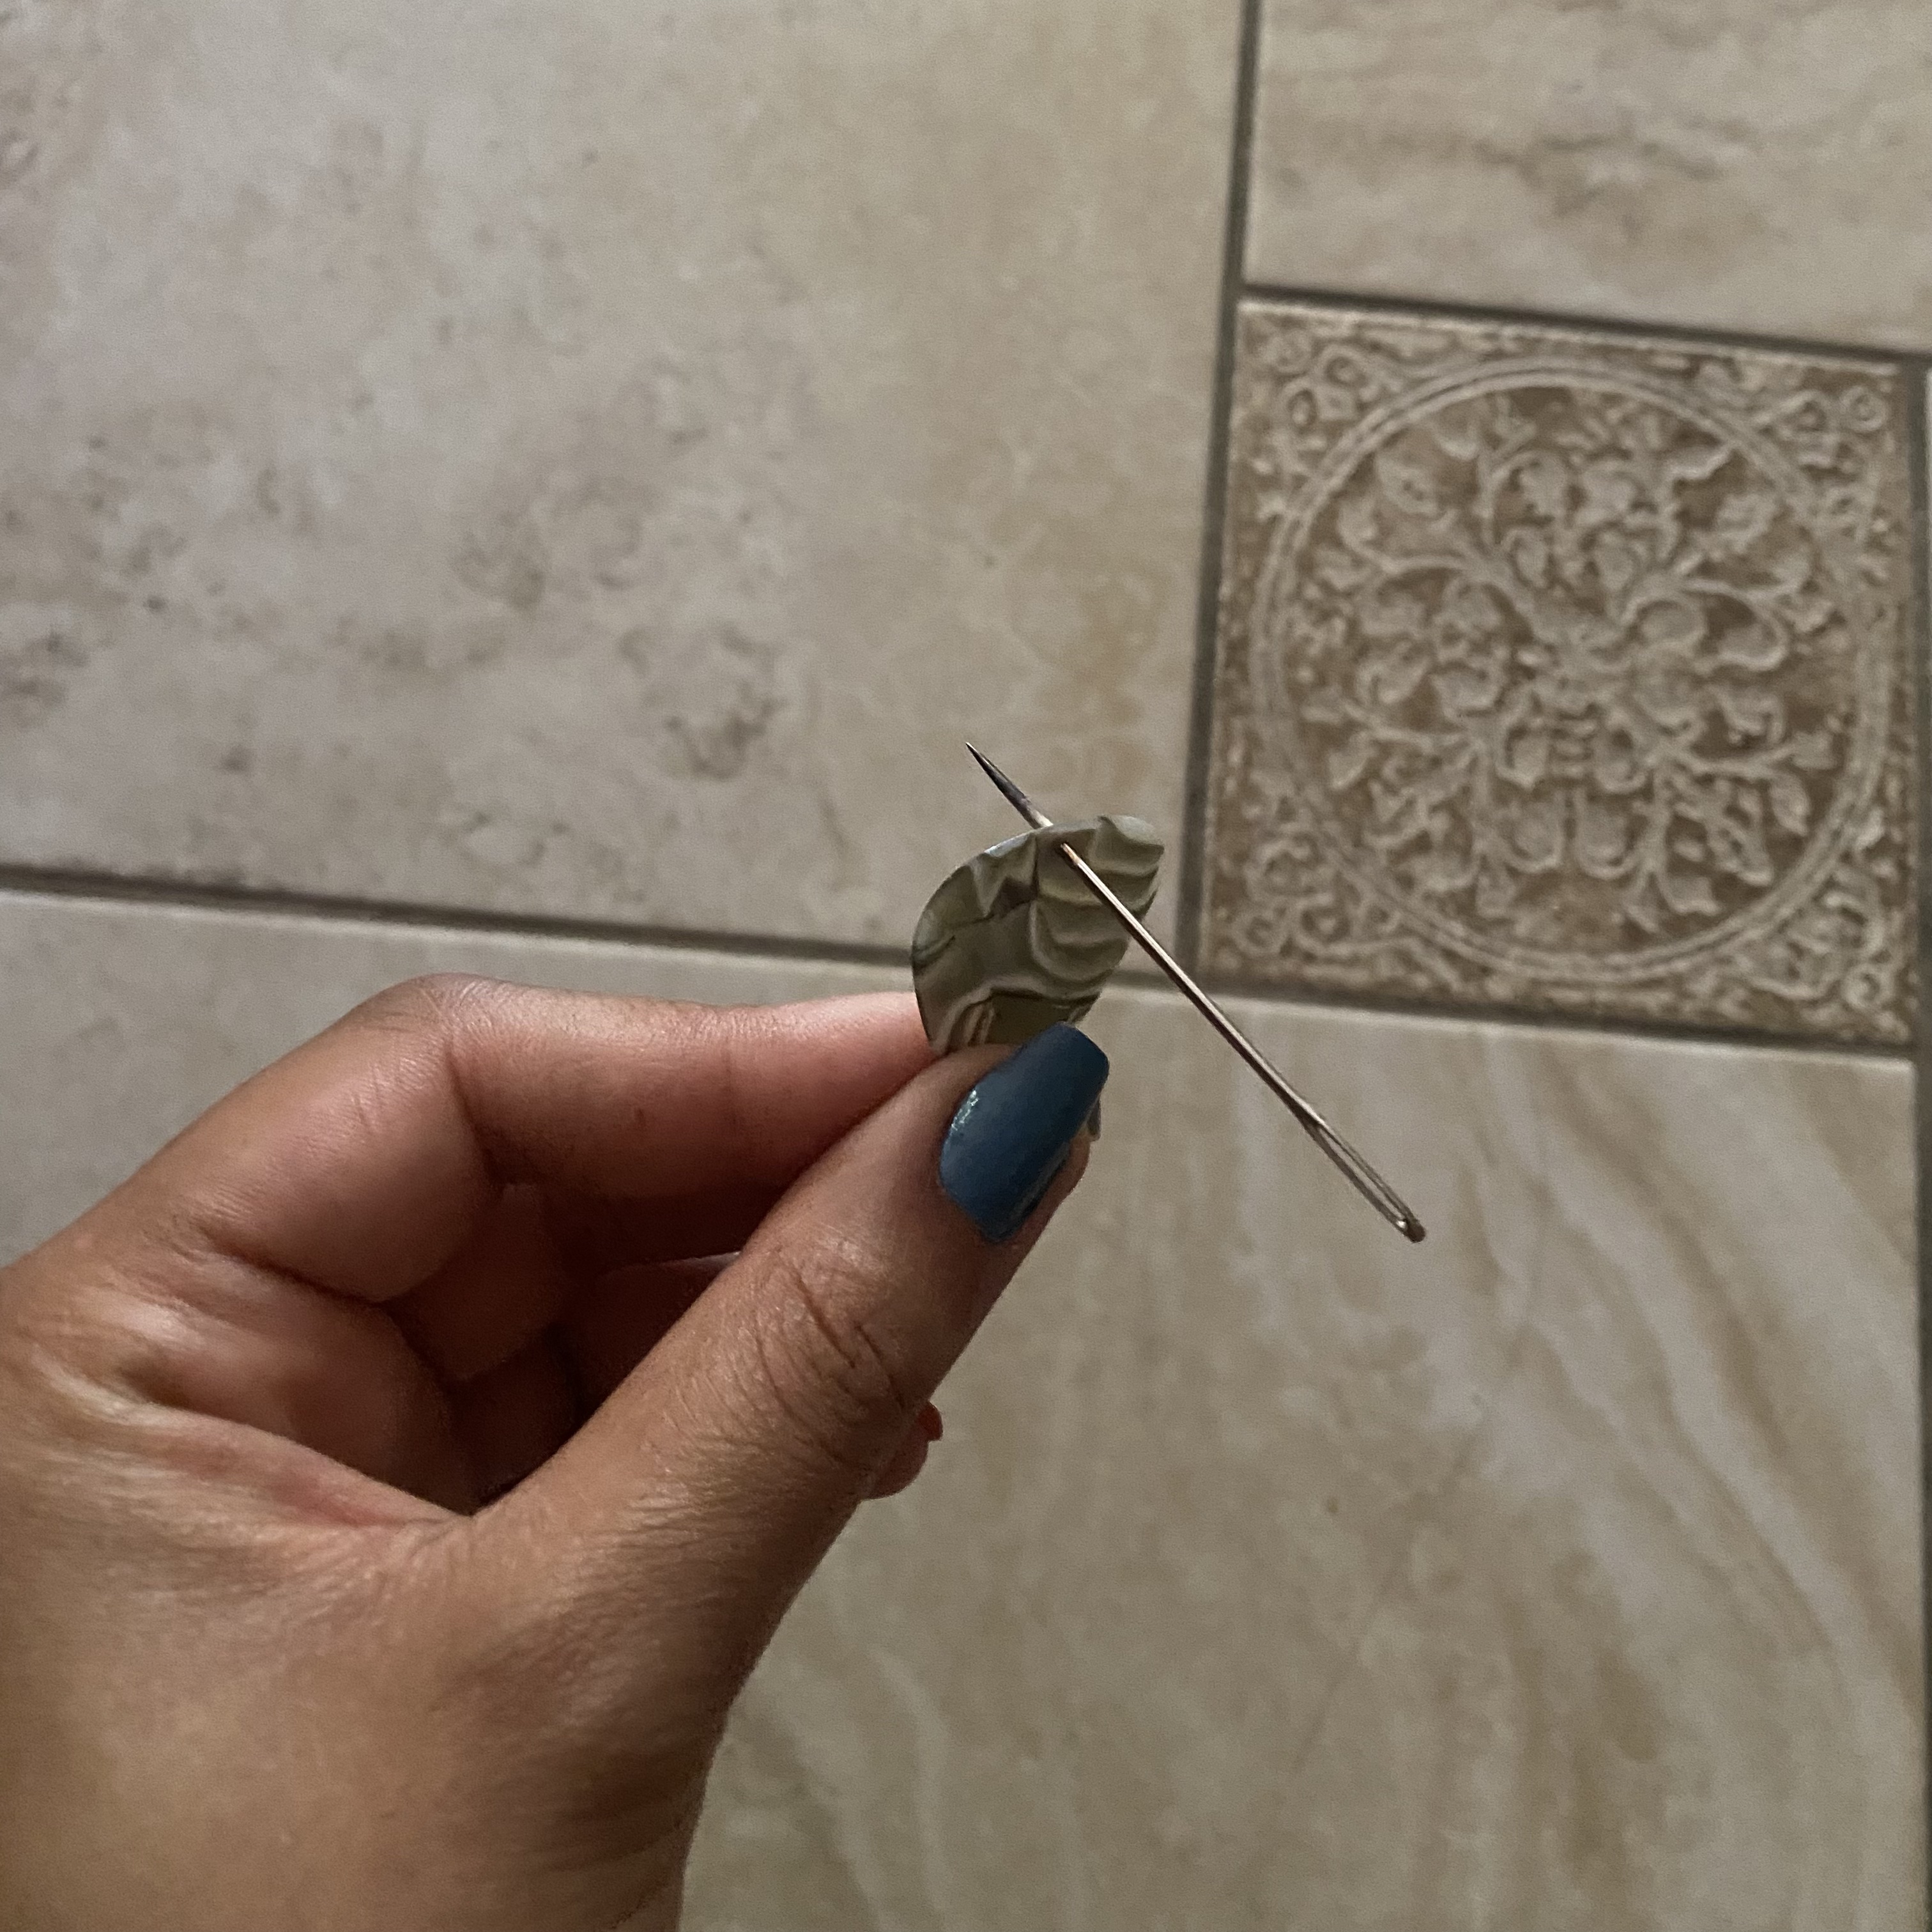
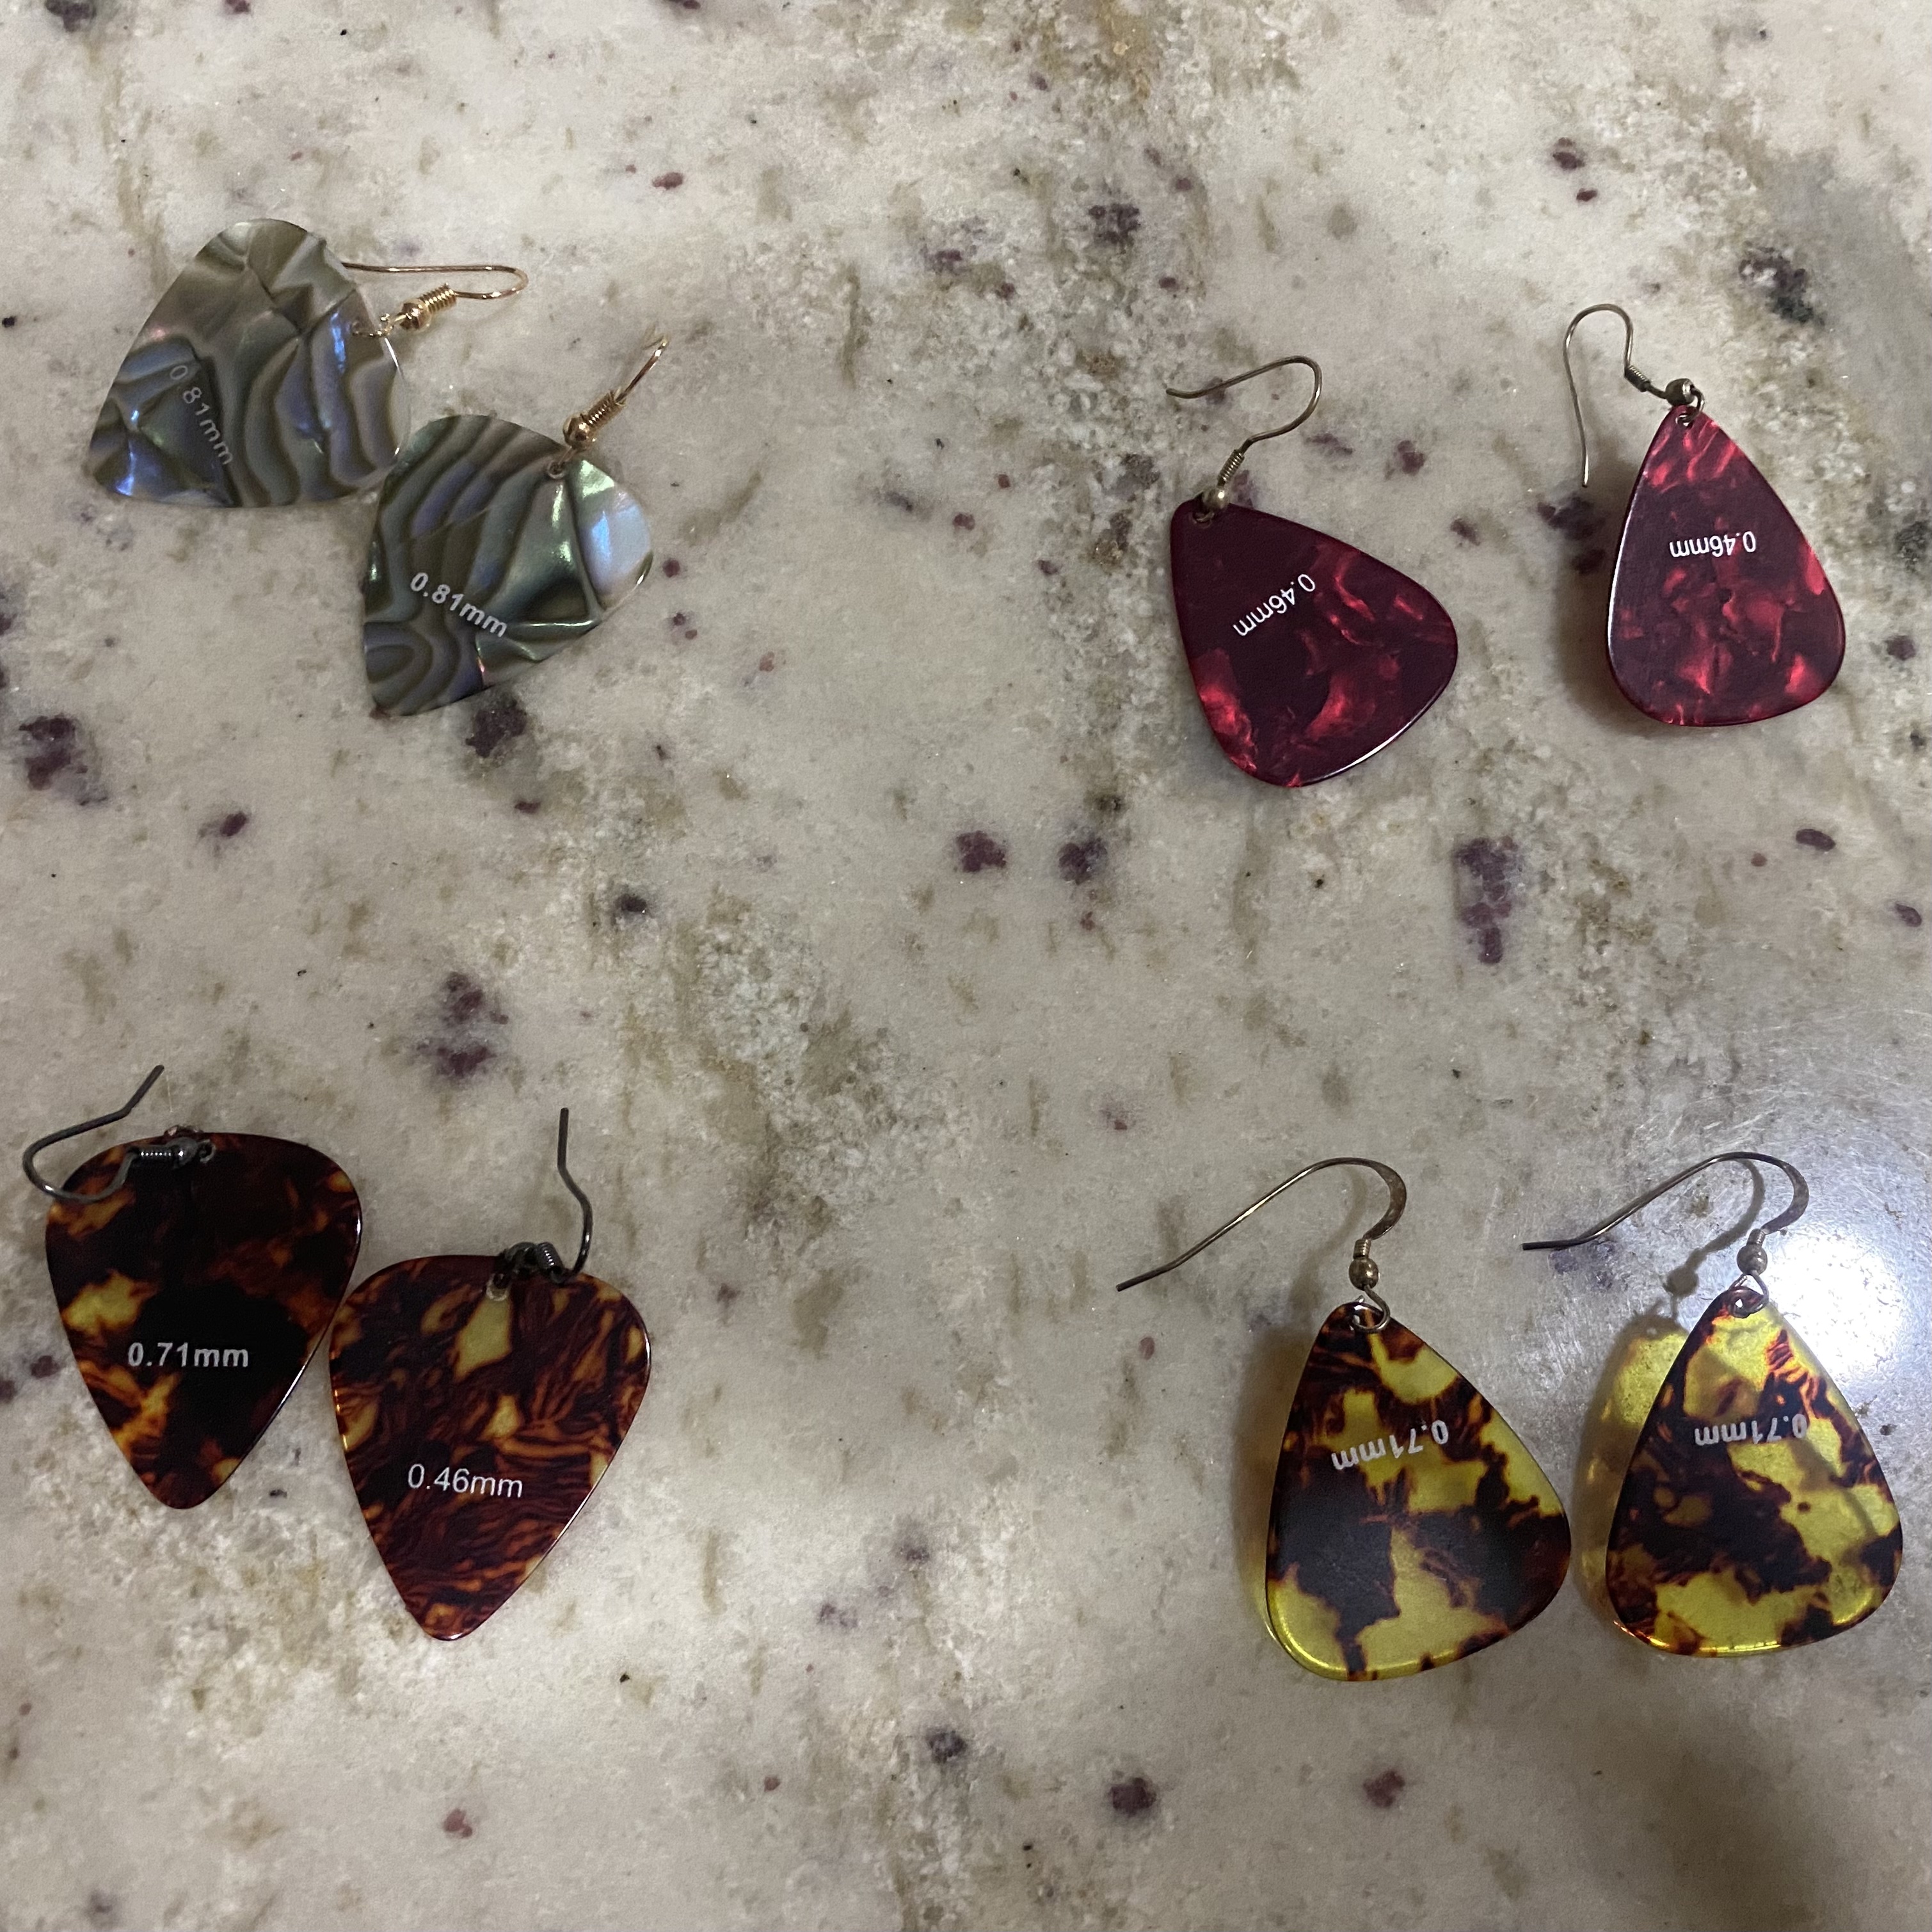
Guitar Pick Earrings: Summer 2023
It’s been nice to do quick little crafts like this because I get to find a new purpose for things I had lying around the house and I get to be creative! I took some old guitar picks I had, and removed the charms off of old earrings to make new ones I would wear. I took a thick needle which I heated up with my gas stove flame and then punctured holes either by the top or bottom to make room for the hook to slide through. I used some thin nosed Black and Decker pliers to bend the metal hooks open and close. I absolutely love them and look forward to gifting them to my friends!

Here is some of my work experience, the two most recent ones have been full time roles.
During the summer, end of May to beginning of August, I worked at CollaMedix Inc as a Engineering Intern, a startup working to manufacture collagen thread. I was interested in the different experience this job offered me, and was not disappointed. I had never worked in a wet lab setting, and had no background with lab etiquette, so even washing dishes a specific way was new to me. It was interesting to dive into the manufacturing processes that led to finished thread. After getting a good grasp on it, I worked to automate part of the manufacturing process with an Arduino IDE. There was many components to it, several moving, with timing being very important to the success of the process. Although I didn't have time to finish it before my internship ended, the project was rewarding and a huge learning opportunity for me. I also worked to identify the most efficient set of manufacturing proccesses. Some of the steps taken were lengthy, so I ran a set of over 20 experiments. I performed a DOE to see under what timing the strongest thread was produced, and under these tests, I pulled several of the highest tensile strengths ever recorded. It was extremely scientifically satisfying to observe the changes in the manufacturing and final product of the thread as the parameters changed. Finally, I helped coordinate the company's move to a new space! As the company outgrew it's space in a CWRU building, they moved to expand into a Class 8 Cleanroom. I did research regarding the materials needed, the gowning procedure, and proper cleaning procedures.
From January to May, I worked full time at Steris Endoscopy in Mentor OH, as a Manufacturing Engineering Intern. My job was mostly focused on continous improvement work, making big or small changes in individual assembly cells that would benefit assemblers. This would range from documentation changes to make SOP more understandable, or updating them with current part pictures, to designing and machining new fixtures and job aids to be integrated into the process. One of my favorite parts of this job was the interative design process that relied so heavily on the feedback of the assembler. If the aid I designed wasn't comfortable, effective, or easy for assemblers, most of the time they wouldn't use it. My job was to make their job easier, and sometimes that wasn't easy. I also worked to implement certain safety features in cells, like decreasing clutter around machinery, and designing/installing light shields where UV Light was used. I used a lot of SolidWorks at this job, reverse engineering parts we had in real life but not in our PDM system, and to completely design something new to work with existing parts. It was a ton of fun to play with a part's composition in SolidWorks to try to maximize the likelihood it will work in real life. Of course, it didn't always work in real life, and understanding the need to adjust my designs for an effective finished product was something I learned quickly. Overall, I couldn't have asked for a better first work experience.
For the entire year of 2023, I was a TA at my college, in ENGR 131, or Elementary Computer Programming, and a Grader for EMAE 350, Mechanical Engineering Analysis (this one was just for the fall semester). Although 131 doesn't involve Arduino like it used to, the content still interests me, and I enjoyed the opportunity to connect with other engineering students who do too! I also workeded as a math tutor for several years as a high schooler. I loved teaching other people and being able to help them understand the fundamentals of math, or teaching them more complication concepts in calculus and how they apply to the real world. 350 was also a class I enjoyed a lot, because of its heavy math components! As of Fall 2024, I am back as an ENGR 131 TA. Because of other time committments, I am only conducting office hours and helping grade instead of hosting office hours this semester!
A ton of the other experience I have working is within the food industry or retail! I have learned a lot from these jobs, and they have given me experience working with very different people, varying in ages, interests, and everything in between. It has taught me how to communicate with everyone, especially when in a high stress situation. I understand how to manage other people, and the importance of being clear. All I learned makes me better equipped to work in more technical roles since I have had to deal with adapting to a new workplace and learning a completely new set of skills that each of those jobs required. They all demanded a quick pick up, and high quality products or service, which made me a faster learner and taught me the importance of getting the job done.
Although I have taken many classes, here are the ones I have really enjoyed or found relevant:
For credit for my Mechanical Design and Manufacturing minor, I'm doing independent lab research in Dr. Brian Taylor's lab on campus. For him, I'm helping edit and manufacture the magnetic environment the robots will use. There exists a SolidWorks model of the environment, made of wood and PVC, and I'm working to make it a reality! I'm currently working to cut the stock to size but also working on editing the design to make sure it can bear the loads of copper wire to be hung from it. I love doing work like this because it allows me to use my knowledge in woodworking and loads in real time to ensure the stability and durability of this project. I'm excited to finish the environment and make any other needed design changes!
Computer Aided Manufacturing (EMAE 290): I loved this class, it being hands down the best class I've taken at CWRU! I got so much better at Solidworks, and got CSWP Certified, something I didn't think I would be knowledgable enough to get. It was awesome to be introduced to MasterCam, and other general tools we used in the class, like CNC machinery. The three different projects throughout the semester built up well, and each made me more confident with both Mastercam, and operating CNC machinery. I liked that we got to work with CNC milling, the lathe, and the laguna! Putting the projects together in the metal and wood shop also made me feel a lot more confident with my hands on abilities. I learned so much, and it really confirmed my love for manufacturing.
Biomedical Signals and System with Lab (EBME 308/358): This class has also particularly caught my interest because of the way the professor said it would change my view of the world. He said that everything could be described as either a signal or a system, and that every signal is actually a sinusoid. I'm interested to delve more into that idea. The lab component is entirely Matlab based, but more in depth on plotting, and analysing signals specifically.
Computers in Mechanical Engineering (EMAE 250): In this class, we talked about algorithms on a basic level, how to work them out by hand, and how to code them with Matlab to handle a multitude of situations. This work would be helpful with data filtering and I learned how to successfully write and debug complex mathematical code. I enjoyed the theory of this class the most, seeing the different types of estiamtion we used, and how they compared to each other.
Mechanical Manufacturing (EMAE 160): A great mix of hands on manufacturing and online designing, this class taught me how the basic manufacturing process occurs. Through the Think[Box] fabrication resources, I was able to built a simple hammer made of low grade steel, following design requirements and learning how to use heavy machinery, such as lathes and mills. It was definitely a steep learning curve, especially since we moved so fast, but it was interesting to make things that seemed so simple but were more complicated than face value. It was insightful to see the importance of measurement, and how messing up in one place can cause a chain reaction that can make your part incredibly off margins. On the designing aspect, I learned how to use the Solidworks application to create engineering drawings for parts and assemblies, as well as creating parts in detail through the program. I got CSWA certified through the class!
Mechanical Engineering Analysis (EMAE 350): This class explained the basis of many mechanical engineering problems, such as kinematic and statics problems. I learned the derivations of concepts such as Eigenvalues, Frobenius problems, and Fourier Series. This knowledge will be built upon in future classes as I learn the further application to specific engineering problems, specifically in classes like Strength of Materials and Statics.
Elementary Computer Programming (ENGR 131): Matlab was first introduced to me in this class, where I mostly importantly learned how it can be used in combination with Arduino and a GUI, to create a fully working product. I enjoyed this class, and how it taught me to communicate well with a group when working on a project with so many moving parts. We didn't work as efficiently as we could have, working hours a day trying to debug code all together, but it was satisfying to knock down bugs until the project was working they way we wanted. We were one of the few teams that got a fully working GUI, and I was proud of our determination in face of a program we had never used before.
Design and Manufacturing I (EMAE 260): This class was next in the design and manufacturing series, (160, 260, 360), and taught project management skills. I learned what makes a good team, a good team leader, and how to be successful within a project. This included going over requirements for a project, the technical and derived, in depth planing with dates, dealing with a budget, and the function of roles within a team. My team worked on a sit to stand device that would accommodate a large range of people, was cheap, easy to move, and satisfied the other requirements laid out to us. Throughout the semester, our group met regularly to draft documents, create slides, and design a device like this. We created things like a pugh chart, a bill of materials, a FMEA analysis, a Gantt Chart, a team charter and a responsibility matrix to mimic the breakdown of a large project into clear manageable pieces. Although doing the documentation felt repetitive, it was good to understand the communication aspect of the job and the need to follow the time, budget, and project requirements give to you, all while being effective within a team.
Of course, I have also taken classes in Circuits, Statics, Physics, Chemistry/Thermodynamics, Biophysics and Math, all of which have helped me succeed in my more advance classes.
I am currently Vice President of The Board Meeting, the skateboarding club on campus! I've enjoyed this a ton, and have been so excited to be able to encourage people to skate! During our weekly meetings, I help people learn new tricks by learning it with them, meet new people, and keep track of injuries. I also take a large role in the planning of our large events throughout the semester. I'm currently coordinating over 50 vendors and 5 bands for our biannual skatemarket. It's a lot fo work, but I'm having a great time doing outreach and talking to new people!
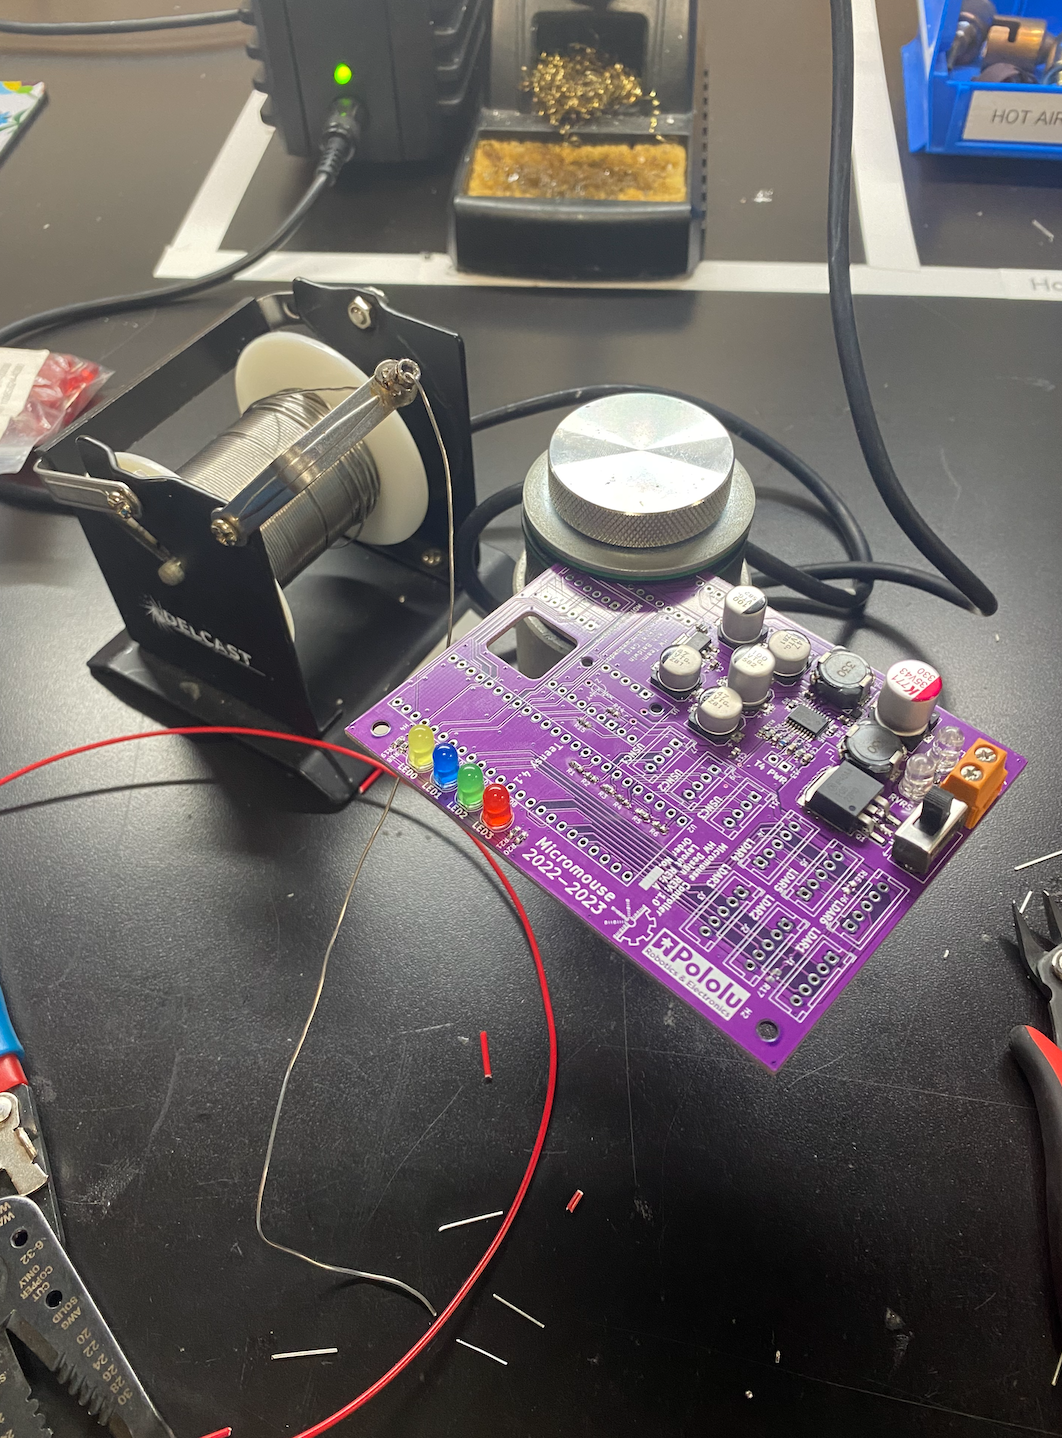
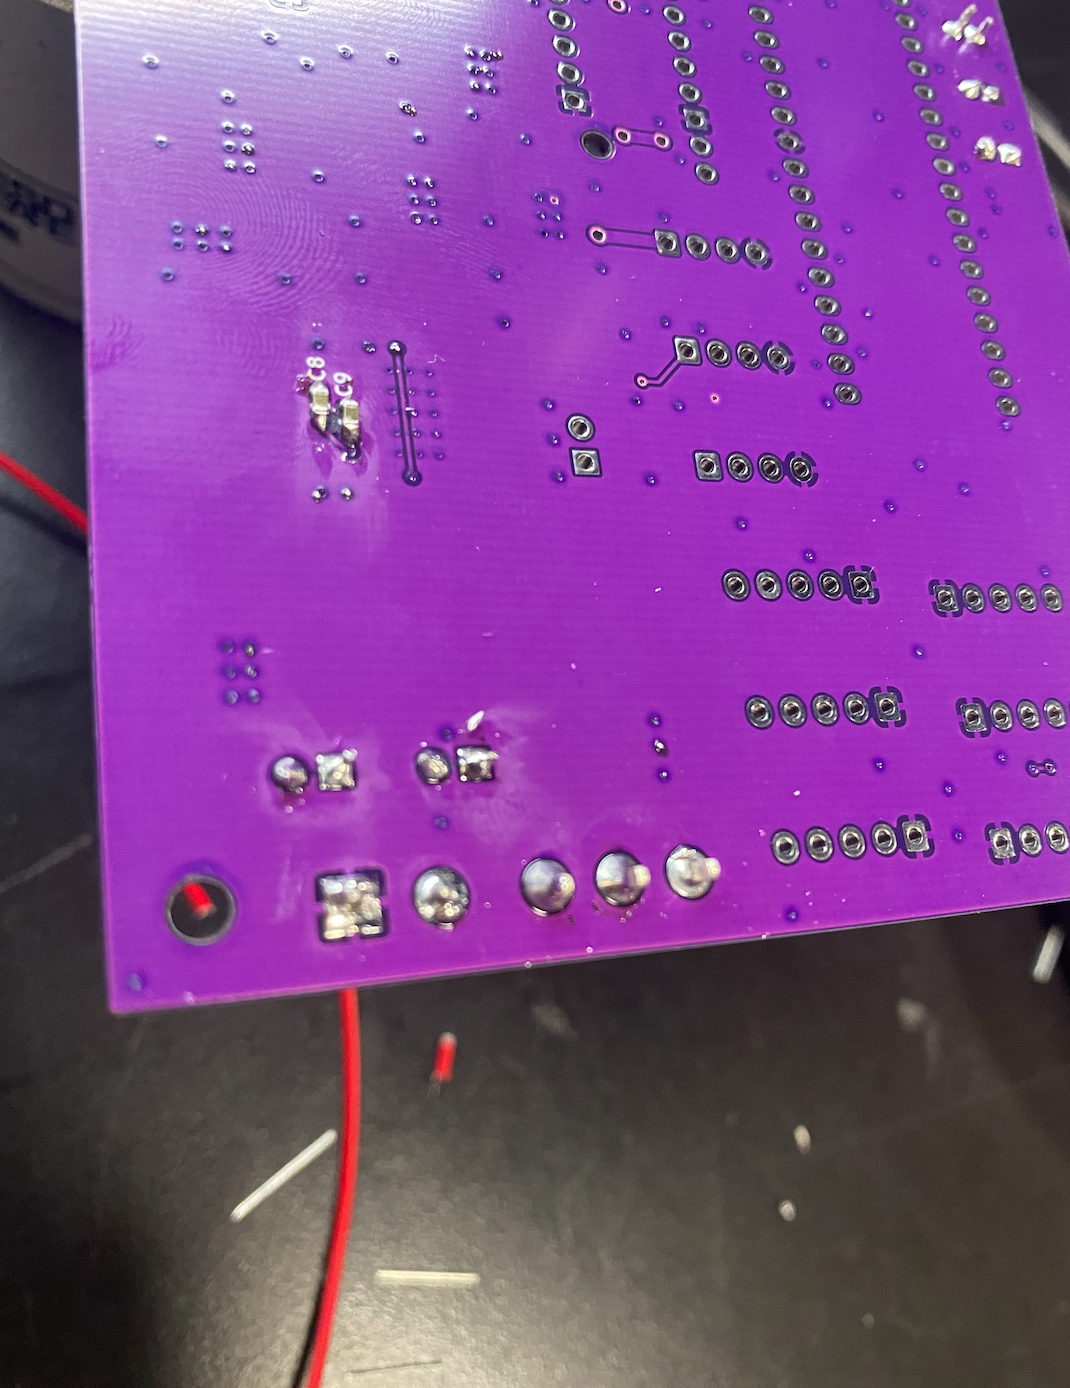
The main engineering club I was in was Robotics! I was on the team for about a year, and enjoyed the wide array of things I got to learn. I worked with the NRC micromouse team, which competes in the NASA competition every year. NRC micromouse makes a small robot that can navigate a maze as quickly as possible. This includes designing the pcb and the robot, and writing the code. Here's a couple of things I did while being on the team!
We were working on the circuit board for the robot, putting on the smaller components, like the LEDs, the capacitors and resistors, using solder. For many of the other components, which only get placed on the surface, we applied flux fluid using a template, and then placed them on with tweezers. It was an interesting process, I had never realized that each component had to be ordered separately and then hand placed. Some of the capacitors were incredibly small, but it was fun to work with them.
The couple of workshops I have attended, specifically over my high school years, were integral to my understanding of engineering!
Spring Engineering Education Days: When a junior in high school, I attended these SEED days at Santa Clara Univeristy, where I was introduced to engineering as a whole. It was the first time I was exposed to the applications of engineering, specifically Biomedical Engineering. I fell in love with the idea of being able to create, design, manufacture medical devies or prosthetics, or anything that could help people. The fundamentals of problem solving and the excitement that came from that intial introduction have not left me since.
Bioinformatics of Cancer: Through the Rosetta Institute, I did a course talking about the microbiology of cancer, how it spreads, and how researchers are able to use identifiers to find and label genes that are connected to different cancers. From what was taught, I was given an unkown gene and had to research its connection to a cancer, going through online databases and collecting data. This course made me understand that my place was not in a lab, or as a researcher, and I am grateful to have understood that so early on.
The Perry Initiative for Women in Orthopedic Surgery and Engineering: This informative session showed me how doctors, specifically orthopedic surgeons, incorportate technology into their jobs, through means of impressive surgery tech, effective but simple tools, or imaging. It was interesting to see how engineers worked side by side with doctors to develop this tech.
If you want to reach me or want to see what else I'm up to, here are a few links for you!


Thanks for the visit! Have a great day!!